Managing images in Sherpa
Creating images
Images are useful for creating identical machines in a Sherpa project. This is ideal for spinning up many render nodes that are all the same. Additionally you may have standard build for workstations that you want to replicate.
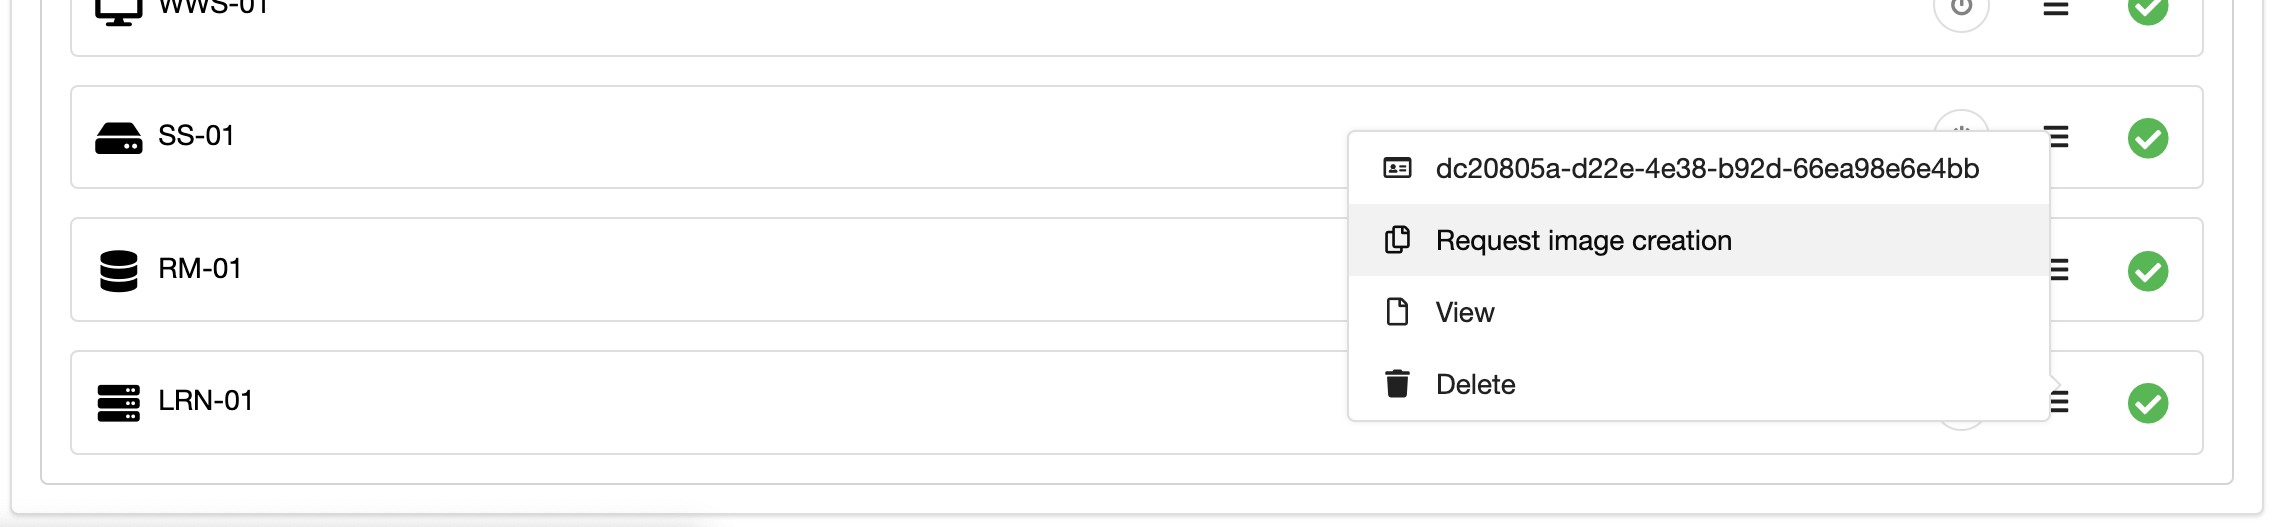
If a machine is off you can select Request image creation.
A new window will appear.
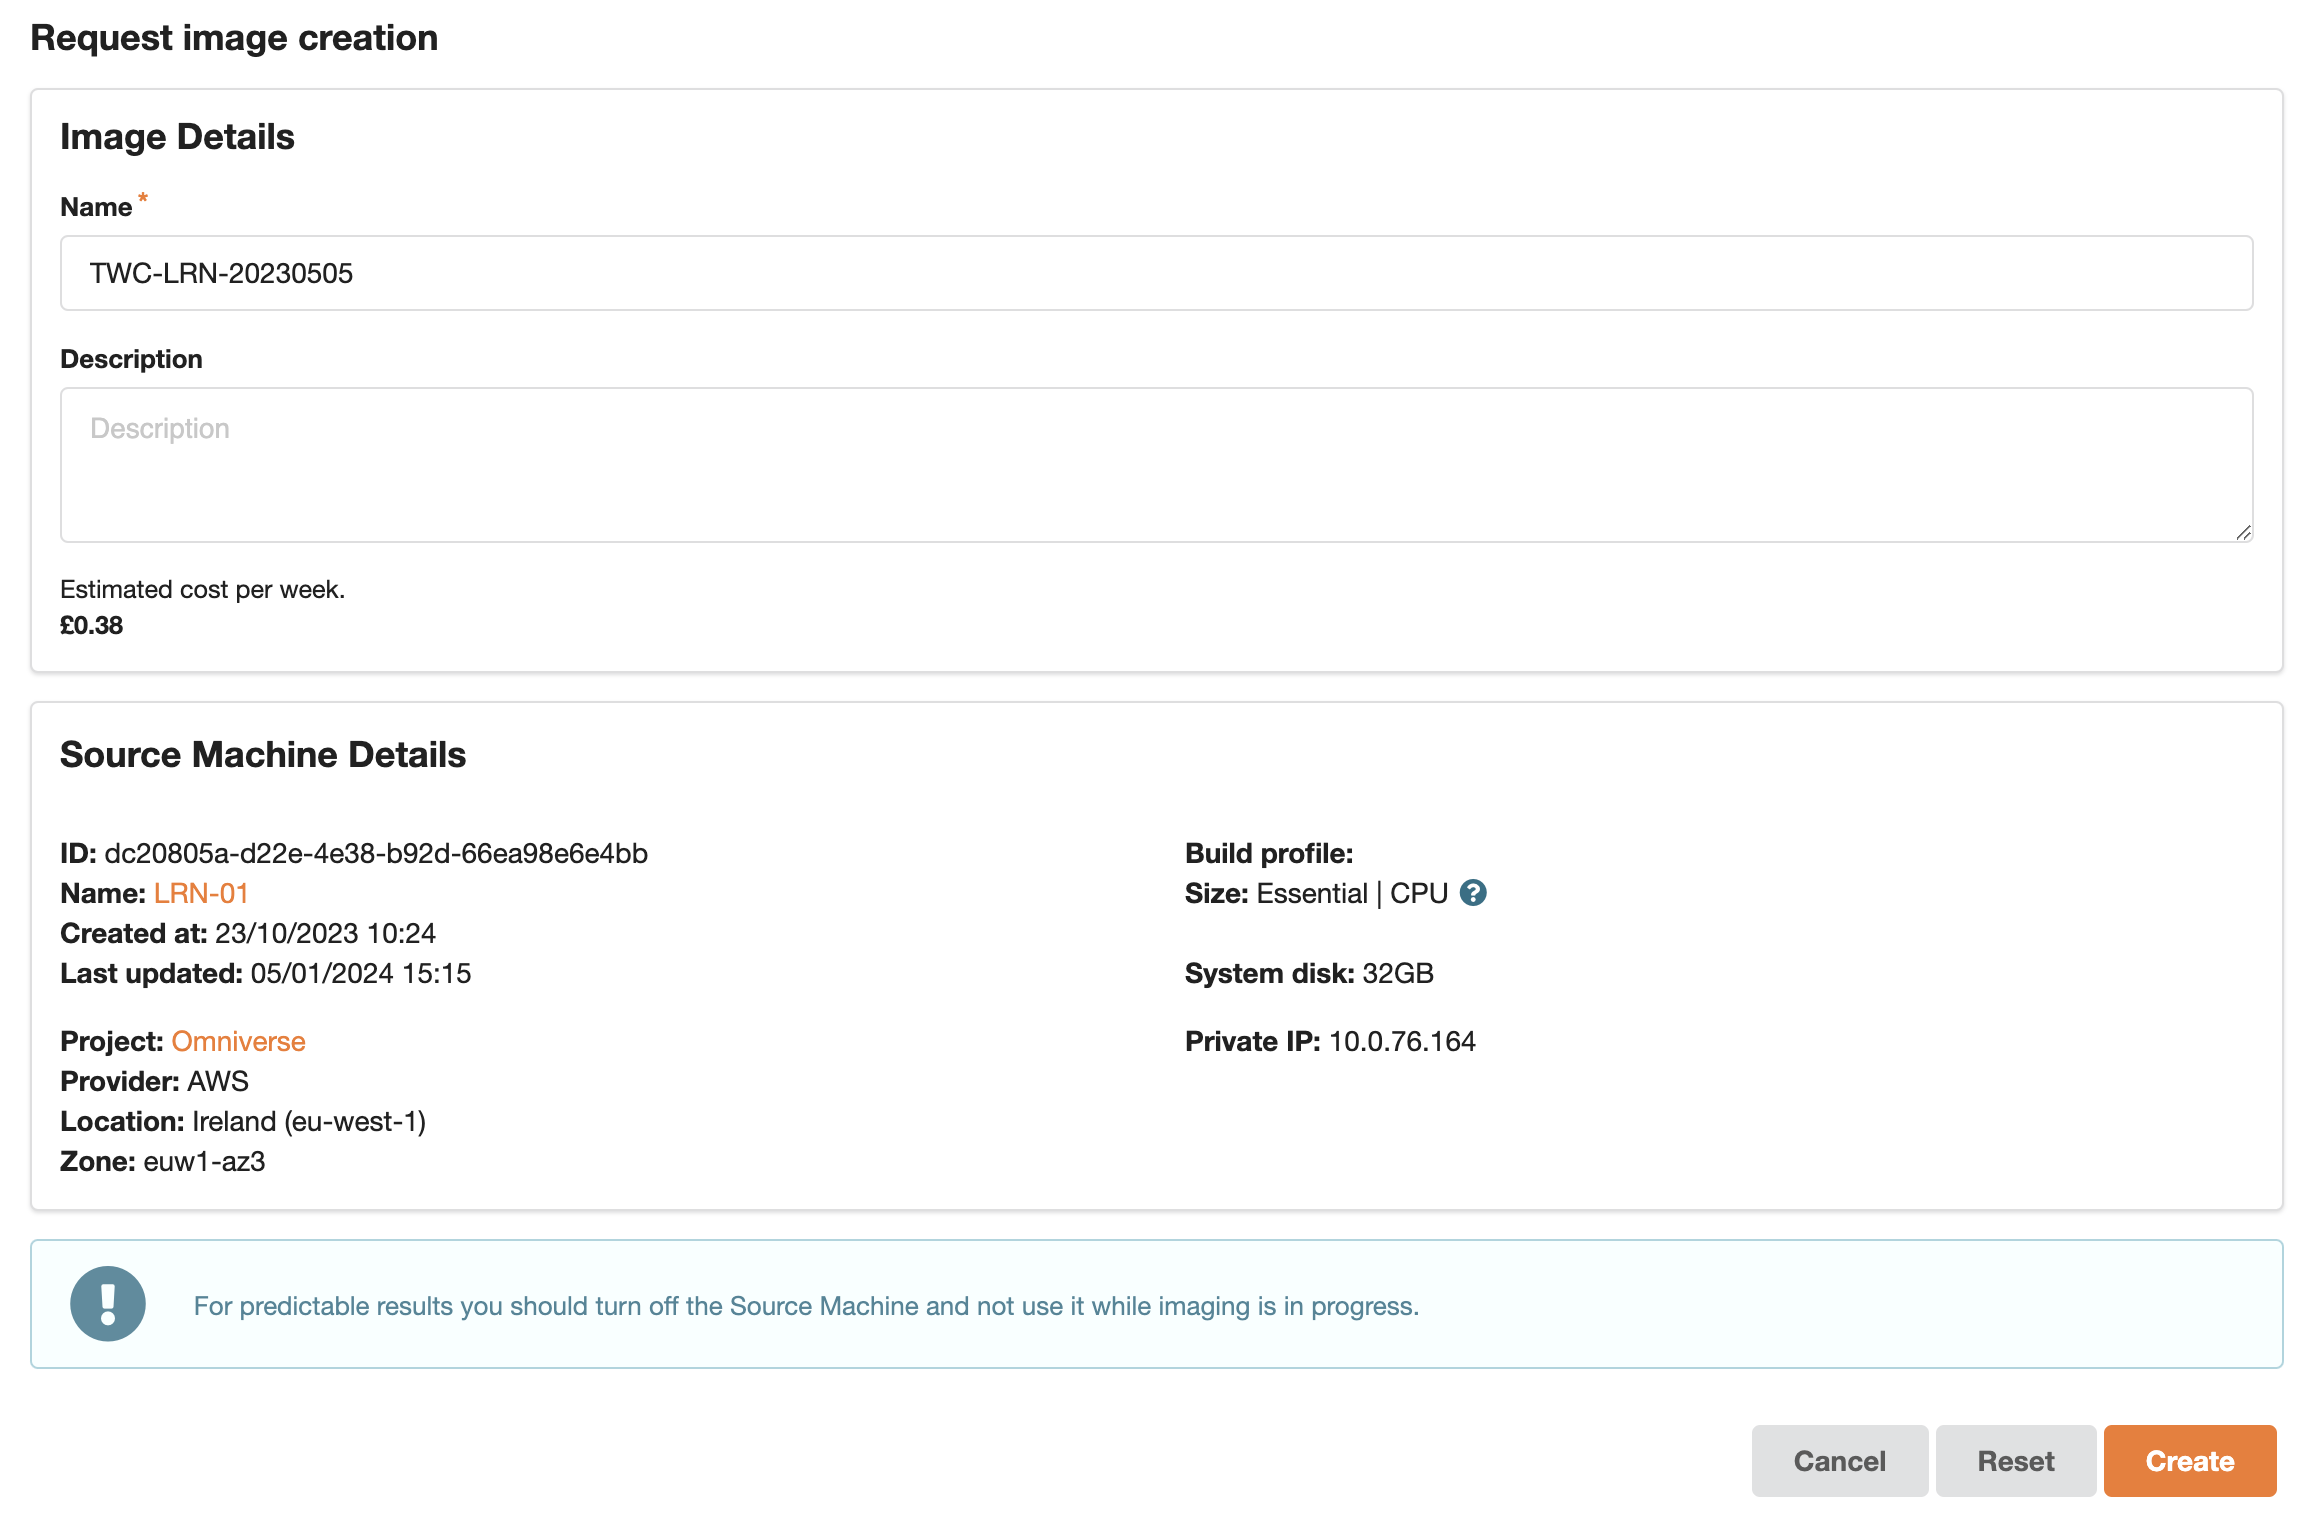
An estimate of the weekly cost associated with the image will be displayed. Give the image a suitable name. Fill in a description if required. Then press Create.
The request will go into a Saved state. Some parts of the image creation process are automatic and some are complex and require human intervention. You can list all your images and their status as described in the following section.
Listing images
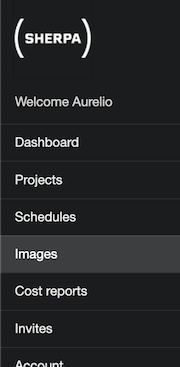
From the left-hand menu select Images.
You will be presented with a list of images.

In the above example we can see that our recent request is in a saved state as indicated by the blue tick and as yet is not being actioned. If the image is being worked on it will be shown as being in a building state as indicated by a yellow tick. Once the image is ready to be used it will move to a built state as indicated by a green tick. Golden images are distinguished from normal build profiles by the inclusion of a golden-yellow badge.
Using an image
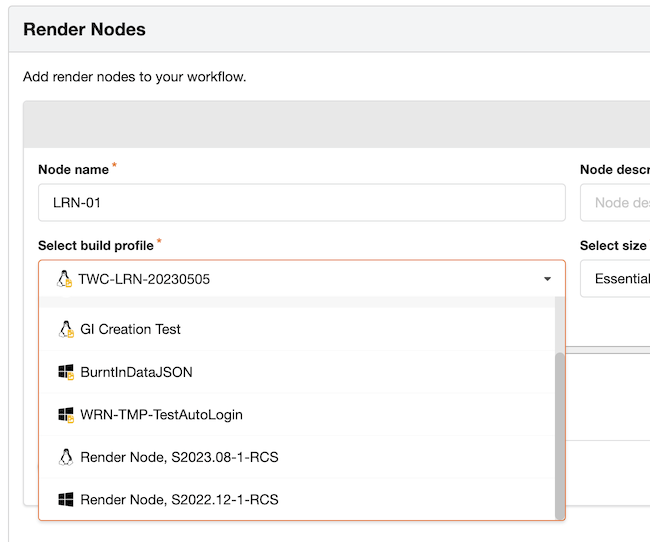
Once an image has been created it will appear in the dropdown list in the build profiles. An image will only appear in the dropdown if it is of the correct type and exists in the same region as the current project.
Checking the ongoing cost of an image
The current/ongoing costs for an image can be shown for the current week.

Checking the historic weekly cost of an image
You can change the date range to show historic costs for an image.

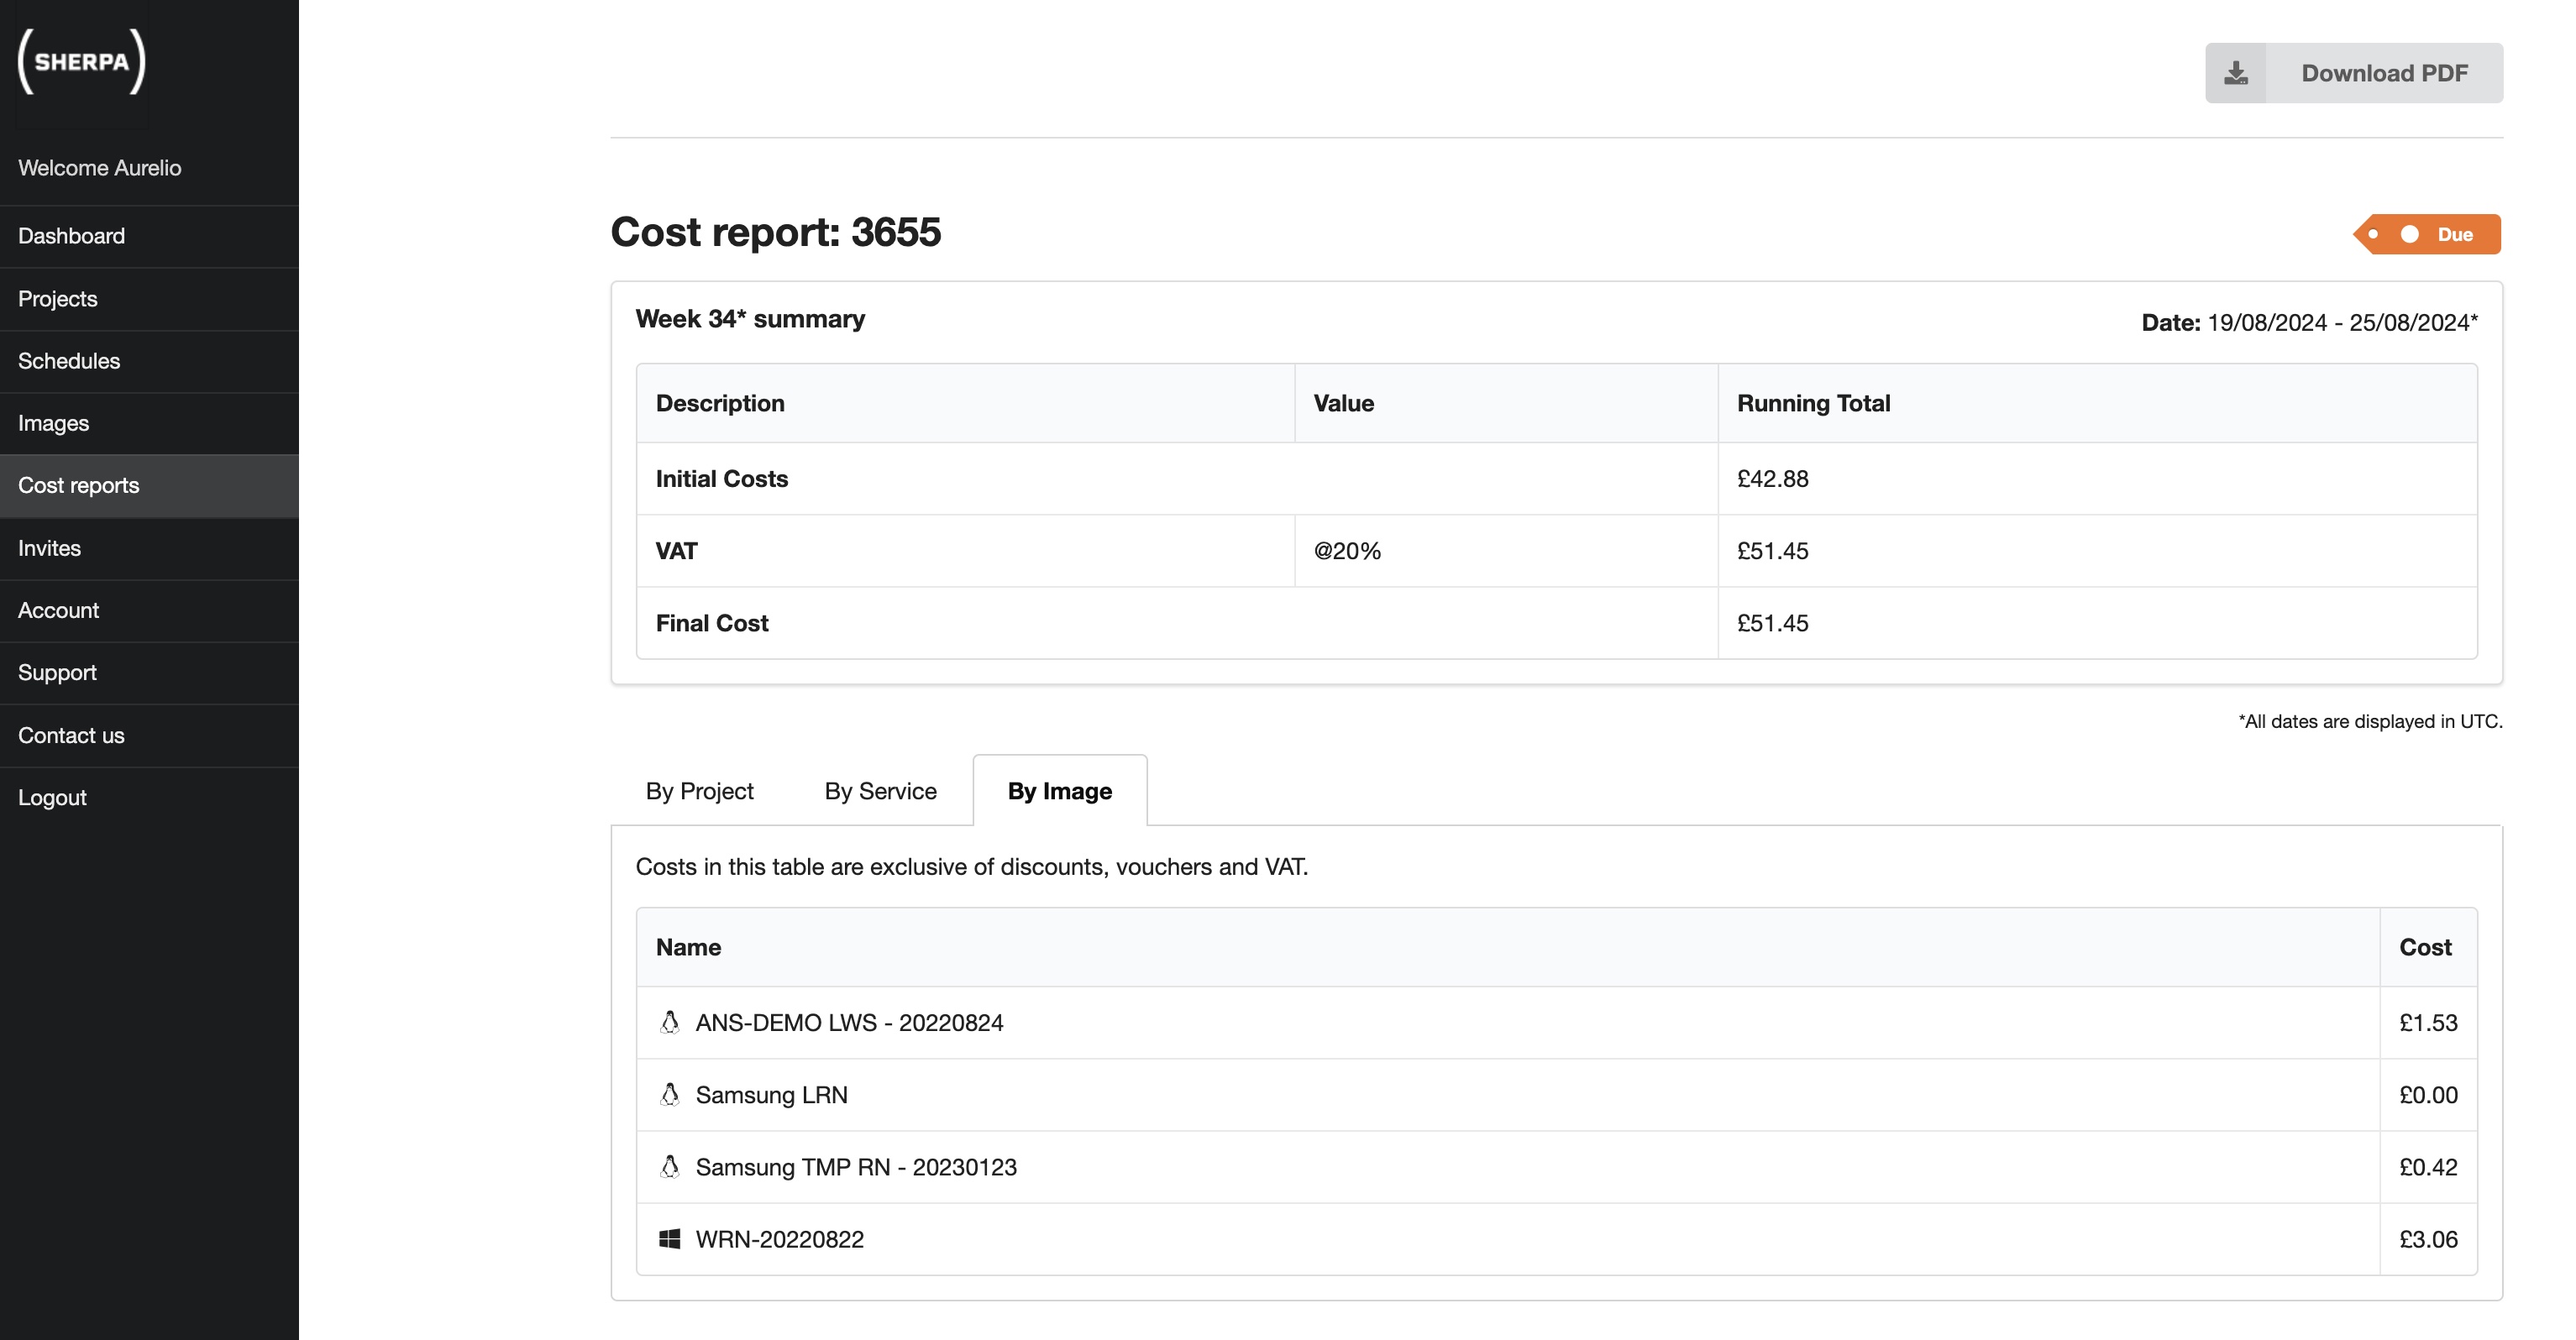
Checking the overall cost of images in the cost reports
The costs associated with images is displayed in the weekly cost reports.
Copying an image to another region
If you want to use an image in a different region, you will have to request for it to be copied to the new region. From the menu for the image select Request copy to location.

A new window will appear where you can specify a new name for the copy and the location for the image copy.
Using an image in another project or region
The images do have information in them that is specific to the project in which they were created. If you want to use an image in another project you will have to,
- Create a machine from the original image
- Adjust the configuration of the machine to match the current project. This will cover things like, the IP address of the shared storage, the IP address of the render manager etc.
- Create a new image from this machine which can now be used for this specific project.
This can be quite complex so you may wish to reach out to us for help. You can do so at support@escape-technology.com.
Deleting an image
To delete an image, select Request deletion from the dropdown menu.
