How do I ssh into Linux devices in a Sherpa project?
An in-depth discussion of SSH keys can be found here https://www.ssh.com/academy/ssh/public-key-authentication and on other sites. We describe below how SSH keys are managed in Sherpa.
Using an existing SSH key
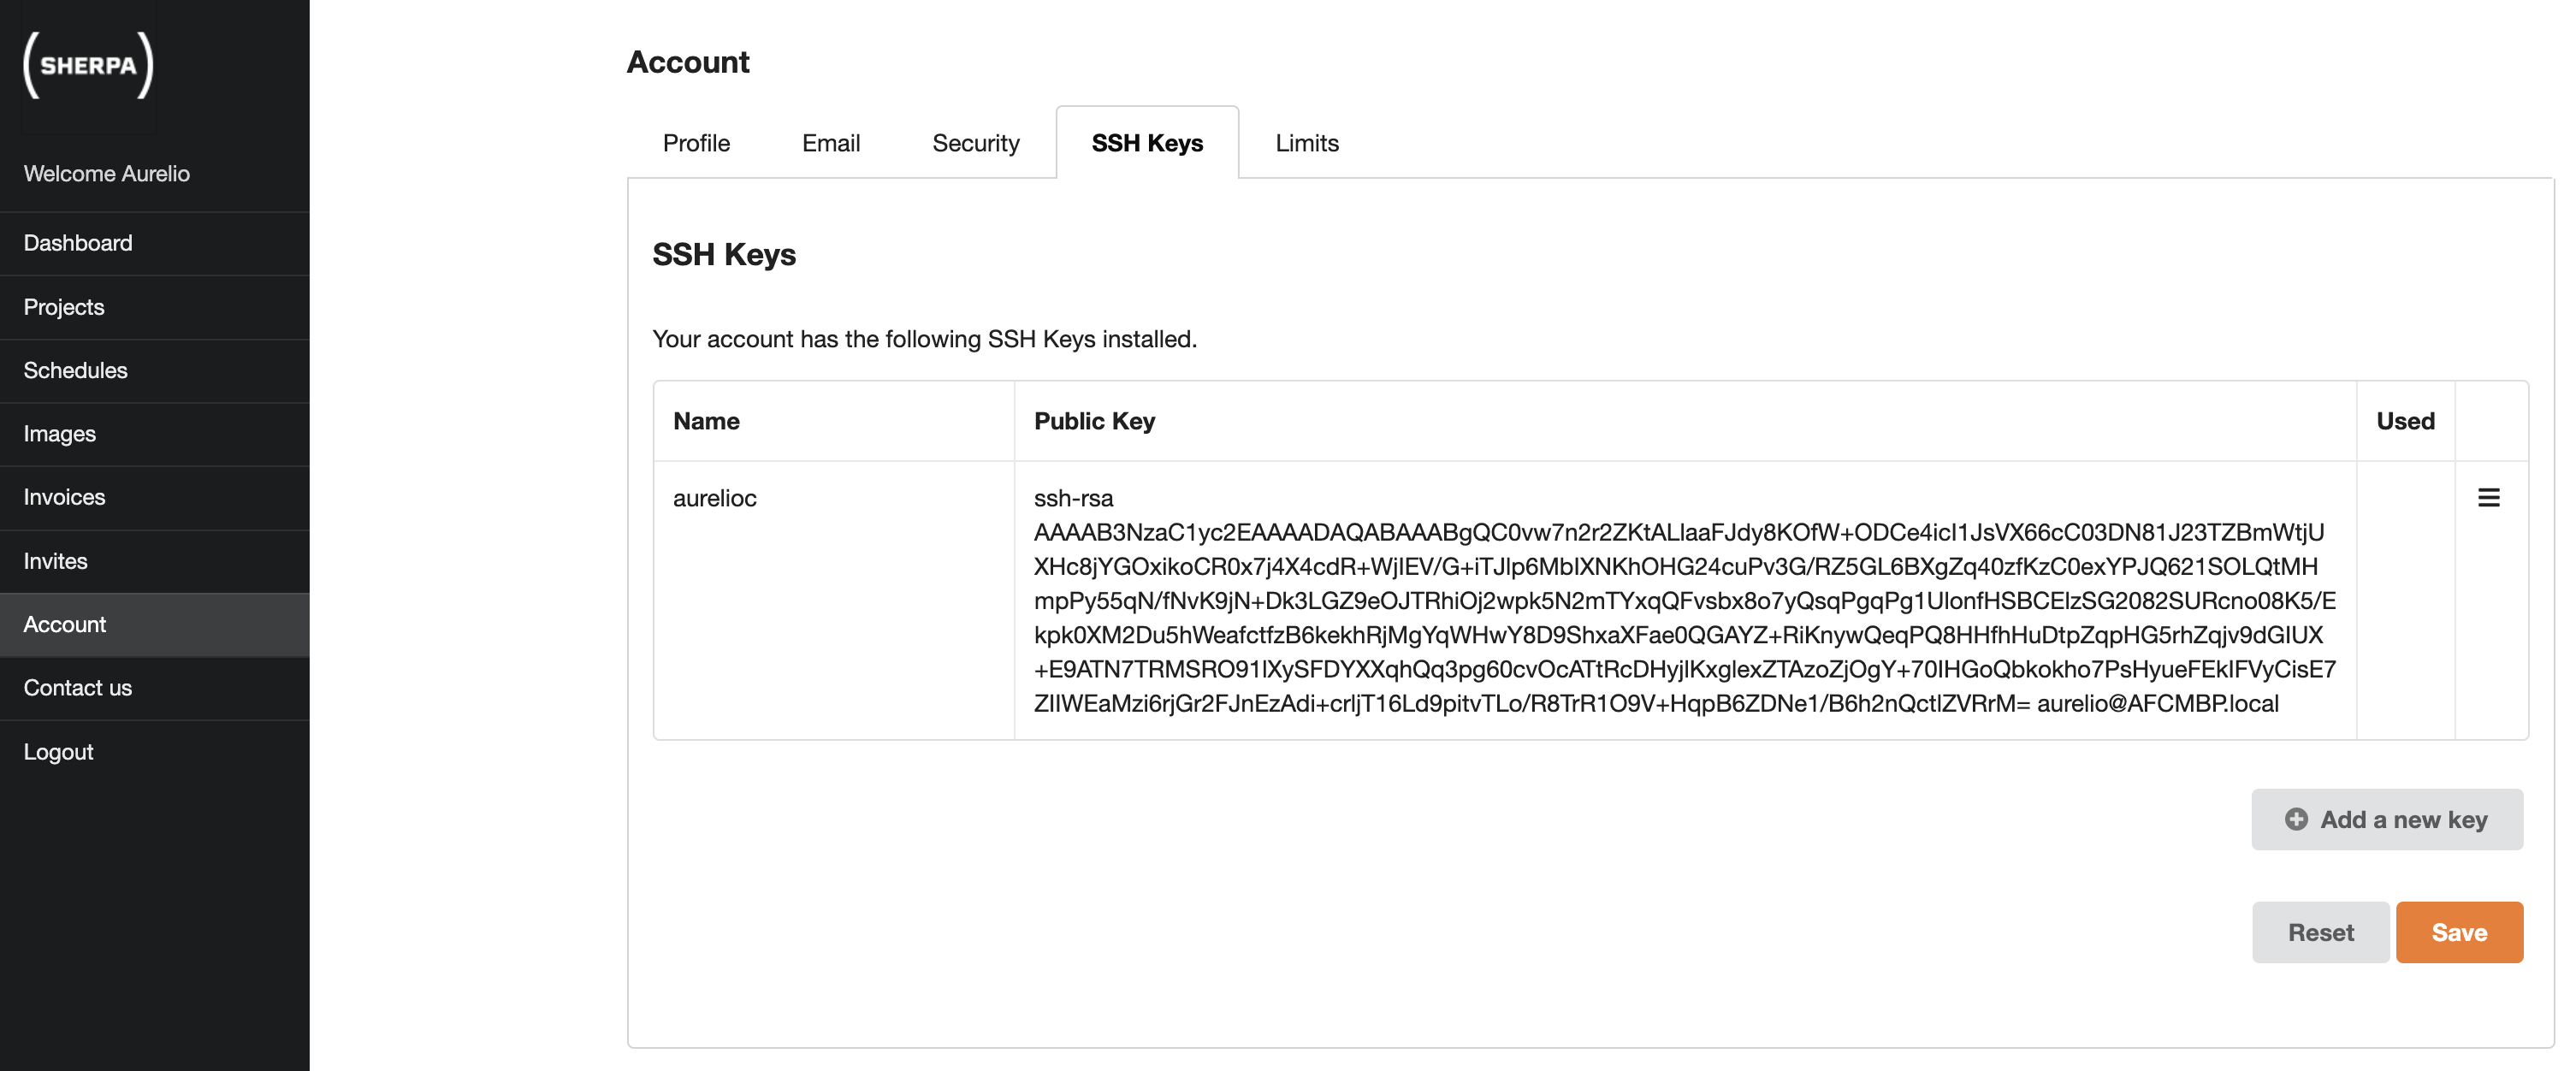
Normally when a Sherpa account is created for you, a public and private ssh key will have been created. By default the SSH key will have the same name as your Sherpa admin login. You will have been sent the private part of the SSH key and you can find the corresponding public part via the Sherpa GUI, via the Accounts section under the SSH tab.
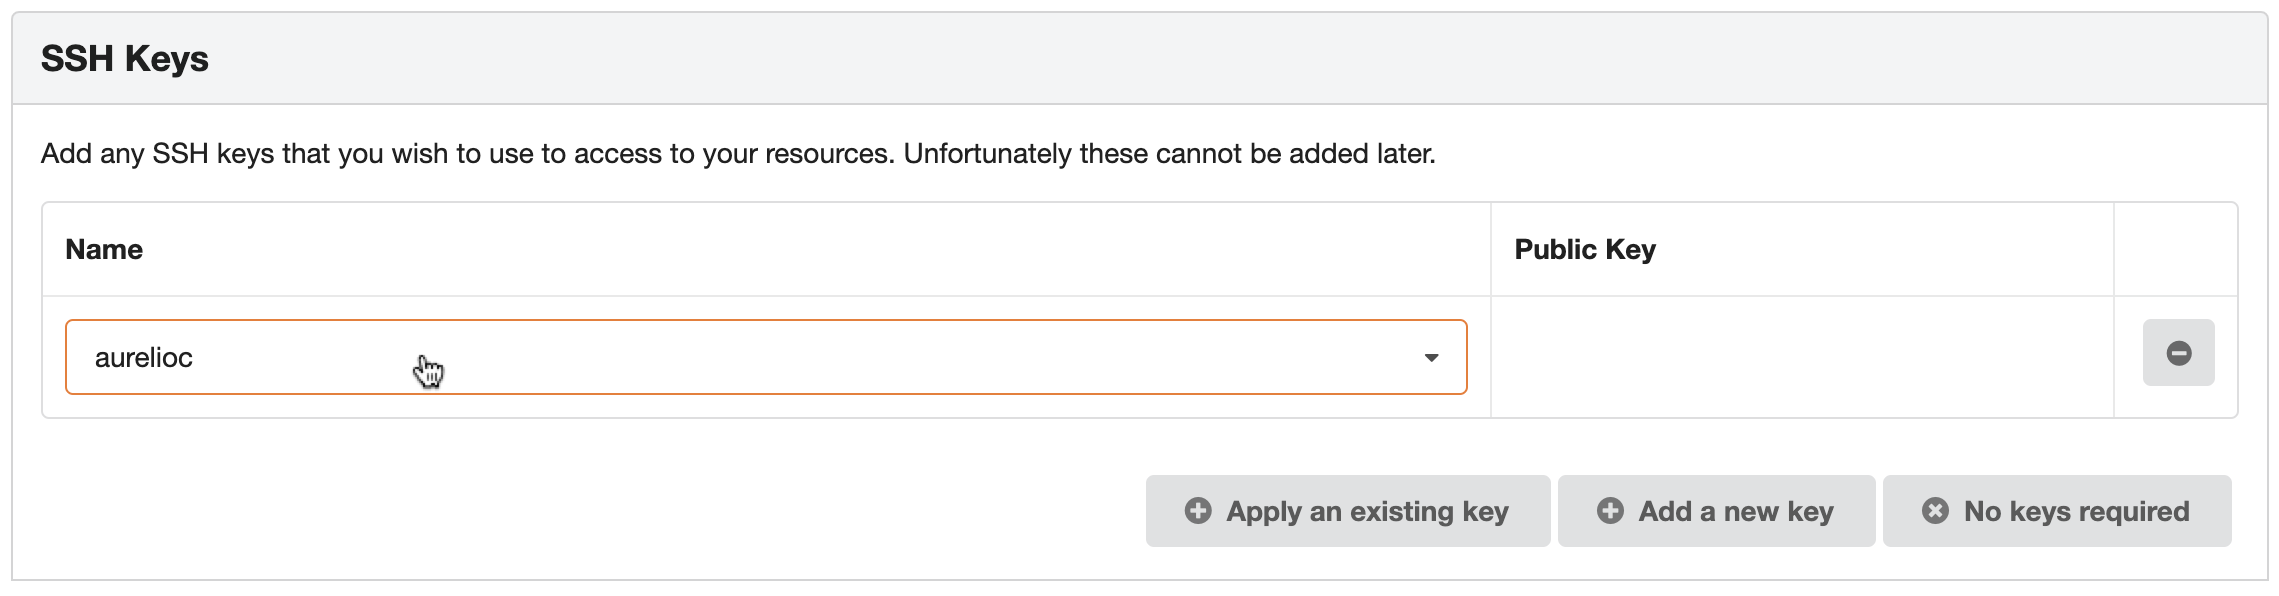
When you create a Sherpa project you are encouraged to use an SSH key.

Click on Apply an existing key and select the existing key from the dropdown.
When Sherpa builds your infrastructure it will add the selected key to all the Linux resources in your Sherpa project. We will discuss how to create SSH keys should you wish to use your own or if for example you wish to have a separate SSH key per Sherpa project.
Once the Linux server has been built you should be able to SSH into it from a Linux Sherpa workstation using a command of the form,
ssh -i <PrivateSSHkeyFile> <SherpaAdminUsername>@<PrivateIPofLinuxServer>
More concretely this might look like,
ssh -i aurelioc.private aurelioc@10.0.52.18
SSH keys on Linux workstations
If you have problems using the SSH key on a Linux workstation please invite the Sherpa admin to the workstation and try again.
Creating your own Public and Private SSH key pairs
You can create SSH key pairs by runnning the foloowing command on a Linux/Unix style machine including Mac OS X.
ssh-keygen -t rsa -b 4096 -m PEM -N "" -f mynewSSHkey
The above command will result in the creation of two files mynewSSHkey, the private key and mynewSSHkey.pub, the corresponding public key. The private key should be kept safe as anyone with the private key and the requisite knowledge will be able to SSH into Sherpa Linux resources built using the corresponding public key.
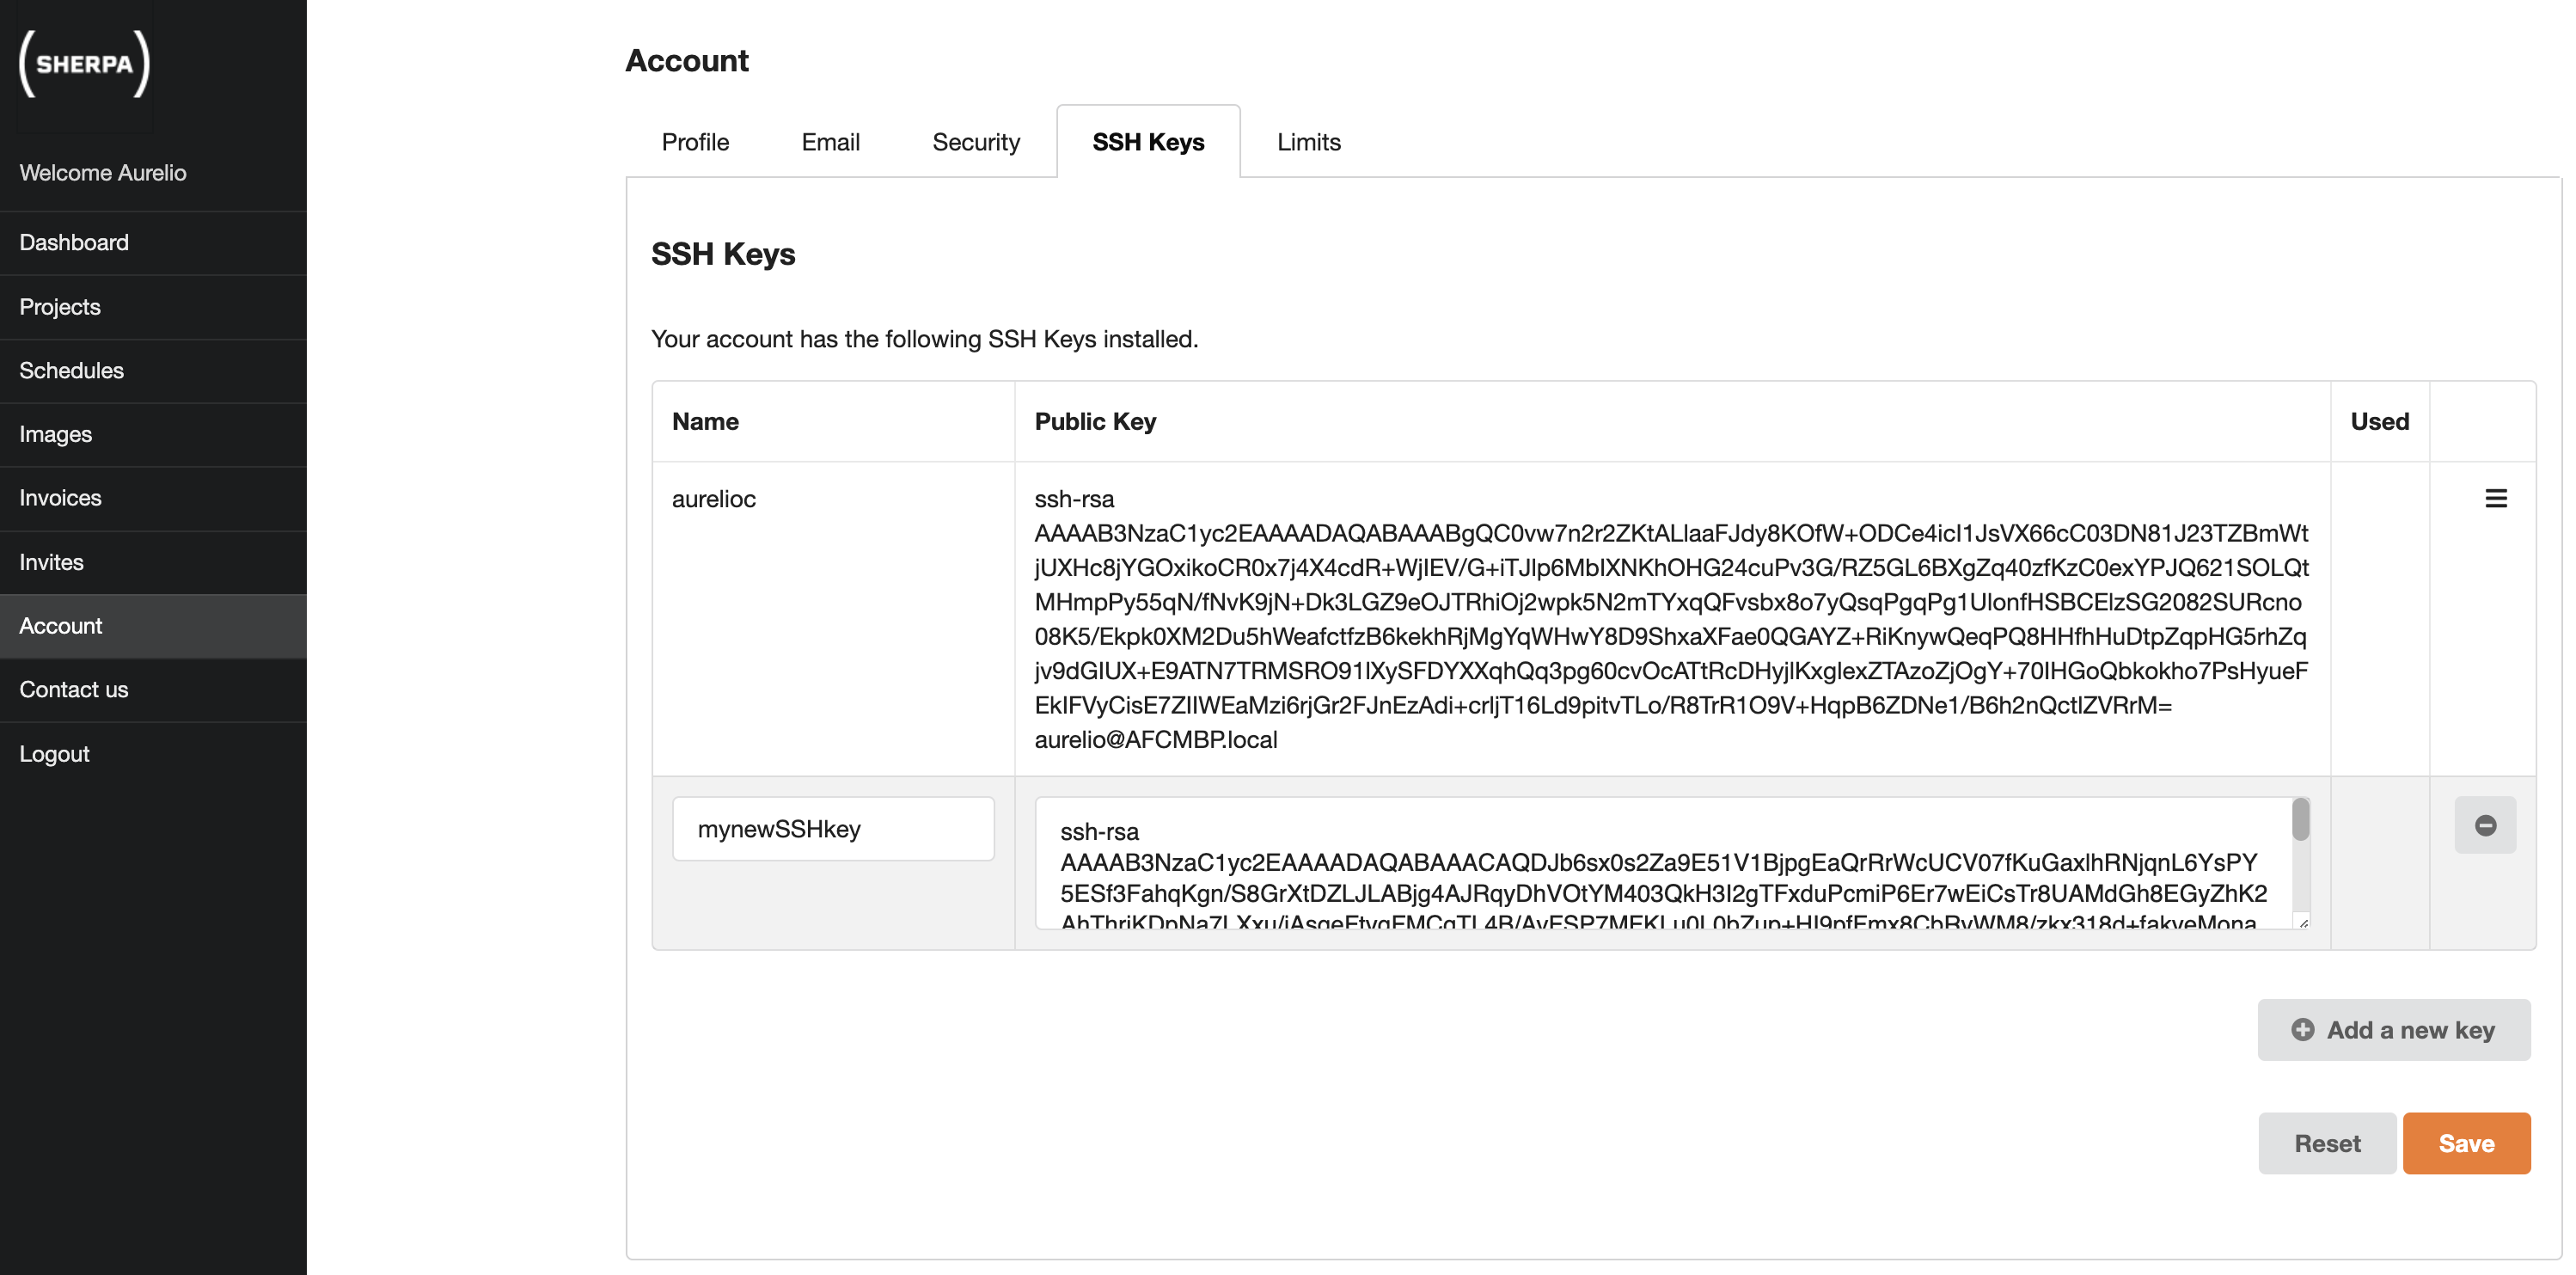
The public key needs to be imported into Sherpa so that it can be used when building Linux devices. This can be done via the Accounts section under the SSH tab by pressing the Add a new key button.
Fill in the Name section and copy and paste the contents of the mynewSSHkey.pub file into the Public Key section as shown below.
Press Save. This new key will now be available in the dropdown menu when you create a new Sherpa project. Any Linux device created with this SSH key will be accessible using a command similar to the below,
ssh -i <PrivateSSHkeyFile> <SherpaAdminUsername>@<PrivateIPofLinuxServer>
Using information from the example above, the actual command would look more like,
ssh -i mynewSSHkey aurelioc@10.0.18.92
Be aware that you can not change the SSH key used in a Sherpa project. Equally it is impossible to easily add an SSH key to a Sherpa project if you did not assign one during creation.
Which private key goes with which public key?
If you generate lots of keys you may get confused as to which private key goes with which public key. There is an easy way to check. You can run a command to create a finger print for a private key and a public key. If the two fingerprints match then you know you have a matching pair of private and public keys.
Imagine the following scenario where I have generated two key-pairs using the following commands.
ssh-keygen -t rsa -b 4096 -m PEM -N "" -f SSH-key-A
ssh-keygen -t rsa -b 4096 -m PEM -N "" -f SSH-key-B
Running the above commands results in four files being generated.
SSH-key-A (the private part of the key-pair)
SSH-key-A.pub (the public part of the key-pair)
SSH-key-B (the private part of the key-pair)
SSH-key-B.pub (the public part of the key-pair)
I can run a rather long command to get the fingerprint of each of the files.
ssh-keygen -ef SSH-key-A -m PEM | openssl rsa -RSAPublicKey_in -outform DER | openssl md5 -c
➜ writing RSA key
➜ d0:3c:ee:26:f9:c4:93:b2:a1:36:50:7a:7d:0f:56:6e
ssh-keygen -ef SSH-key-A.pub -m PEM | openssl rsa -RSAPublicKey_in -outform DER | openssl md5 -c
➜ writing RSA key
➜ d0:3c:ee:26:f9:c4:93:b2:a1:36:50:7a:7d:0f:56:6e
ssh-keygen -ef SSH-key-B -m PEM | openssl rsa -RSAPublicKey_in -outform DER | openssl md5 -c
➜ writing RSA key
➜ 71:b7:fd:0c:cc:54:1d:96:40:ee:a2:dc:70:74:87:0b
ssh-keygen -ef SSH-key-B.pub -m PEM | openssl rsa -RSAPublicKey_in -outform DER | openssl md5 -c
➜ writing RSA key
➜ 71:b7:fd:0c:cc:54:1d:96:40:ee:a2:dc:70:74:87:0b
Notice how the finger prints match confirming that SSH-key-A and SSH-key-A.pub are one key-pair and SSH-key-B and SSH-key-B.pub are another key pair.