How do I invite a user to a Sherpa workstation/project?
Getting the user’s details
Before inviting a user to a Sherpa workstation you need to have the following two pieces of information:
- A valid email address for the user
- The IPv4 address they will be connecting to the workstation from
If the prospective user is unsure how to find their IPv4 address you can direct them to a handy online service such as:
https://whatismyipaddress.com/
Adding a user’s IPv4 address to the Sherpa project allow list
Before inviting a user to a workstation, you need to add their IP address to the list of IPs that are allowed access to the Sherpa project’s Display Gateway. Workstations in a Sherpa project are accessed through the Display Gateway.
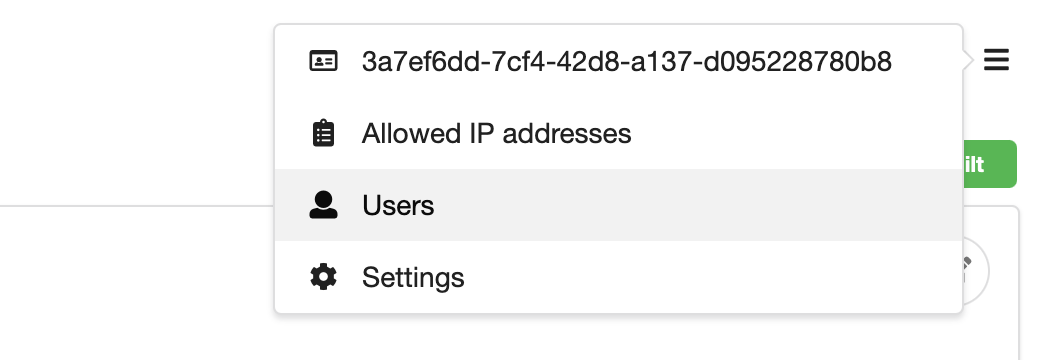
In the dropdown menu at the top right of the Project page select Allowed IP addresses.
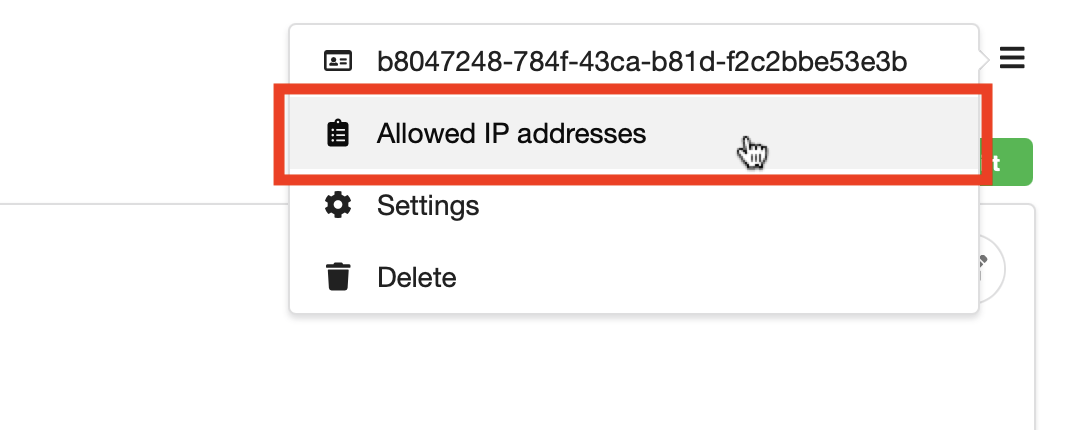
A new page will open.
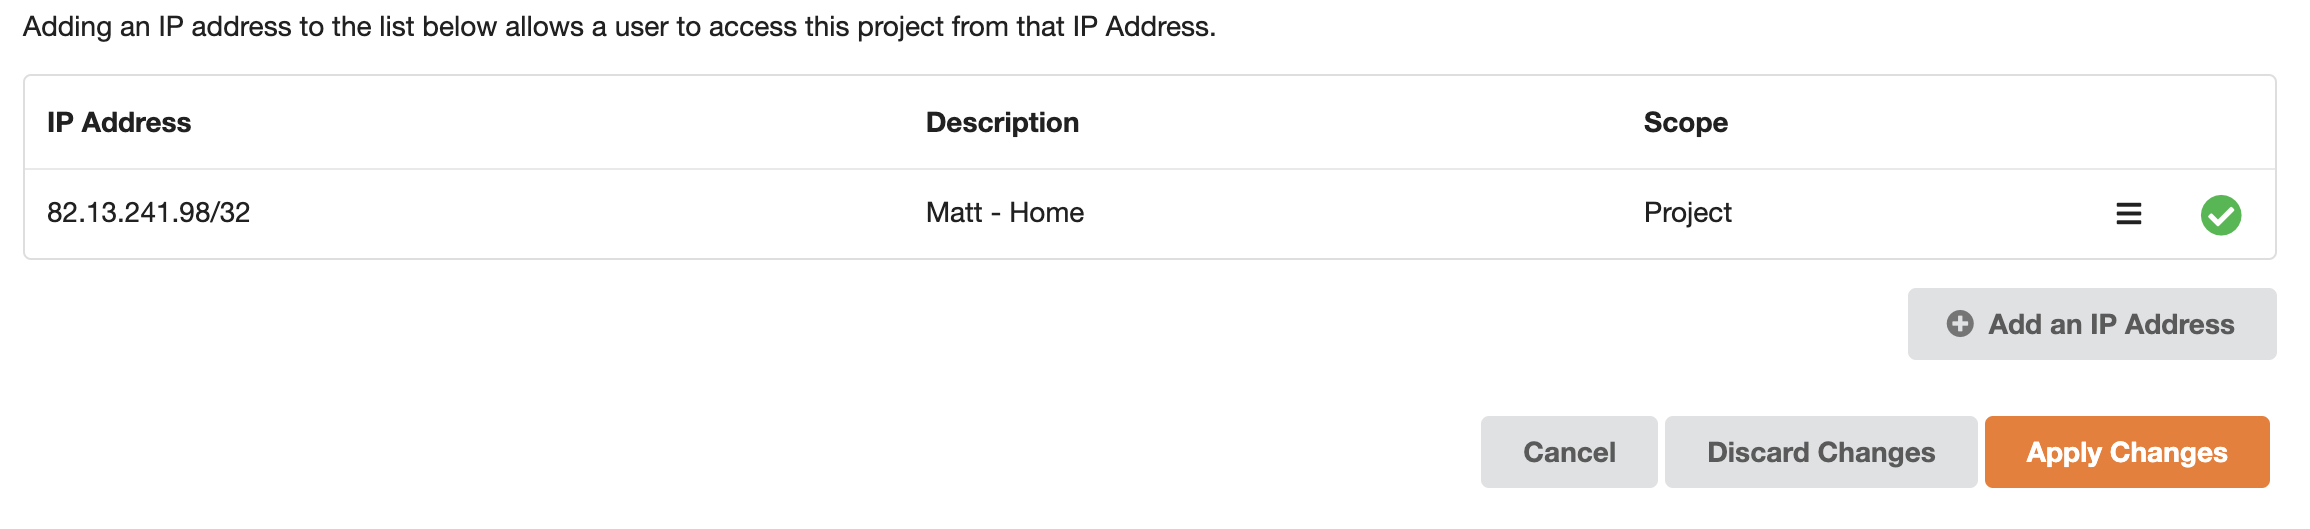
Note the white tick in the green circle next to the first IP address in the list. This indicates that the IP address has been successfully built into the Sherpa Display Gateway firewall rules for this project.
At the bottom of the page click the Add an IP Address button.
A new line will be added to the Allowlist. Fill in the user’s IP address followed by /32 and a description for that address. We would recommend using the user’s name in the description to aid in finding it at a later date. In the Scope dropdown, select Display Gateways. This will give the user access to their workstation through the Display Gateway.
You can add more than one entry at once by clicking the Add an IP Address button again.

Once you are happy with the entries you are adding click the Apply Changes button. Then confirm you want to apply your changes. The request to add the IP address will initially go into a Saved state.
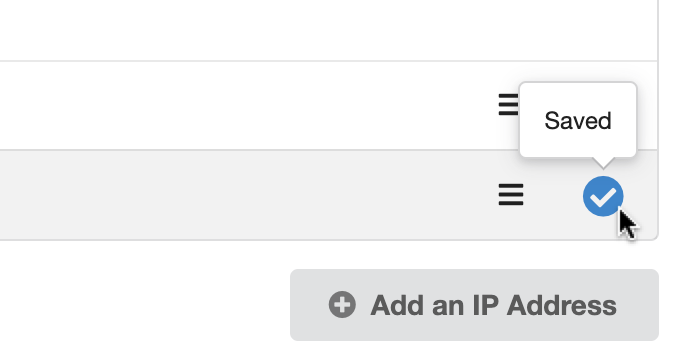
Followed shortly by a Building state.
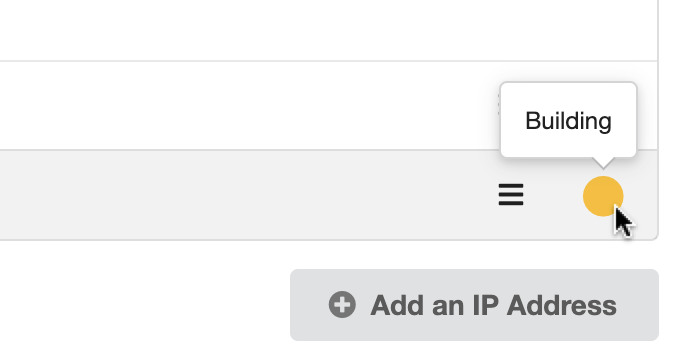
And finally a Built state.
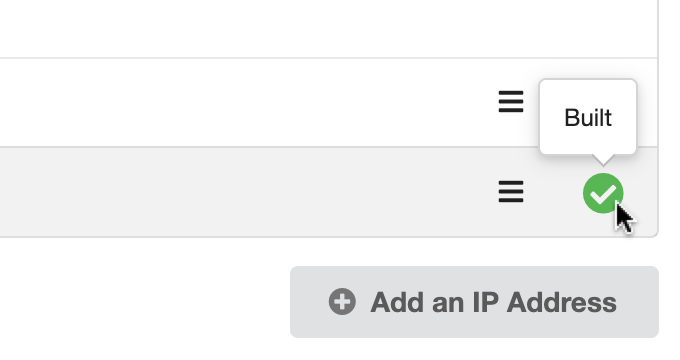
Only when there is a green tick next to an IP address has it successfully been added to the Sherpa project’s allow list.
Edit an entry in the allow list
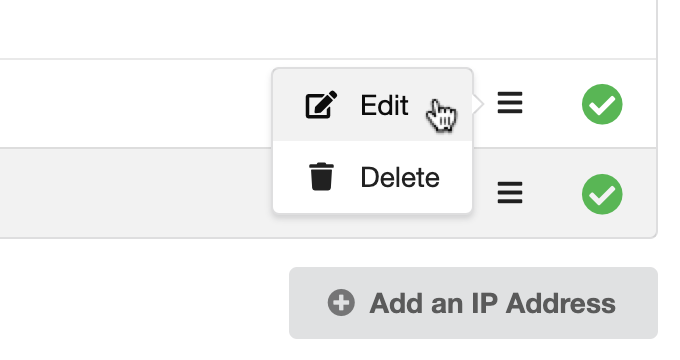
IP Addresses can be edited or removed from the list of Allowed IP Addresses using the drop down menu at the end of each line. Just remember that you will need to press the Apply button again once you are happy with your updates in order to save your changes.
Inviting a user to a workstation
Once you have added a user’s IPv4 Address to the Sherpa project’s allow list, you are ready to invite the user to a workstation.
From the Sherpa Project Details page, navigate to the Resource Details page for the workstation by clicking on the workstation name.
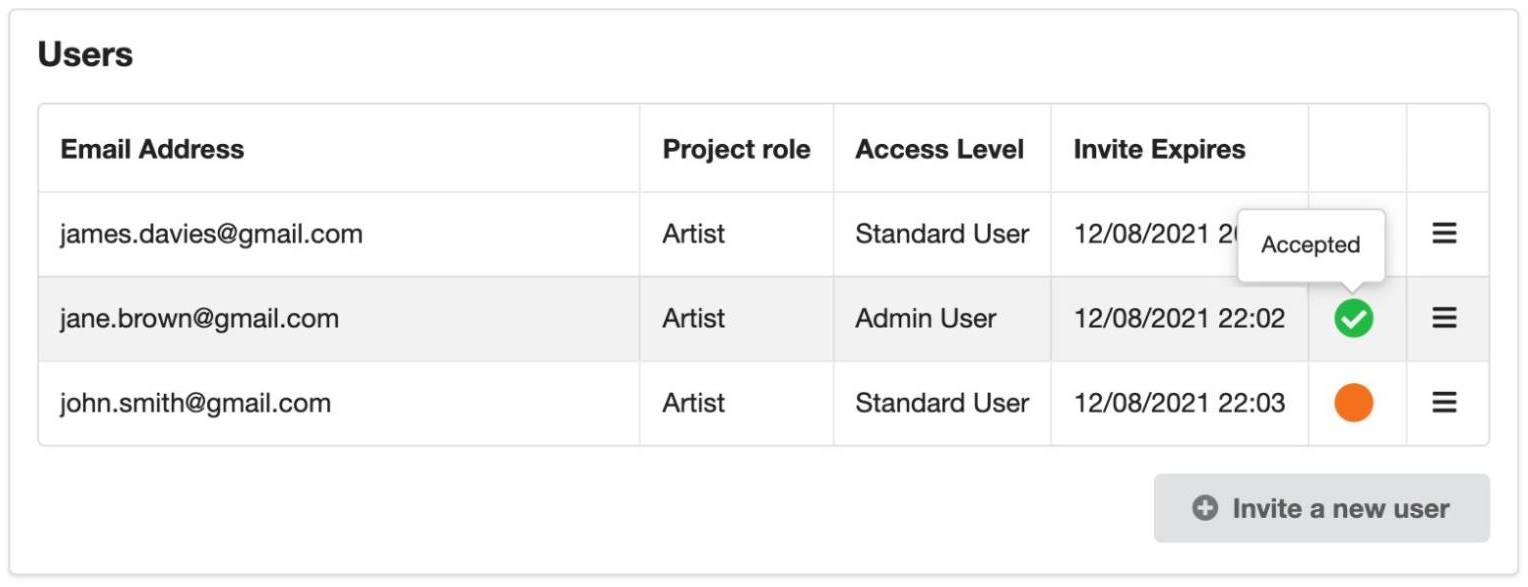
Scroll to the bottom of the workstation Resource Details page until you see the Users section.
Any users that have already been invited to this workstation will be listed here, along with the status of their invite.
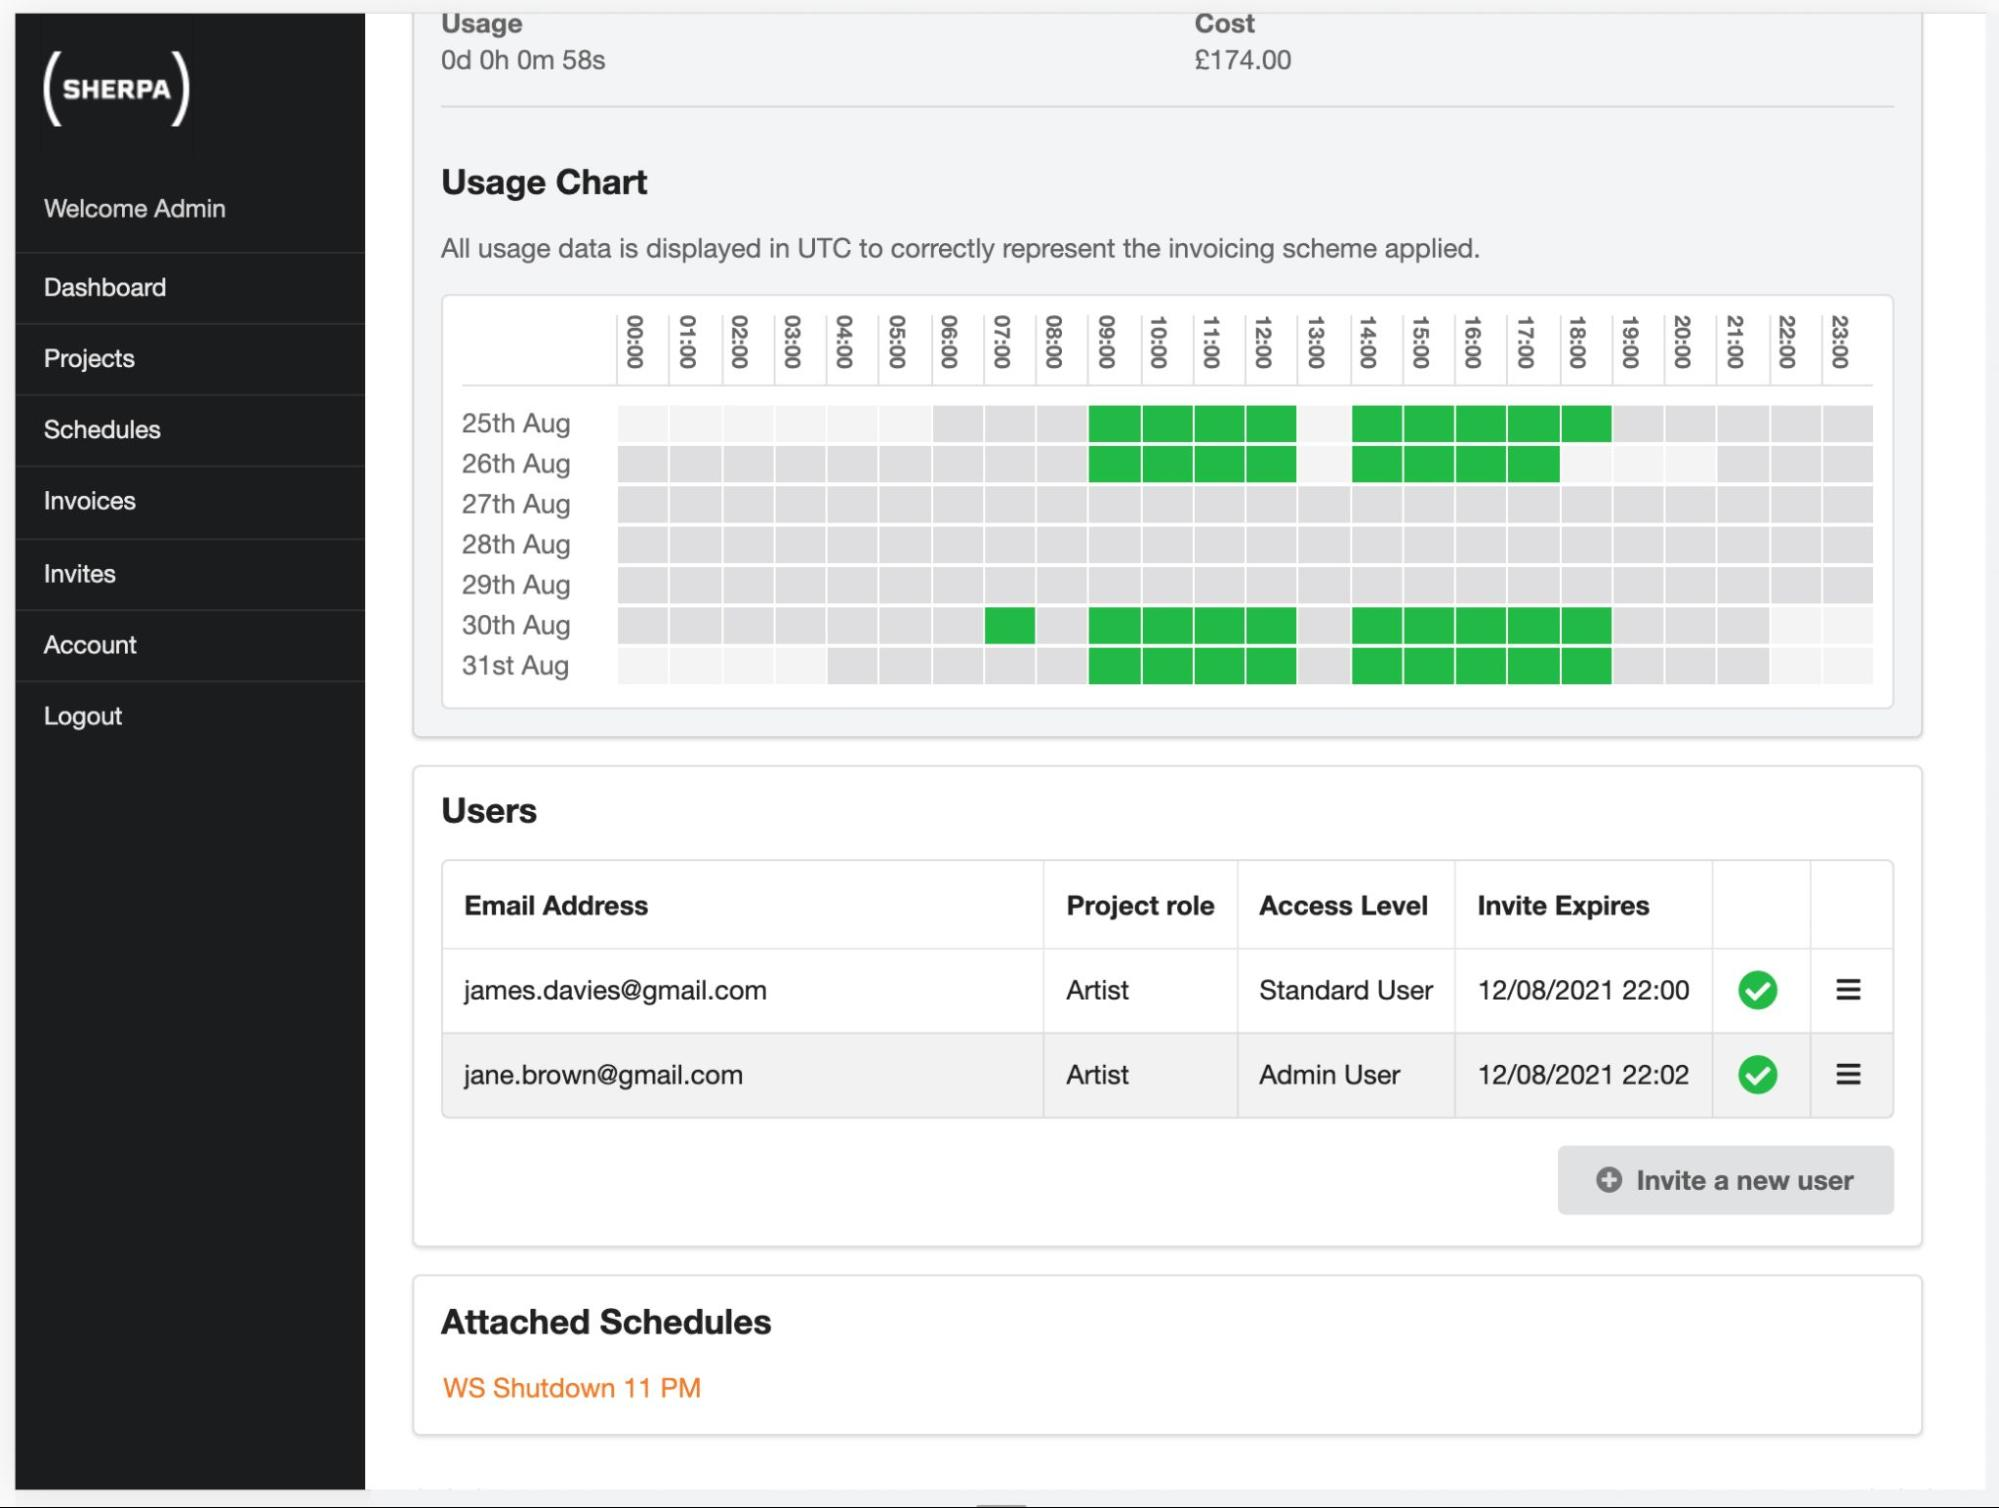
Click on Invite a new user to begin adding a new user to the workstation.
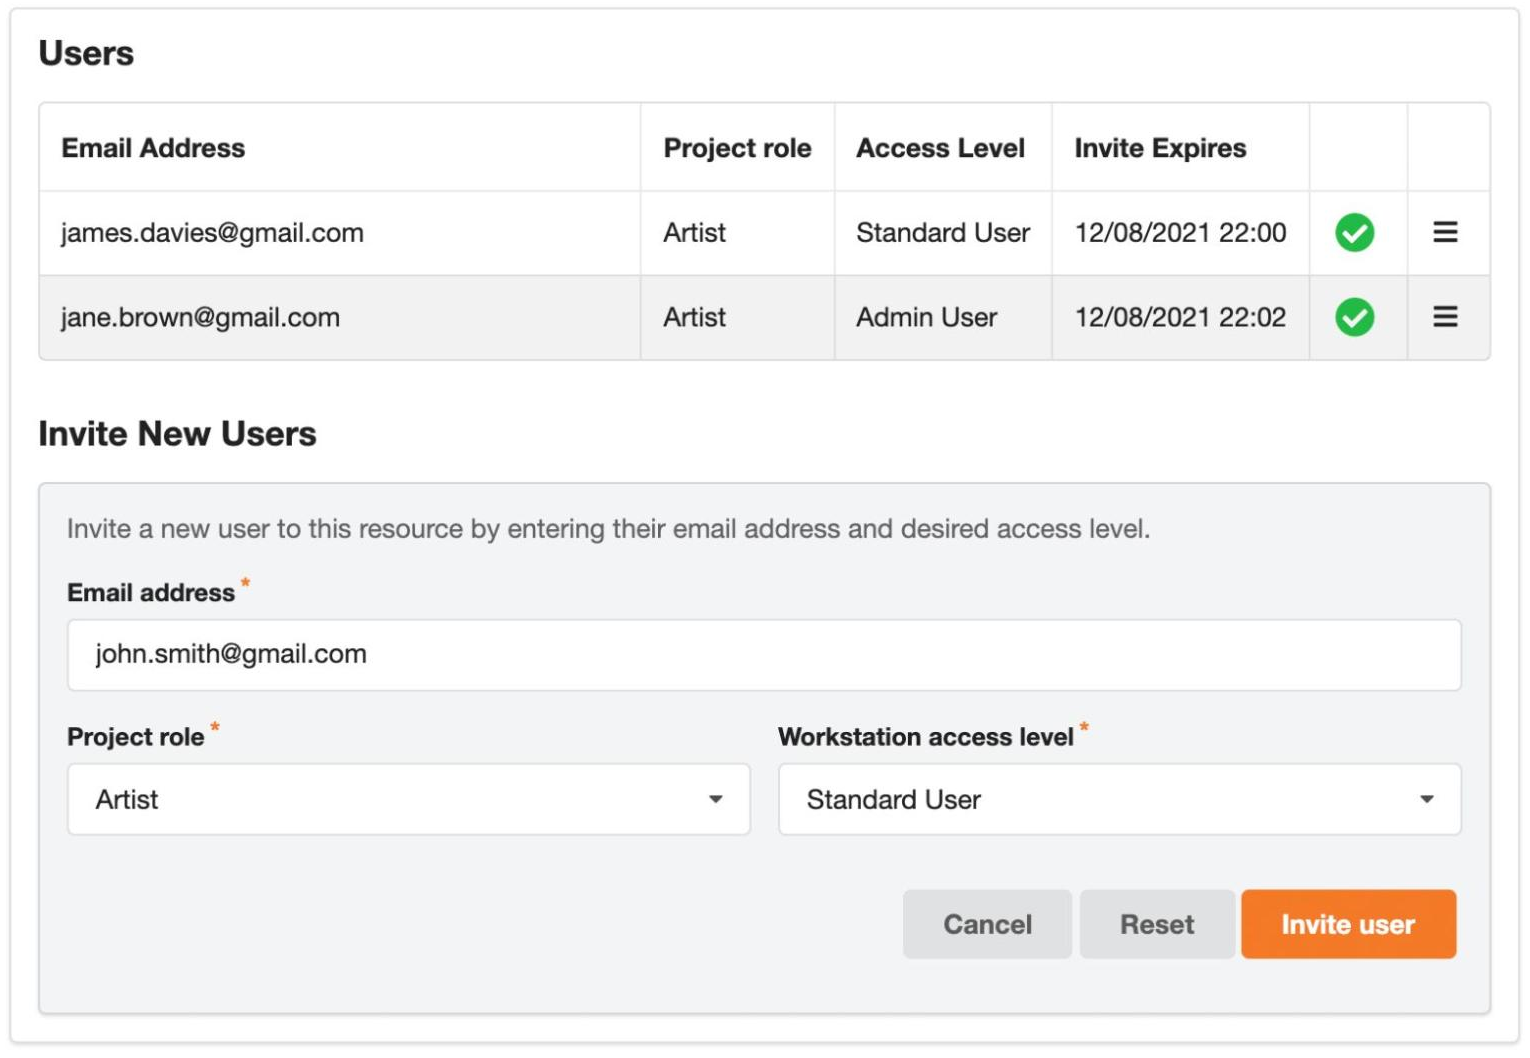
Enter the email address of the user you would like to invite.
Next select Artist from the Project role dropdown. This role is used to restrict what operations the user is able to perform within their Sherpa account to only those needed to use their workstations.
There are other roles available as explained in the section at the bottom of this document. From a security perspective you should apply the Principle of Least Privilege and give an individual minimal privileges. If in doubt, always use the Artist role from the Project role dropdown.
You will also need to select the Workstation access level you would like this user to have when using the workstation itself. The exact implementation of this is dependent on the operating system you have selected for this Workstation. Broadly speaking a Standard User account will allow use of the installed software while an Admin User will also have the ability to modify and update the software and configuration of the workstation.
When you are happy with the details you’ve provided click Invite user, then confirm that the details you’ve entered are correct.
An email will be sent to the address you entered containing a link inviting the new user to the workstation. The user can accept the invite by following the instructions in the email. Alternatively they can accept the invite by logging into their Sherpa account at https://sherpa.app.escape-technology.com/.
Checking the status of an invite
Invites have four main states.
| State | Description |
|---|---|
| Pending | The invite has been sent to the user but has not yet been Accepted or Rejected. |
| Accepted | The user has Accepted the invite and an account has been/will be created on the workstation. |
| Rejected | The user has Rejected the invite and no account was created on the workstation. |
| Expired | The user did not Accept or Reject the invite within 48 hours and the invite can no longer be used. |
You can check the status of an invite in a few ways.
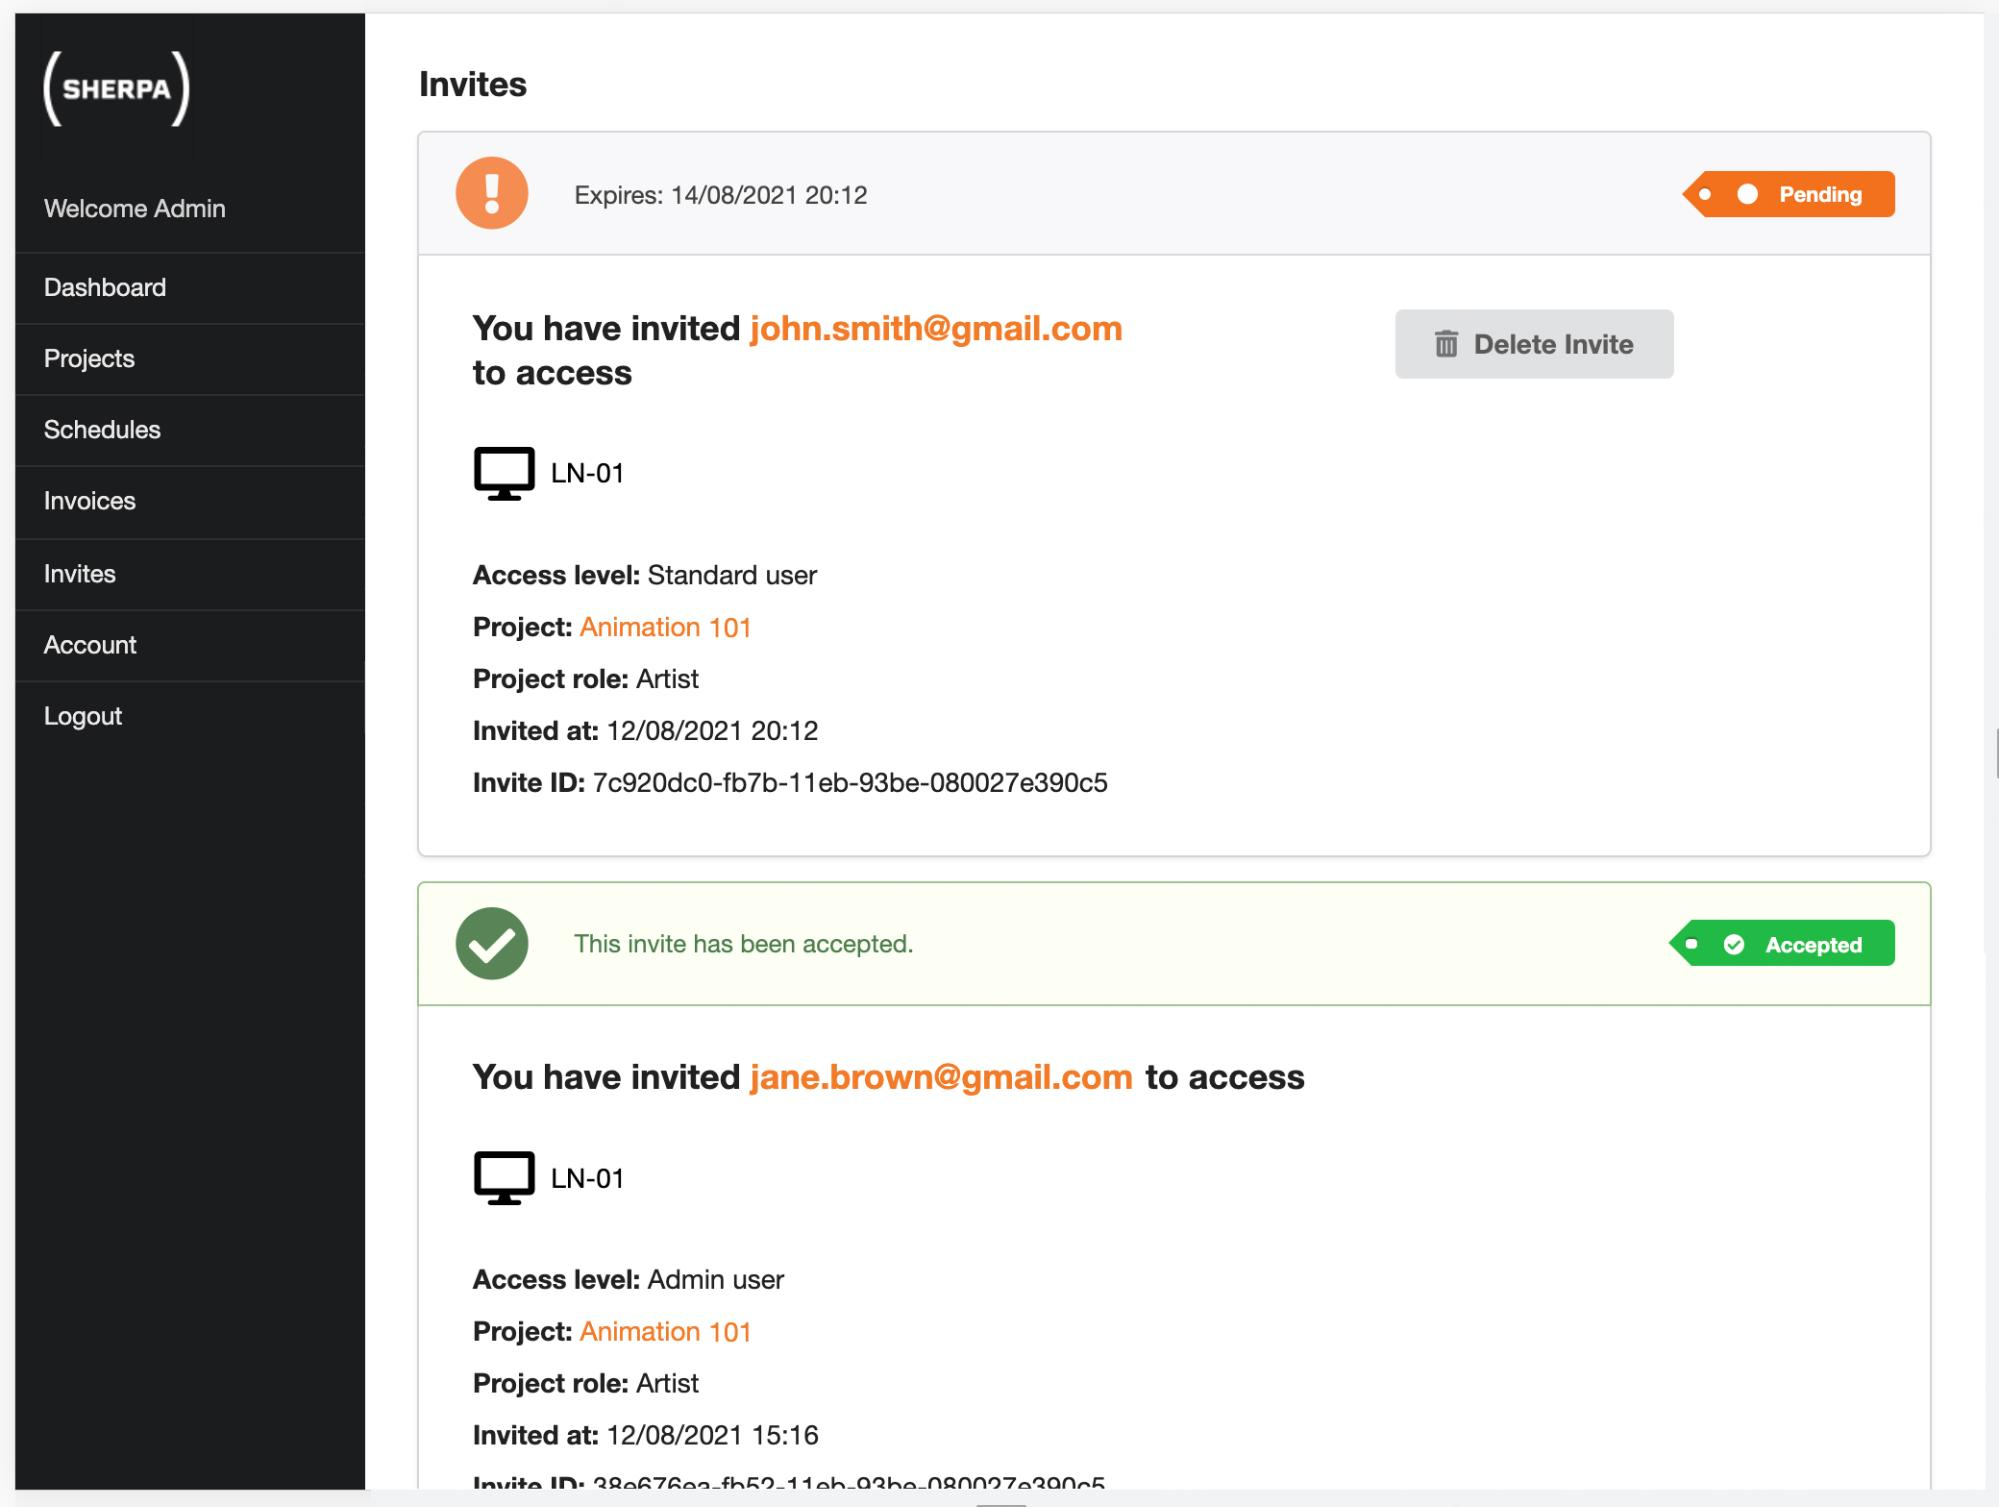
Recent Pending Invites are displayed on your Sherpa Dashboard. Alternatively, you can access the invites overview page via the Invites item in the Main Menu. This displays a paginated list of all your invites including invites inviting you to access a workstation as well as invites that you have created yourself.
You can view the status of an invite and manage it directly from this overview page.
You can also view the status of an invite by hovering over the status dot next to the user entry on the Resource Details page for the workstation.
Removing a user from a workstation
Navigate to the Resource Details page of the workstation whose user you wish to remove.
Scroll down to the User section.
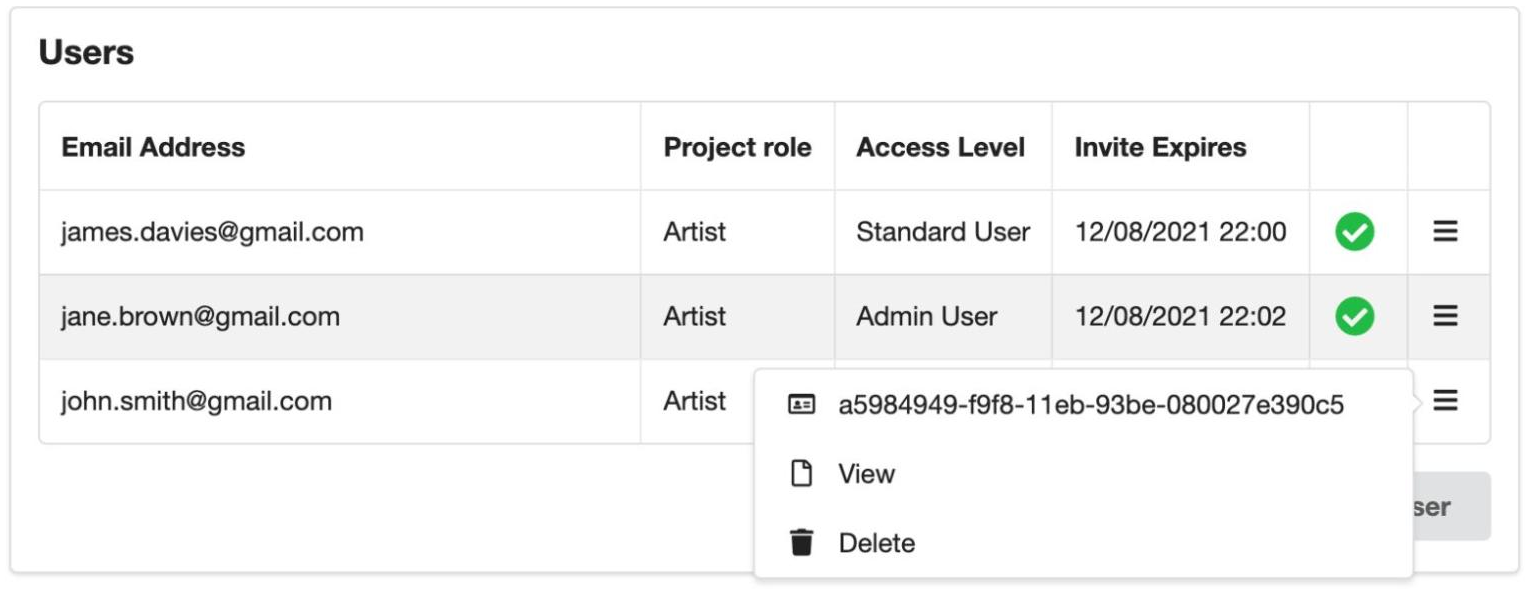
In the right hand column is a dropdown menu containing a list of actions that can be performed on the user. Select Delete and then confirm that you really want to remove this user.
Trouble shooting the invite process
If a user has not received an email then get them to log into their Sherpa account and see if the invite appears in their account.
If they have not received an email and the invite does not appear in their Sherpa account, please check the spelling of the email address you used in the invitation process.
Sherpa project roles and permissions
An overview of the users and roles they posses on a project can be seen by selecting the Users dropdown on the Project Details page:
 The project roles are as follows.
Artist
An Artist can only see their workstations in a Sherpa project. They can stop and start their workstation. They can see the status of the Display Gateway. This is important as if the Display Gateway is off, they will not be able to access their workstation.
Coordinator
A Coordinator can see all resources in a Sherpa project. They can stop and start resources in a Sherpa project. They can handle invites and the IP allow list. They can change the size of a resource. They can see pricing.
A Coordinator can not delete or create resources in a Sherpa project.
Administrator
An Administrator can see and do everything.