How do I build my first Sherpa project?
The goal of this exercise is to walk you through creating your first Sherpa project. During the process we will bring to light various decision points and best practices.
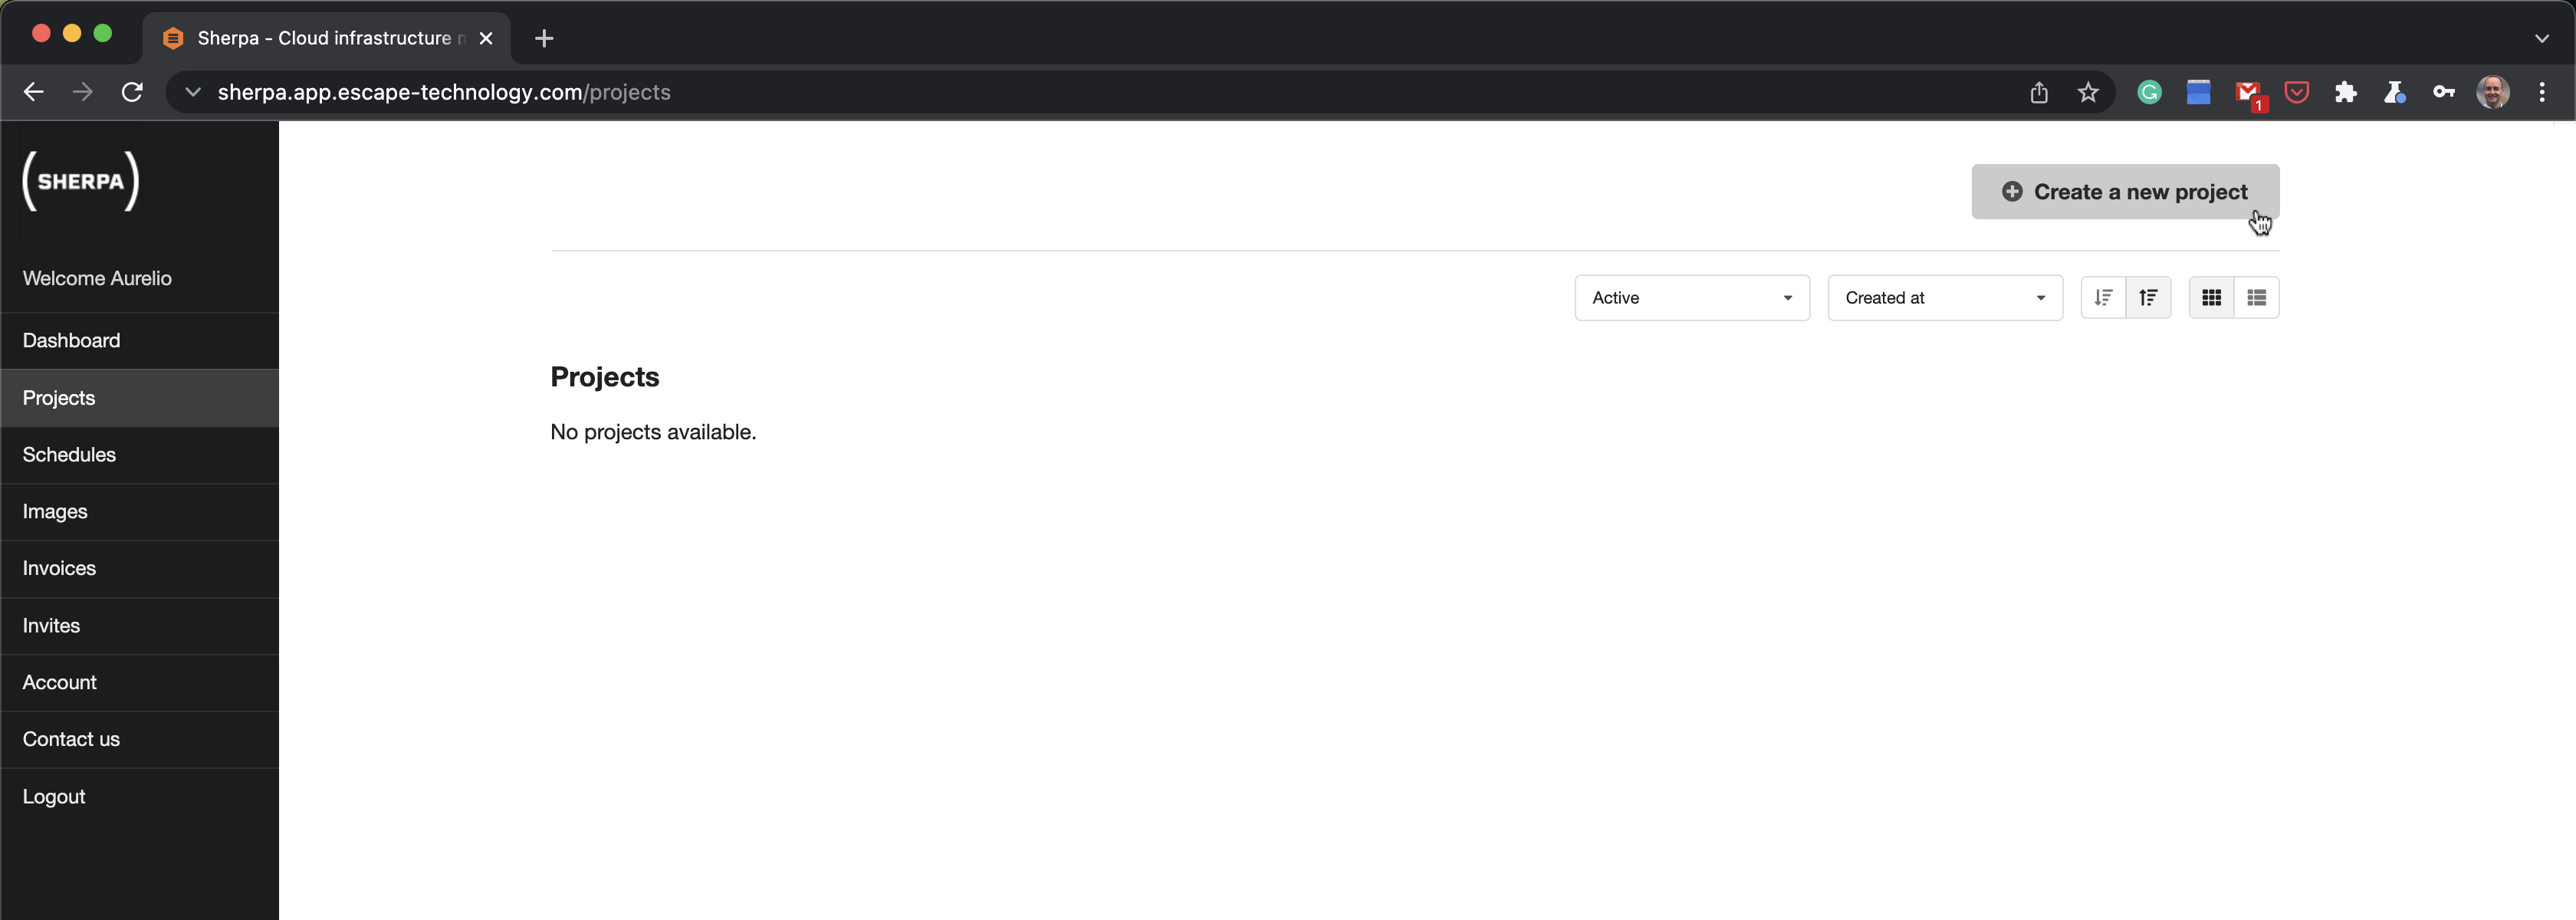
Log into Sherpa using your admin account details. Select Projects in the left-hand menu and then click on Create a new project.
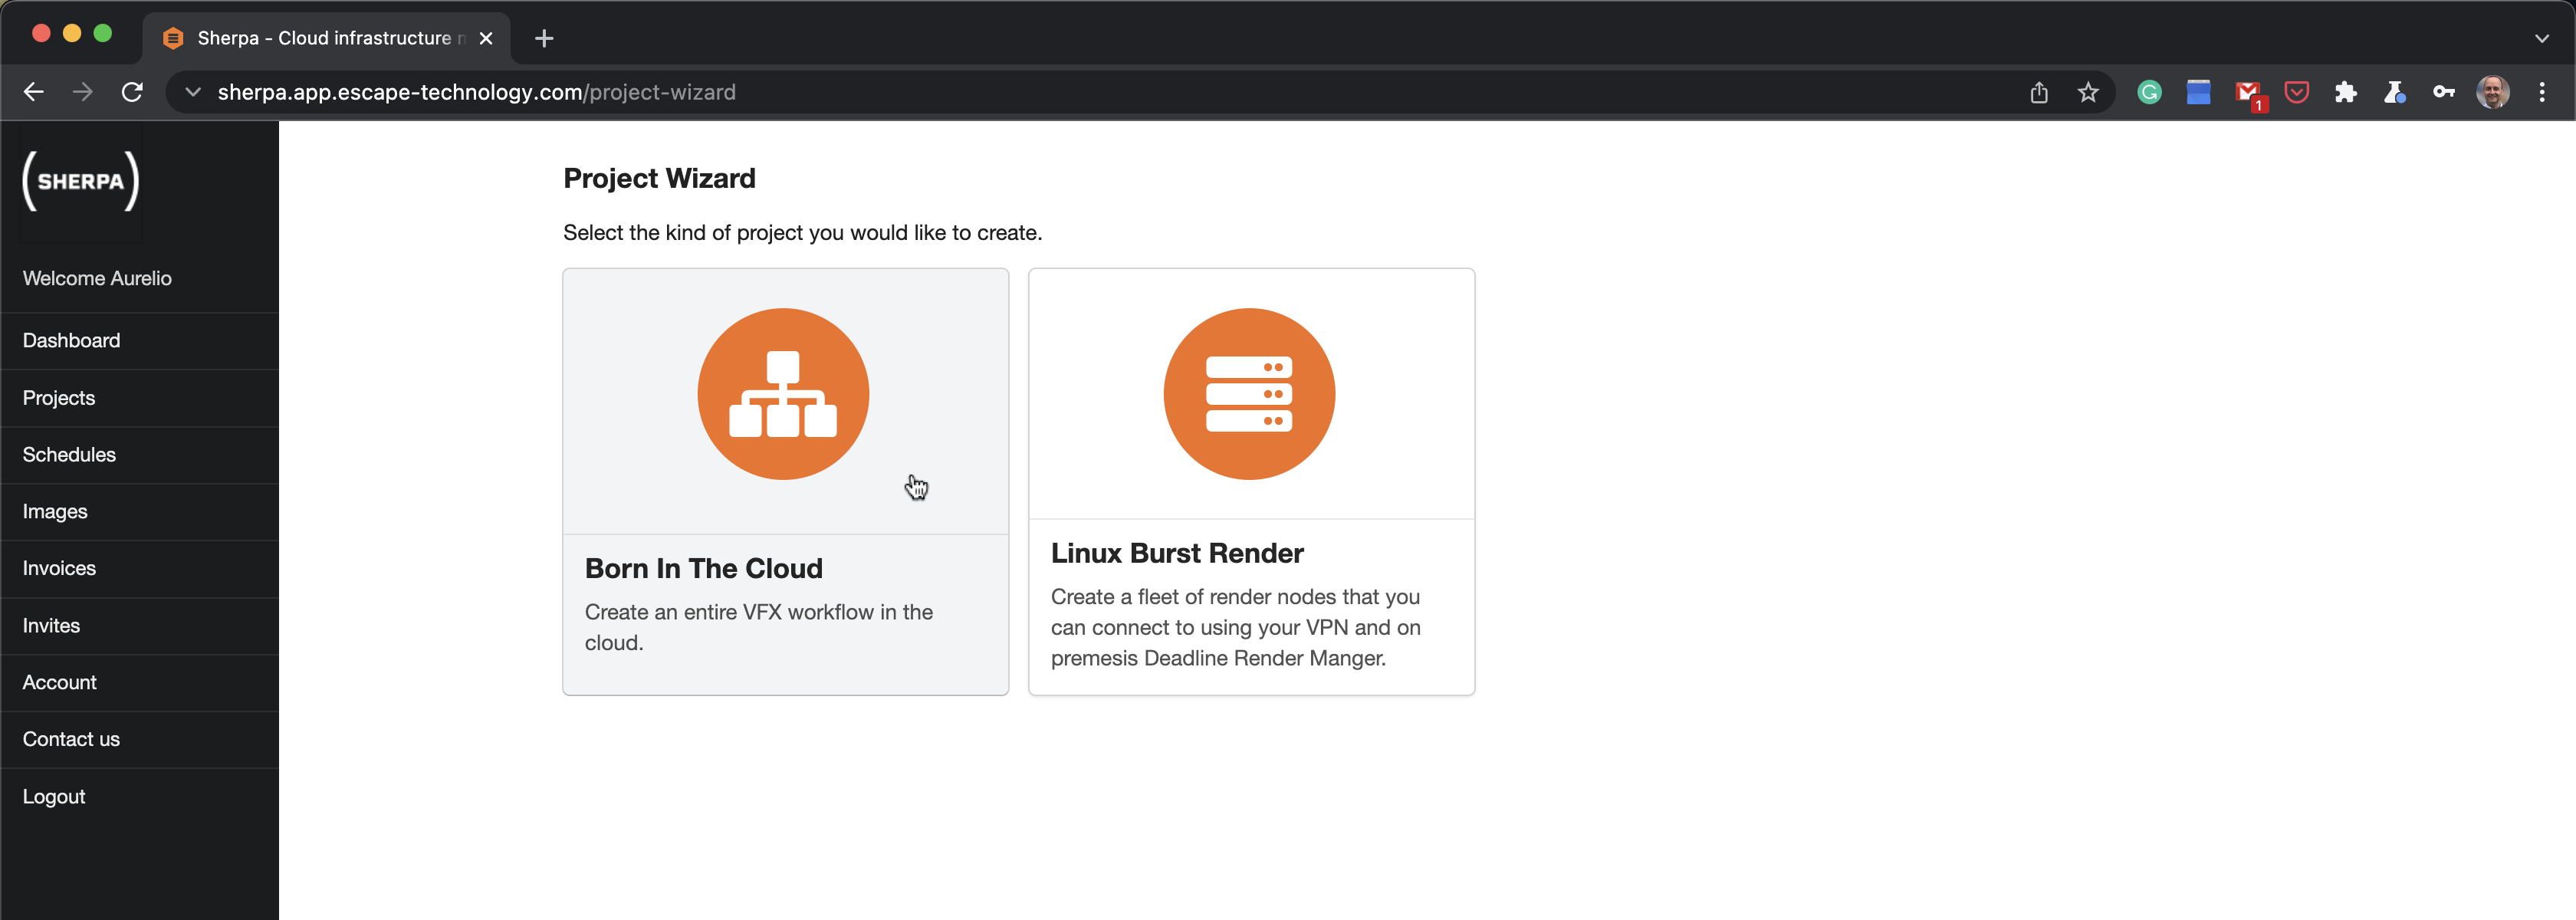
We will be building a Sherpa project that contains all the required infrastructure for a team of creative professionals. Select Born In The Cloud.
Give the project a Name and select the cloud Provider.
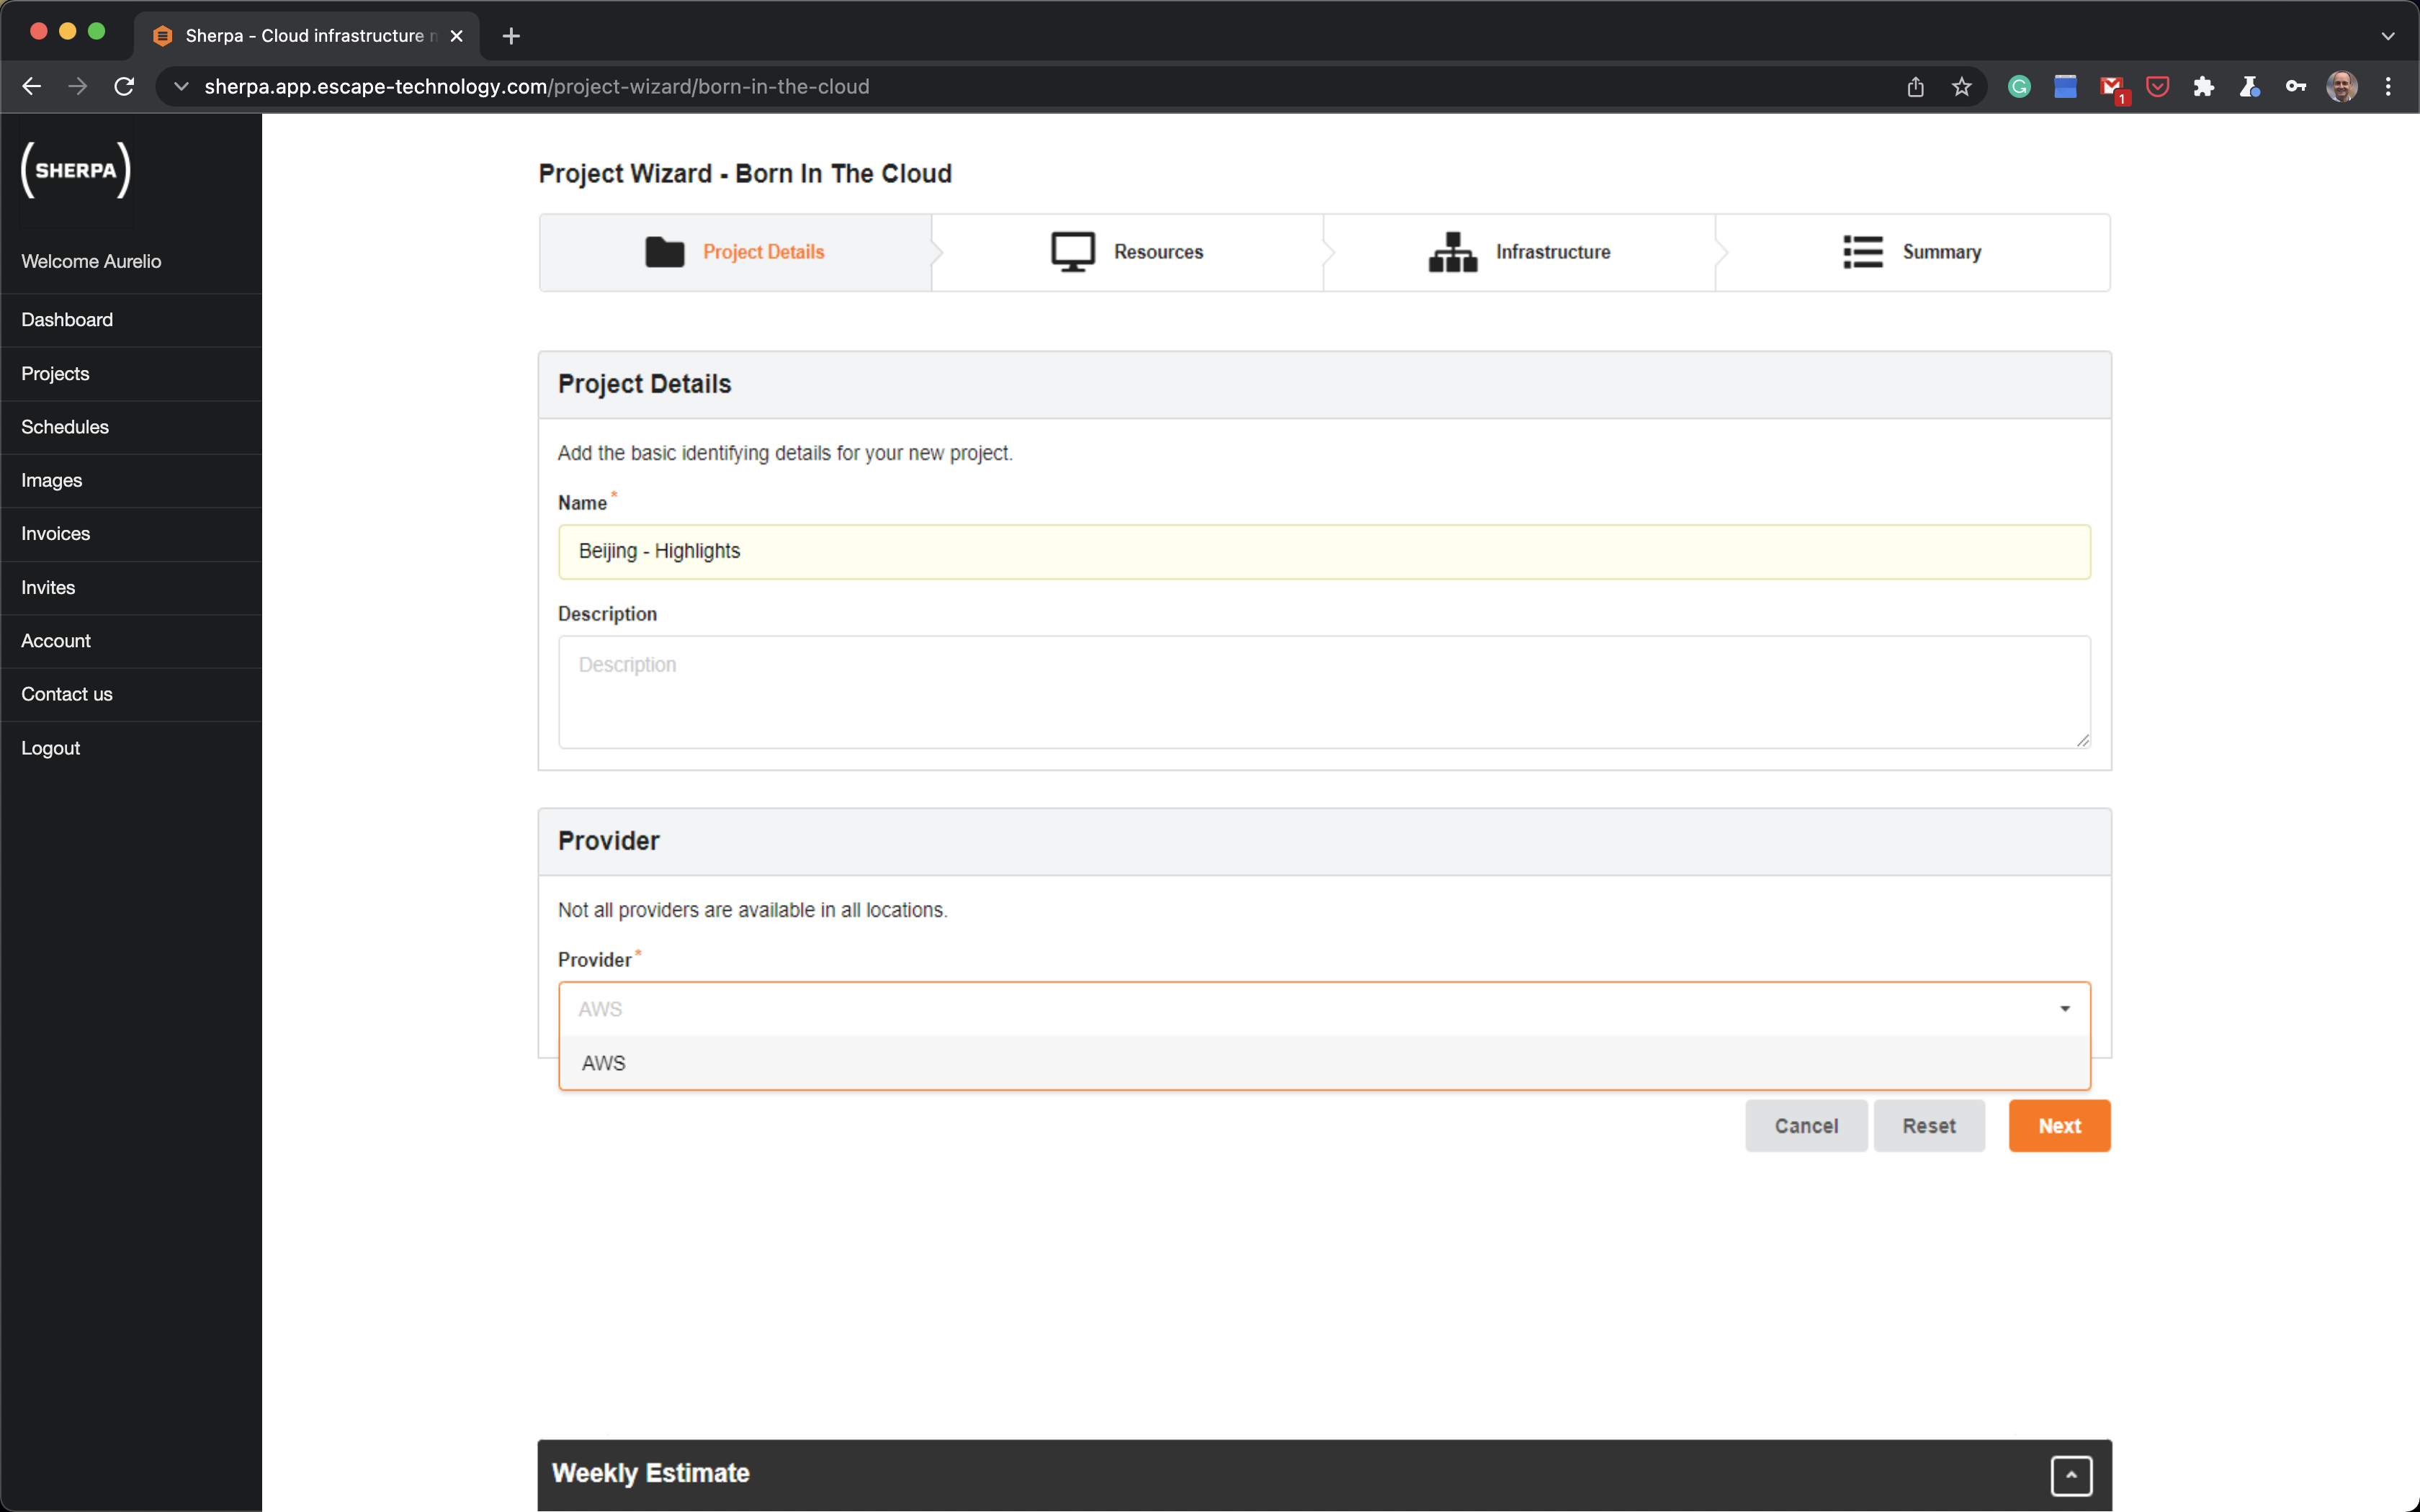
Currently, Sherpa is capable of managing infrastructure in AWS. In the near future it will be capable of handling infrastructure in other cloud providers.
Sherpa can manage infrastructure in any location run by the cloud provider. By default you will be shown a small subset of what is available.
Select a location that is geographically closest to the bulk of your team.
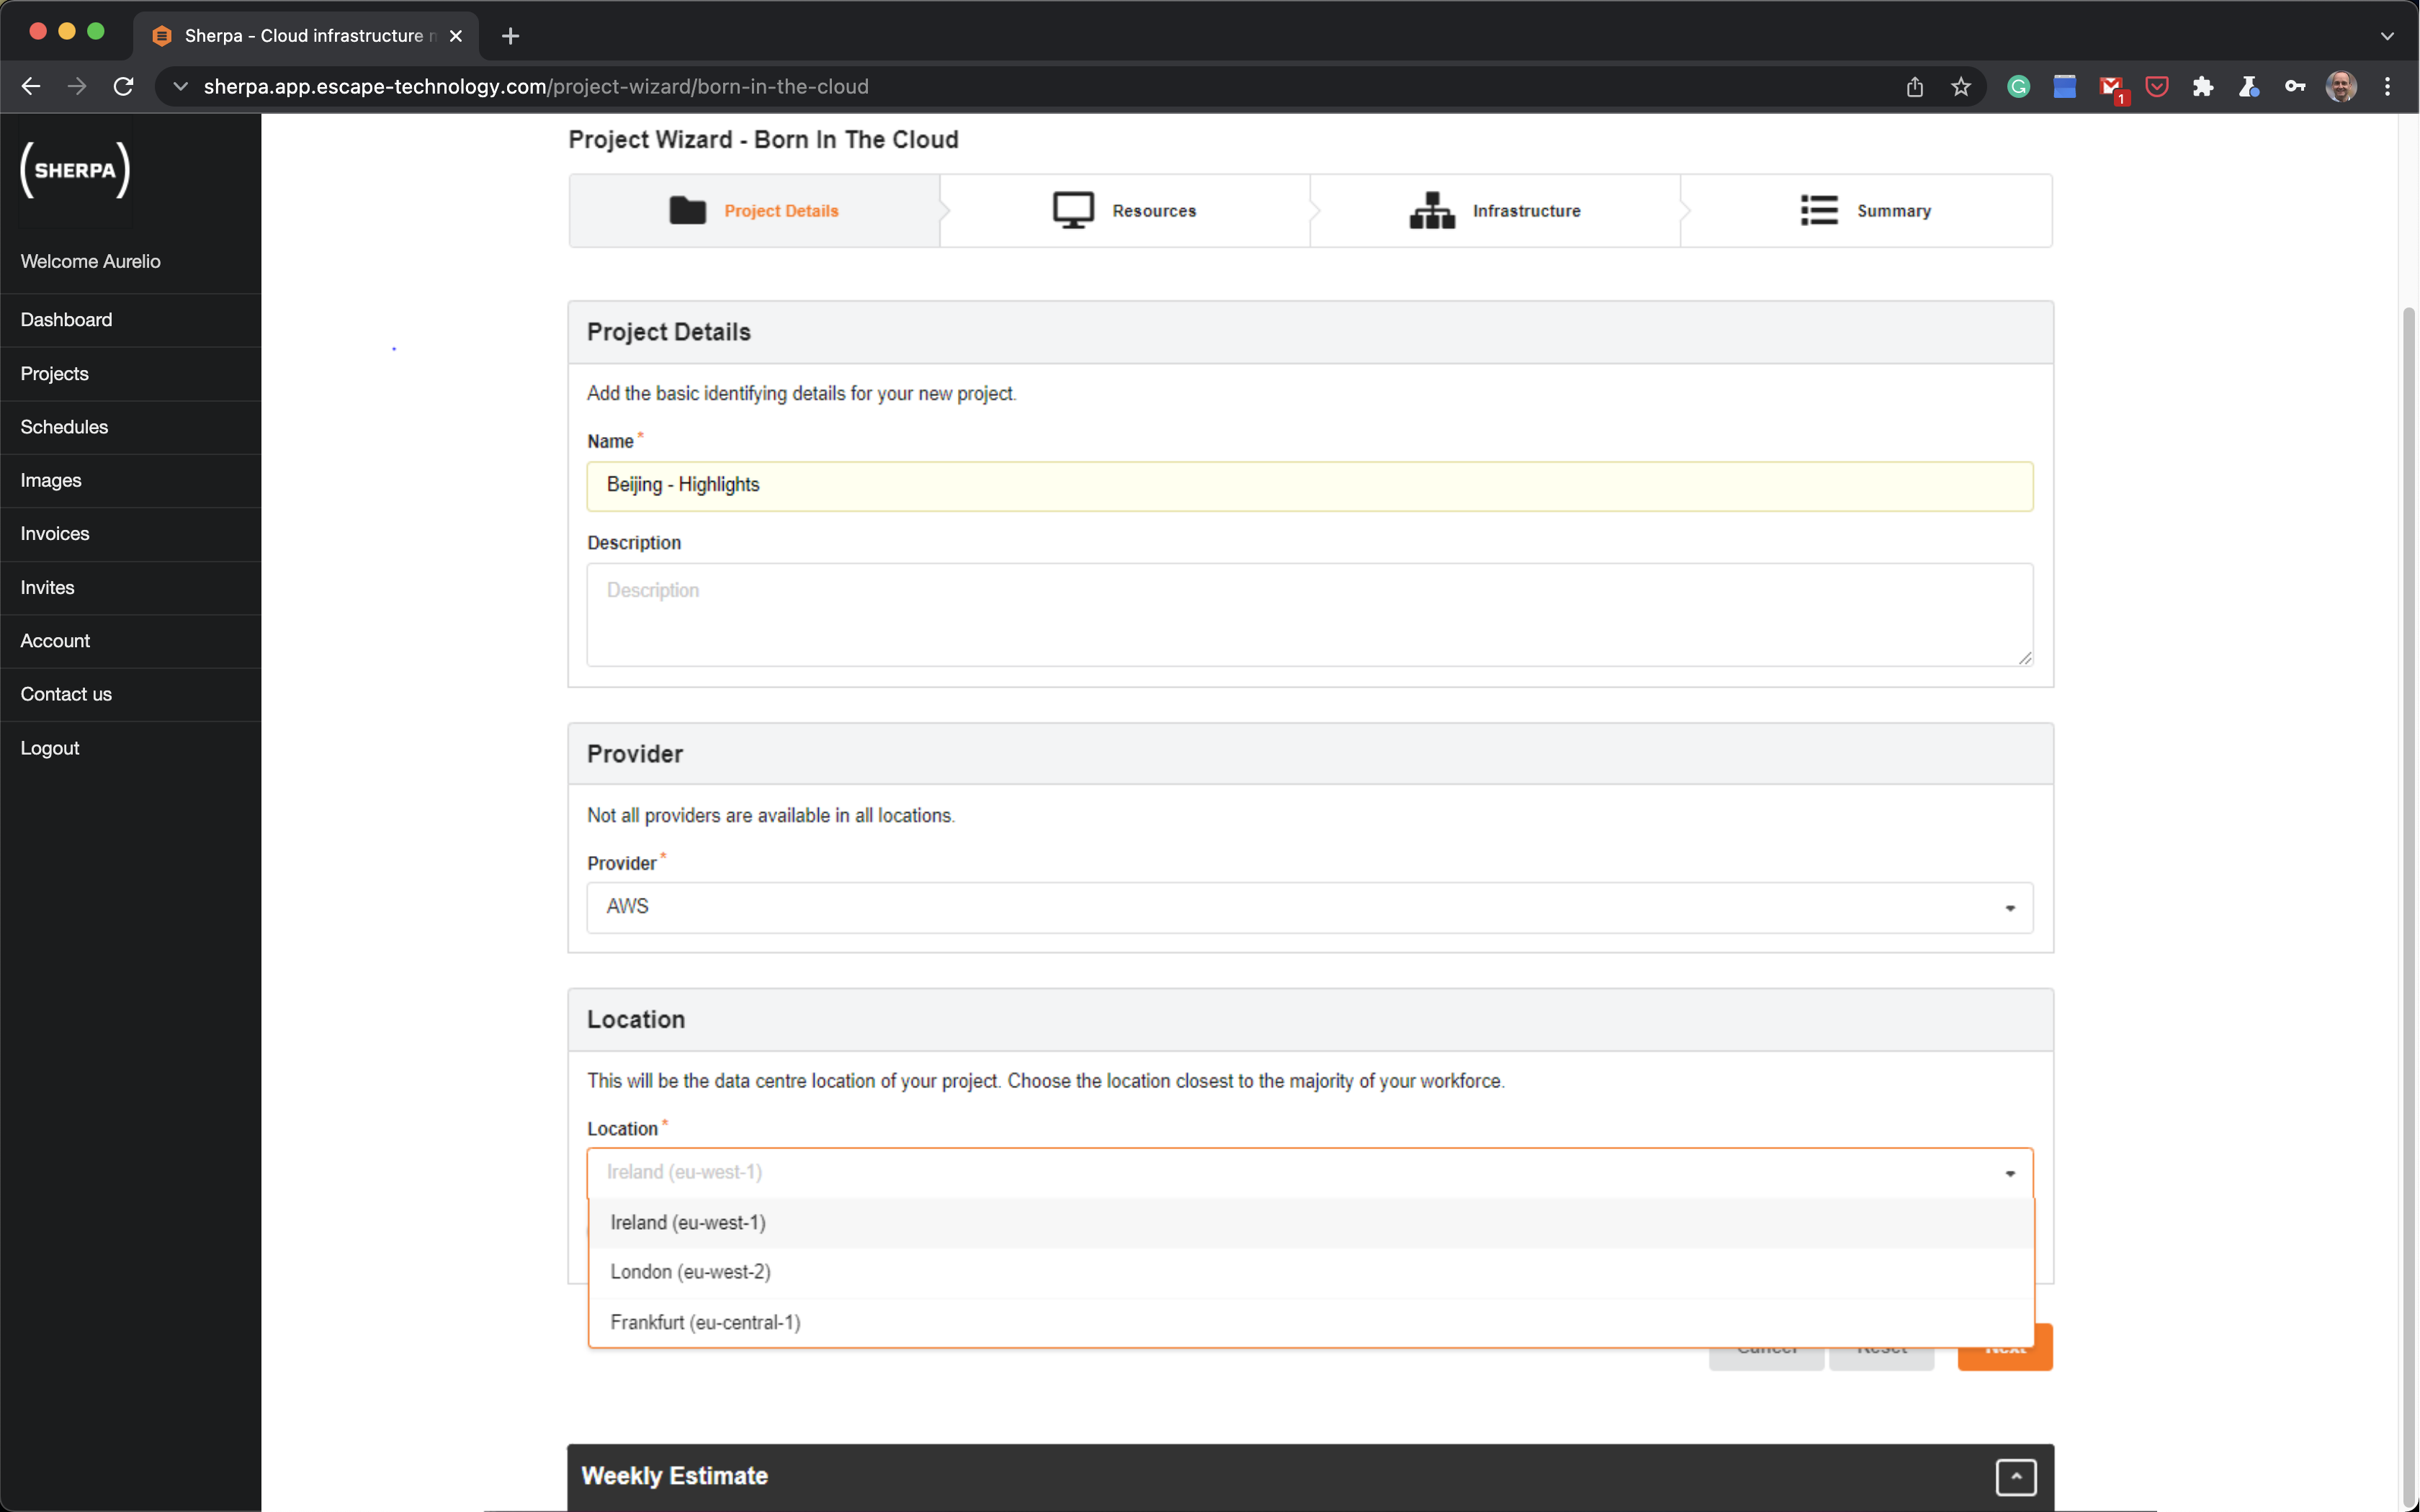
Choosing a location close to you will minimise the latency and lead to a better user experience. If the locations listed seem too far away for you, we can make other locations available to you.
Press Next.
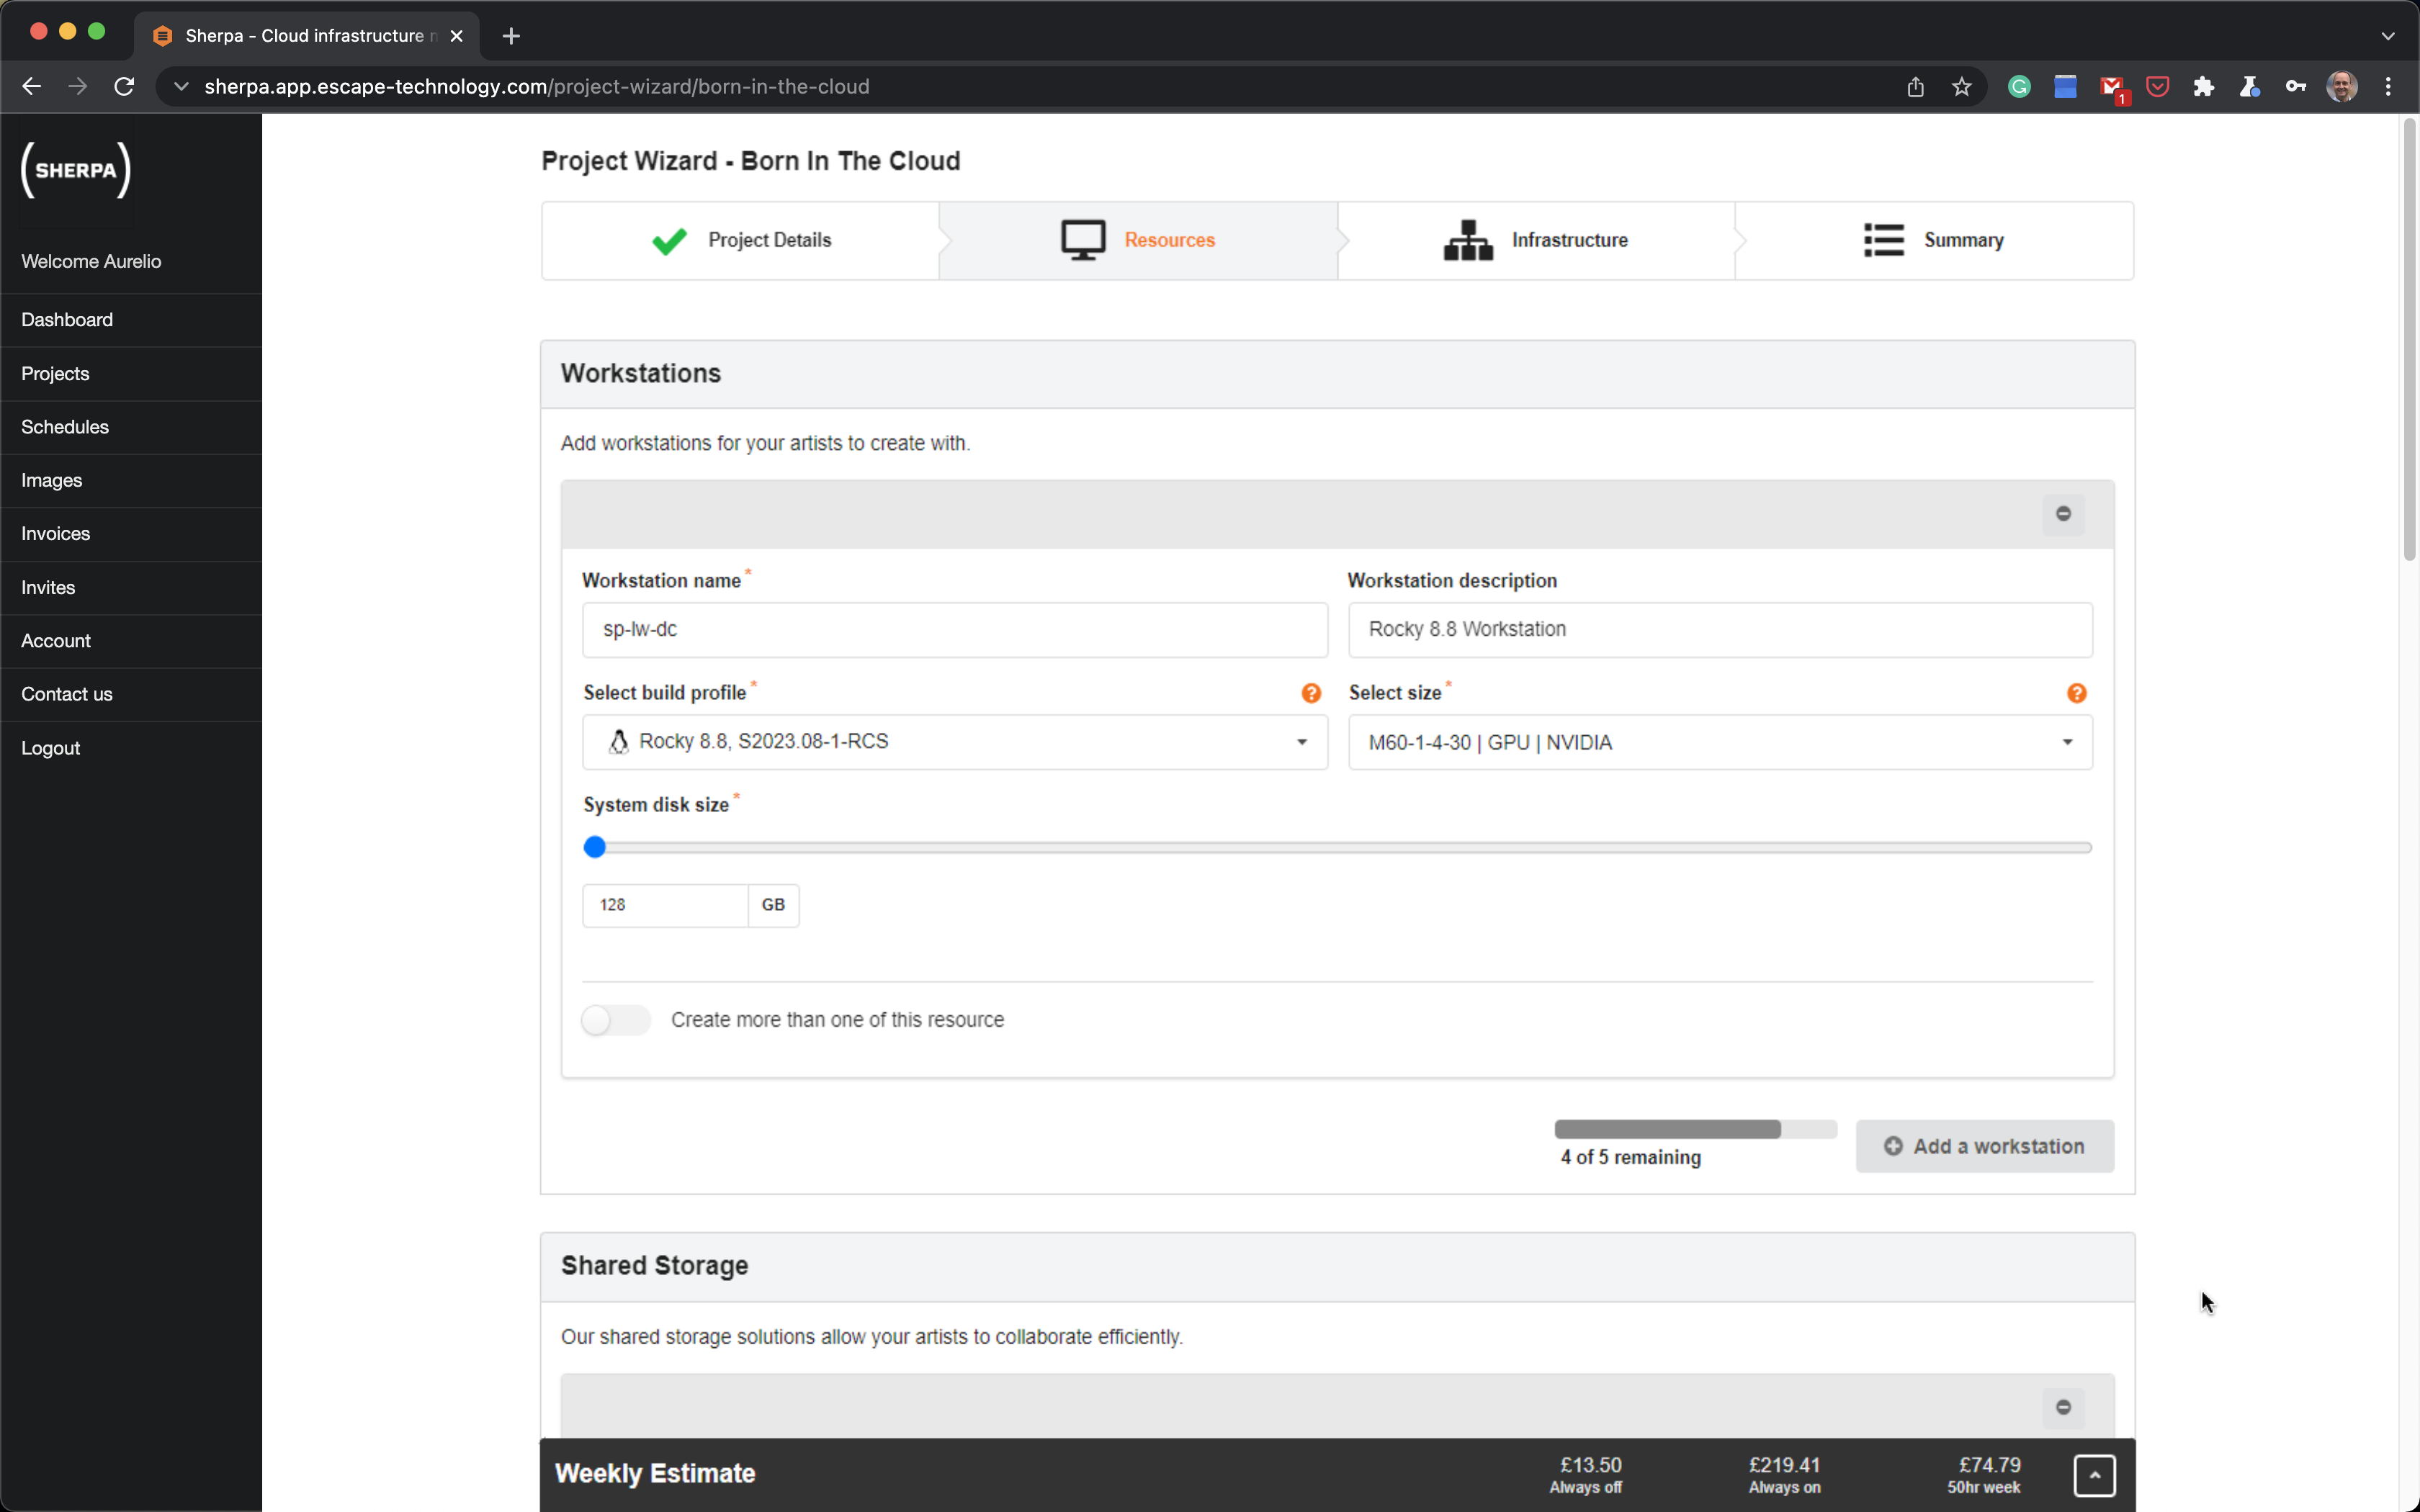
On this page you will now be presented with a kit of parts; Workstations, Shared Storage, Render Manager and Render Nodes.
We will be building one of each. This is the normal approach. Once built, we can then install all our favourite software on the workstation and the render nodes and test that everything works as expected. Once it is all built we can create Golden Images of the workstation and render node and then create as many workstations and render nodes of whatever spec is required.
Let’s fill in some details for the workstation.
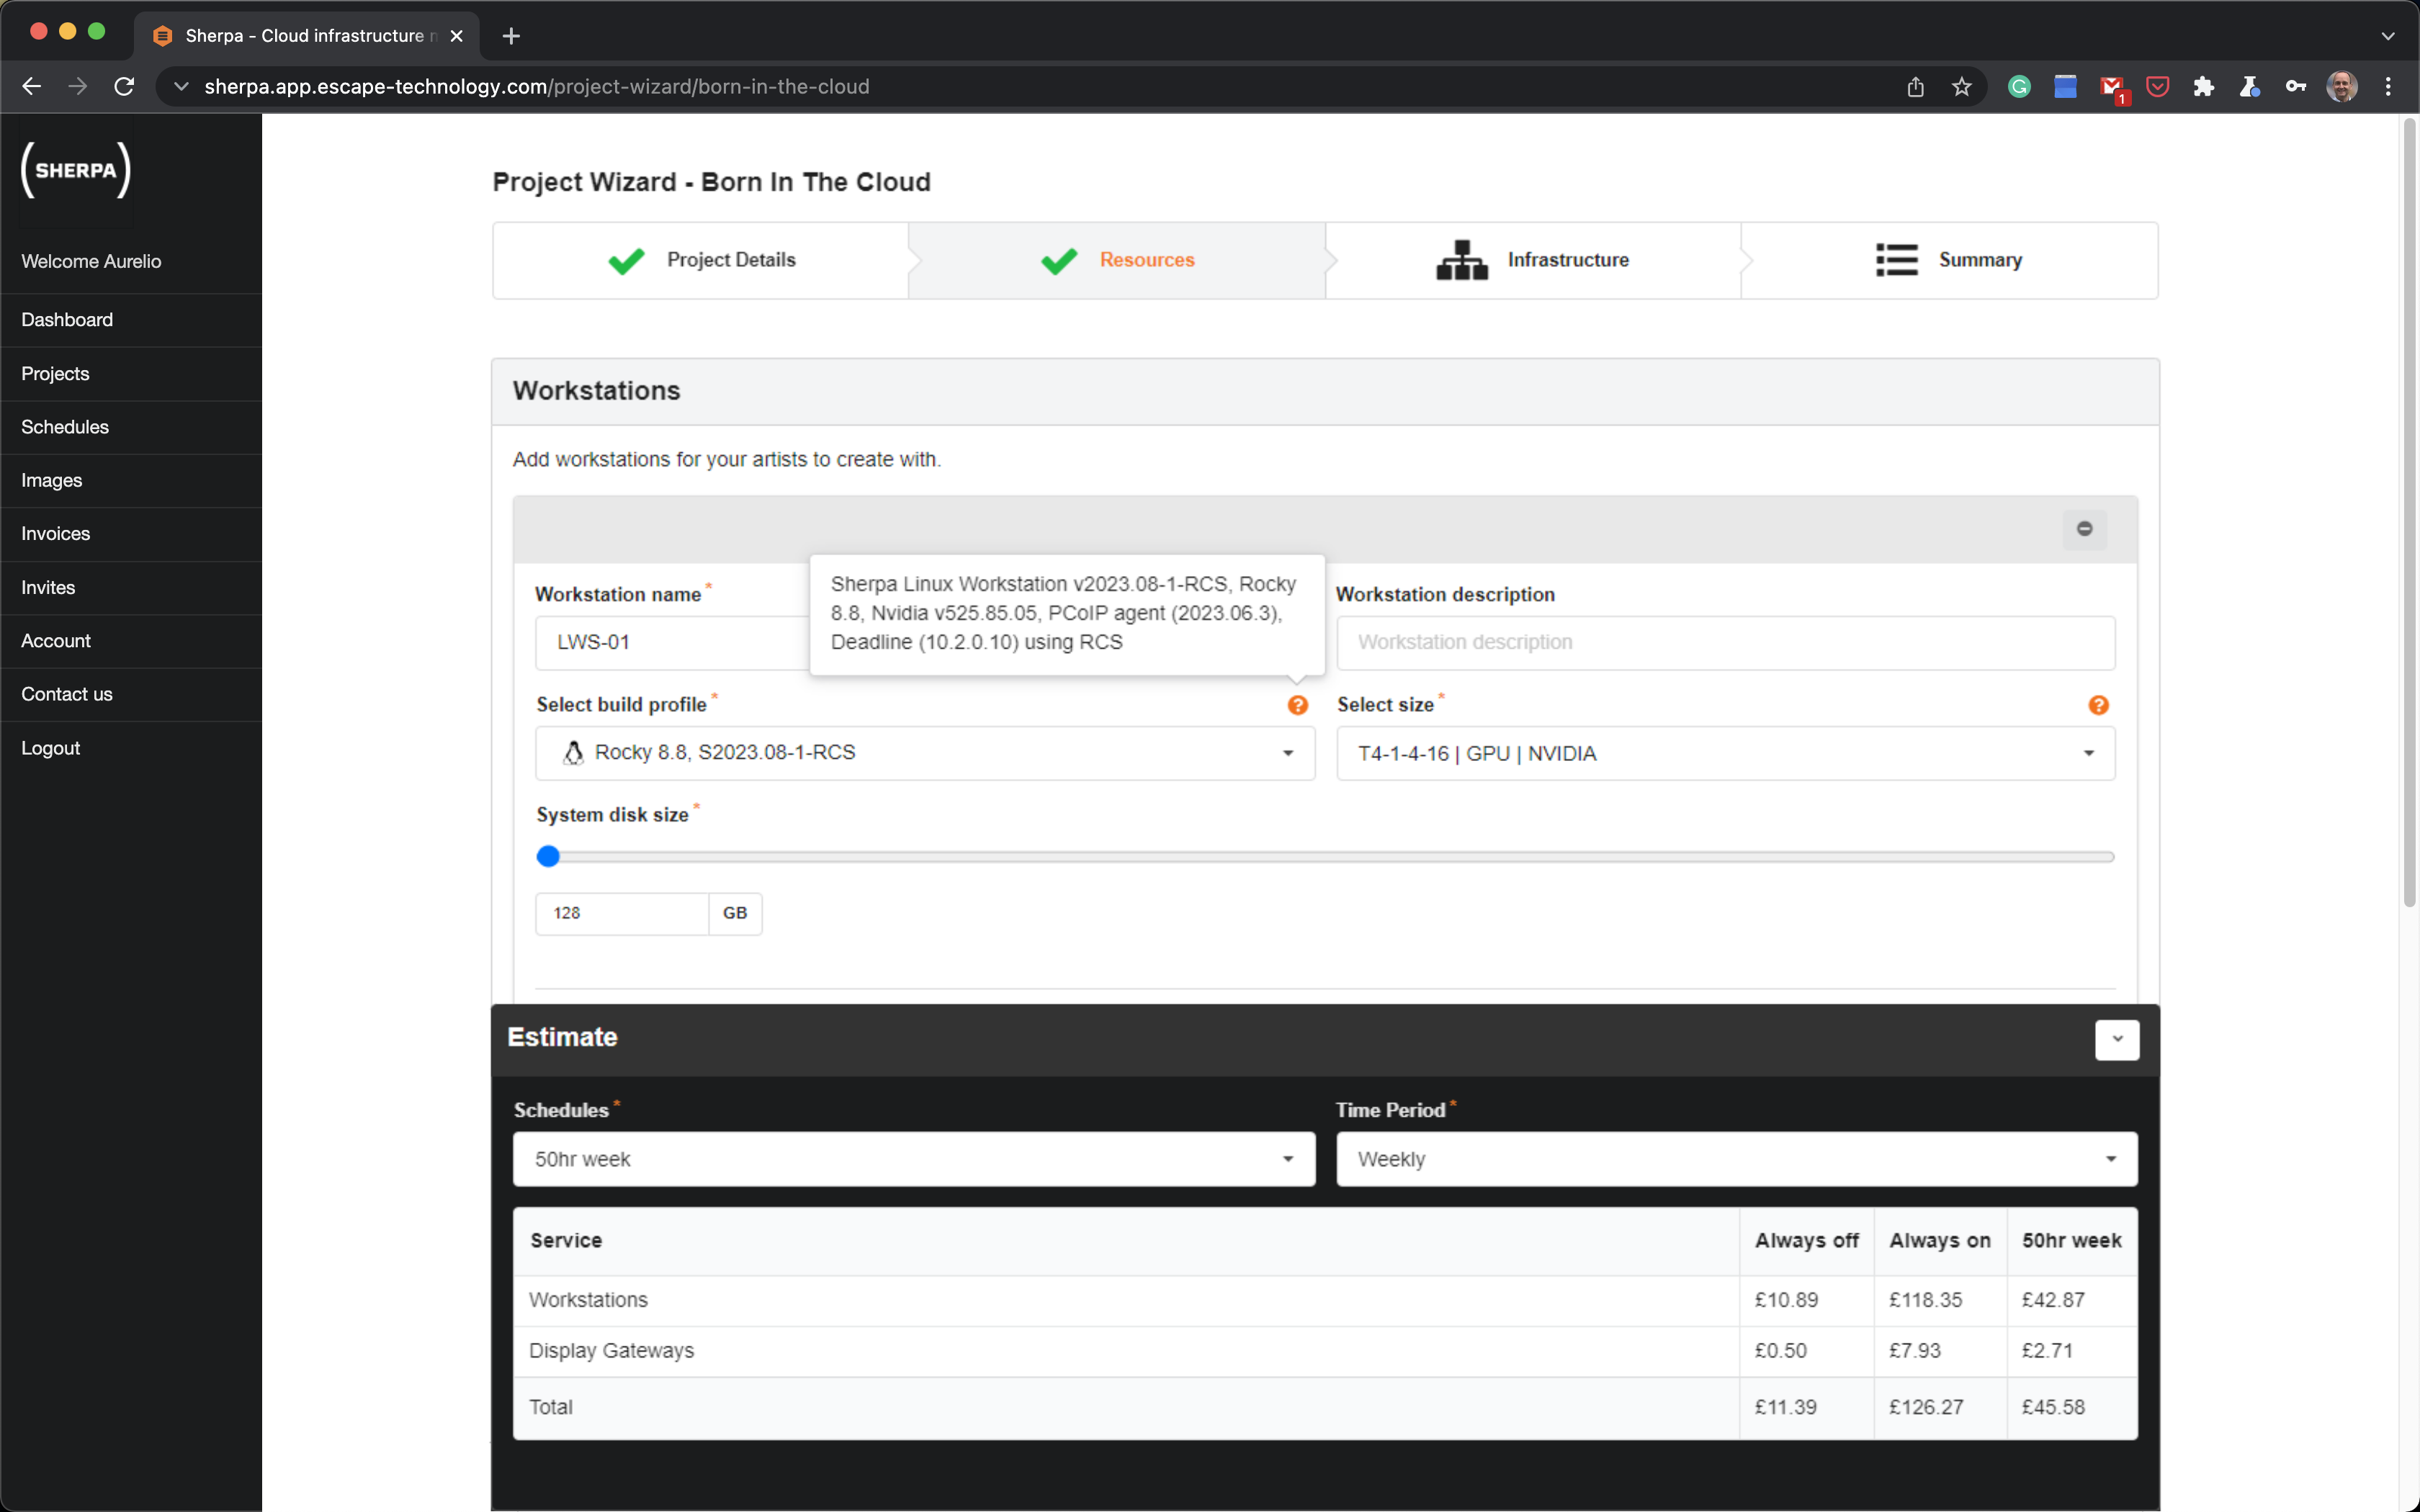
Under Select build profile we can see that we are building a Linux workstation. If the ? icon is clicked/hovered, it will also show us the versions of the PCoIP agent and Deadline client that will be installed.
The pricing is shown as a running total on the bar at the bottom of the screen in a nice simple fashion. In the screen-grab above, we can see that the Workstation will cost us £42.87 if we use it for 50 hours a week. The estimate also shows a Display Gateway. There is one Display Gateway for each Sherpa project. All artists connect through the Display Gateway in order to gain access to their workstations. If the Display Gateway is off, no-one will be able to access their workstations.
If a workstation is off, there is still a small charge associated with things like software licensing costs and storage. If you wish to pay nothing for your workstation you should delete it. Generally speaking the cost of a workstation that isn’t being used so generally it is OK to leave it sitting there and switched off.
Managing costs in a cloud environment is all about right-sizing. Given that this is your first Sherpa project and you are just experimenting, keep everything small.
Let’s complete the configuration for the Shared Storage, Render Manager and Render Nodes. Remember, keep everything small. Note: The ? will offer more information about your selection.
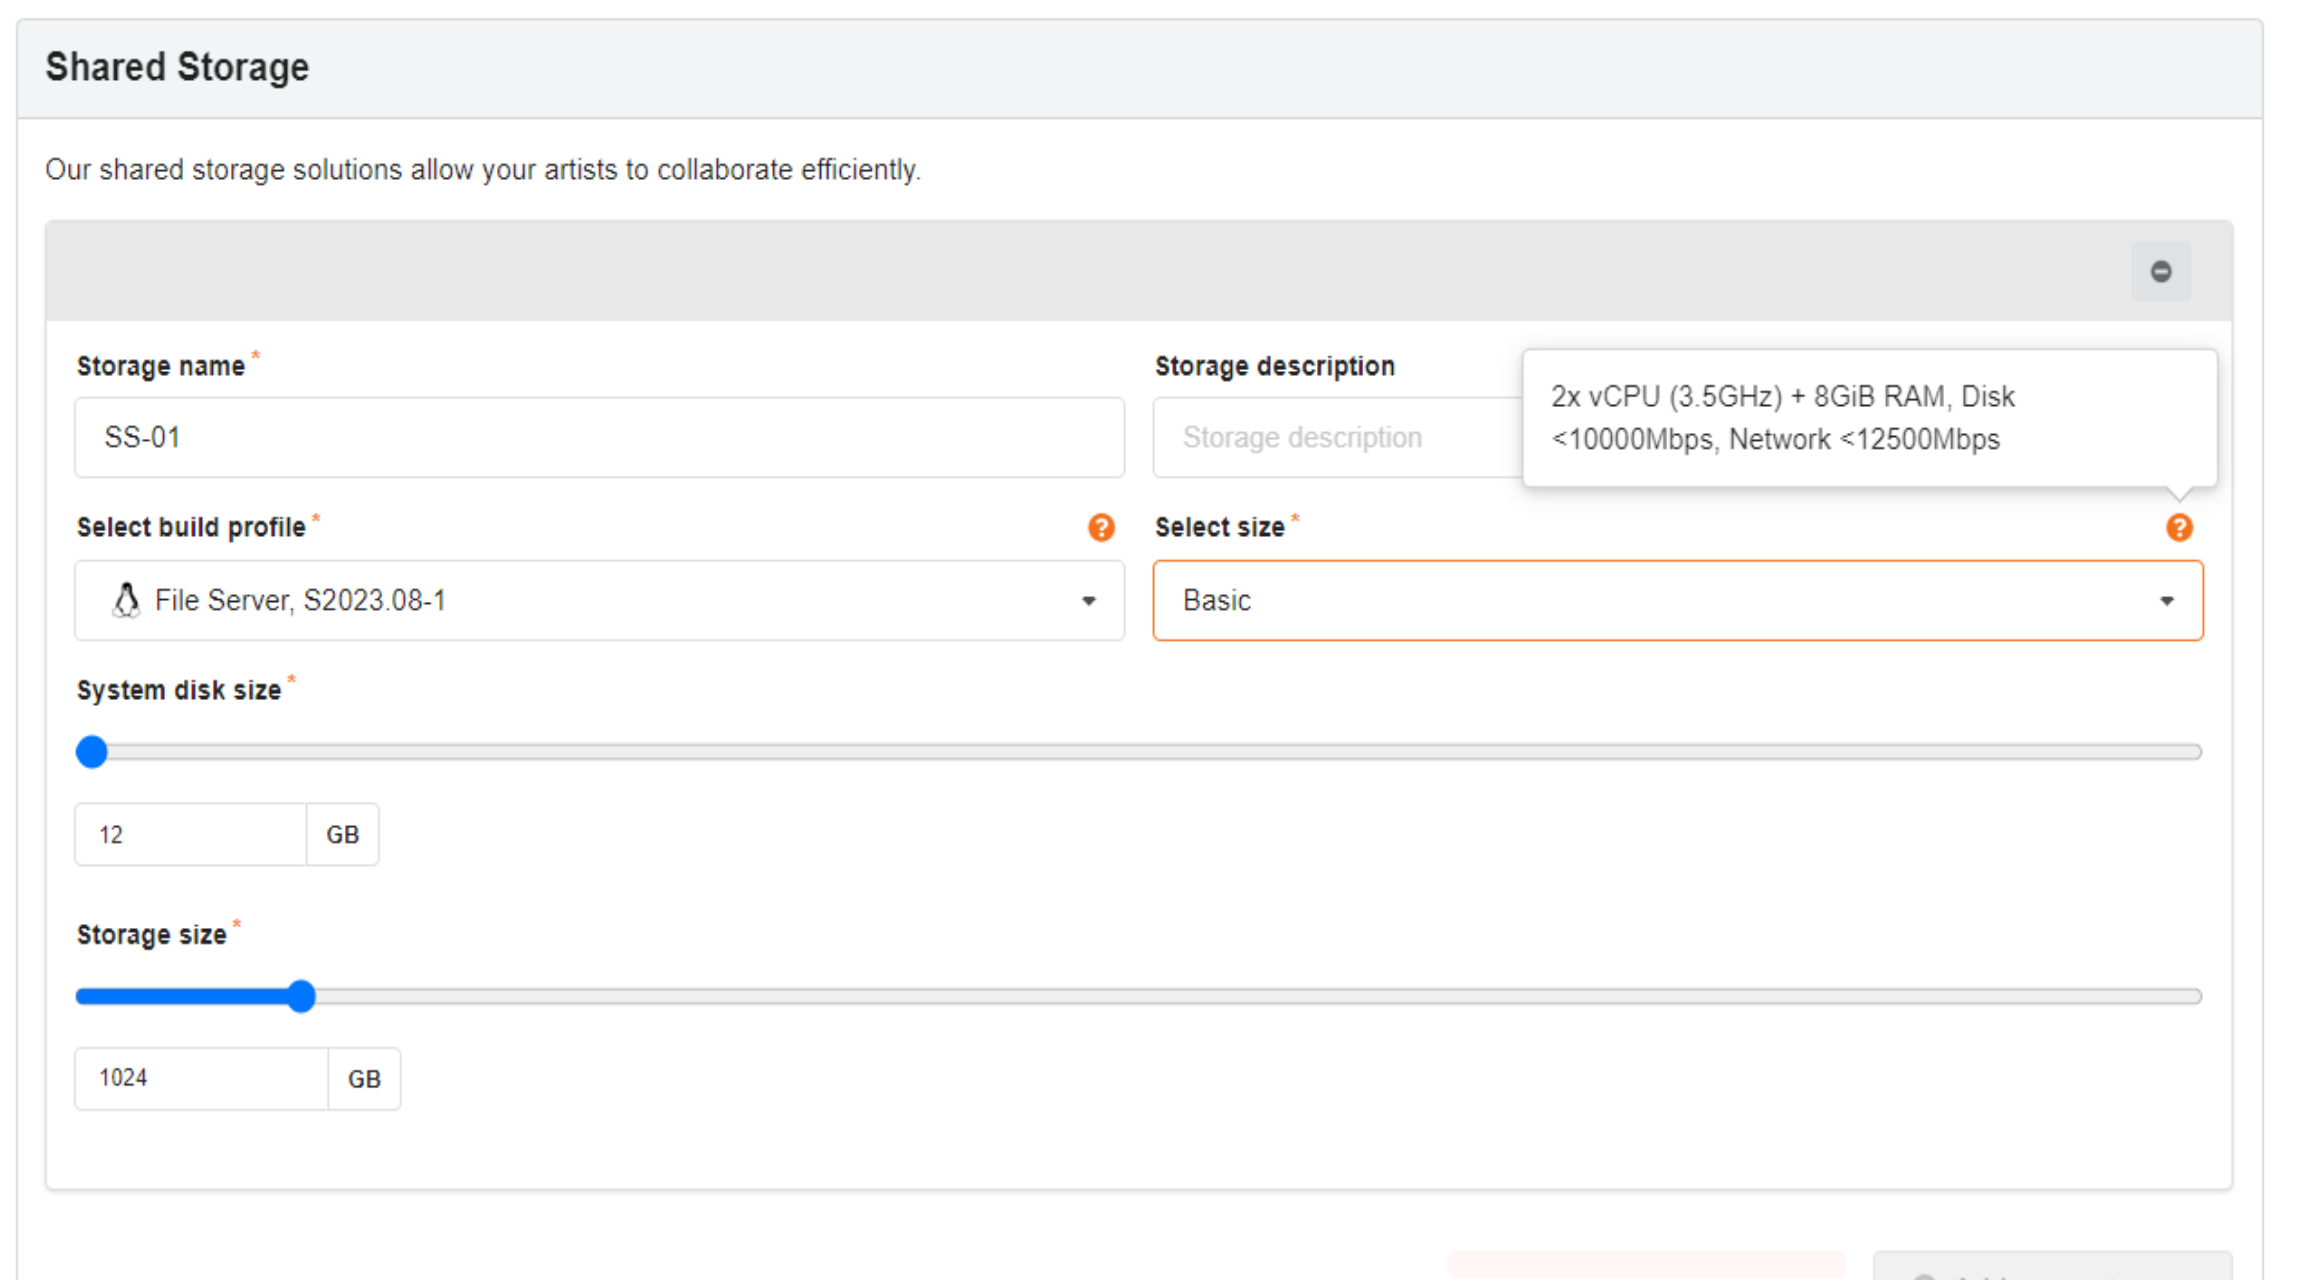
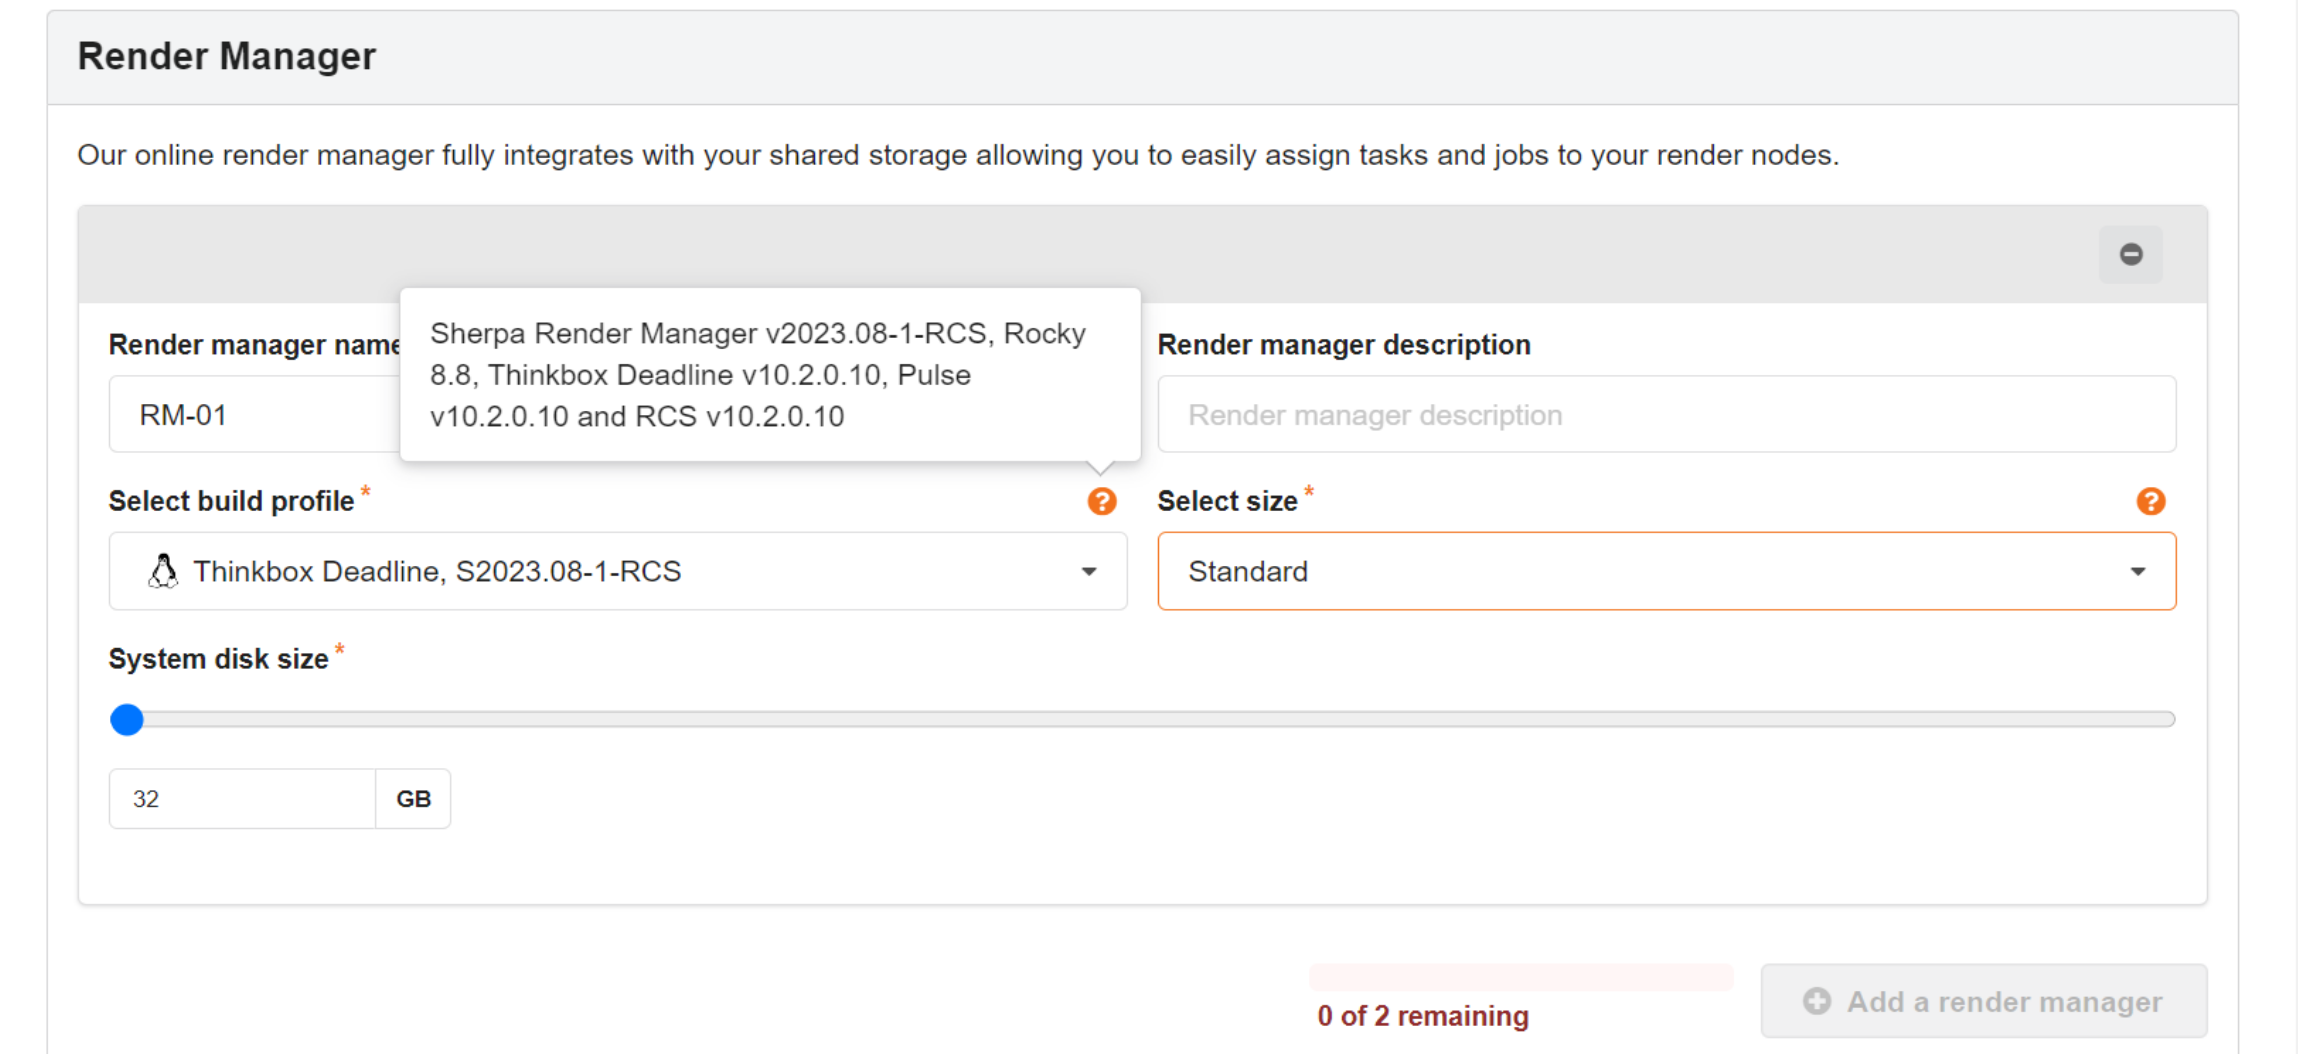
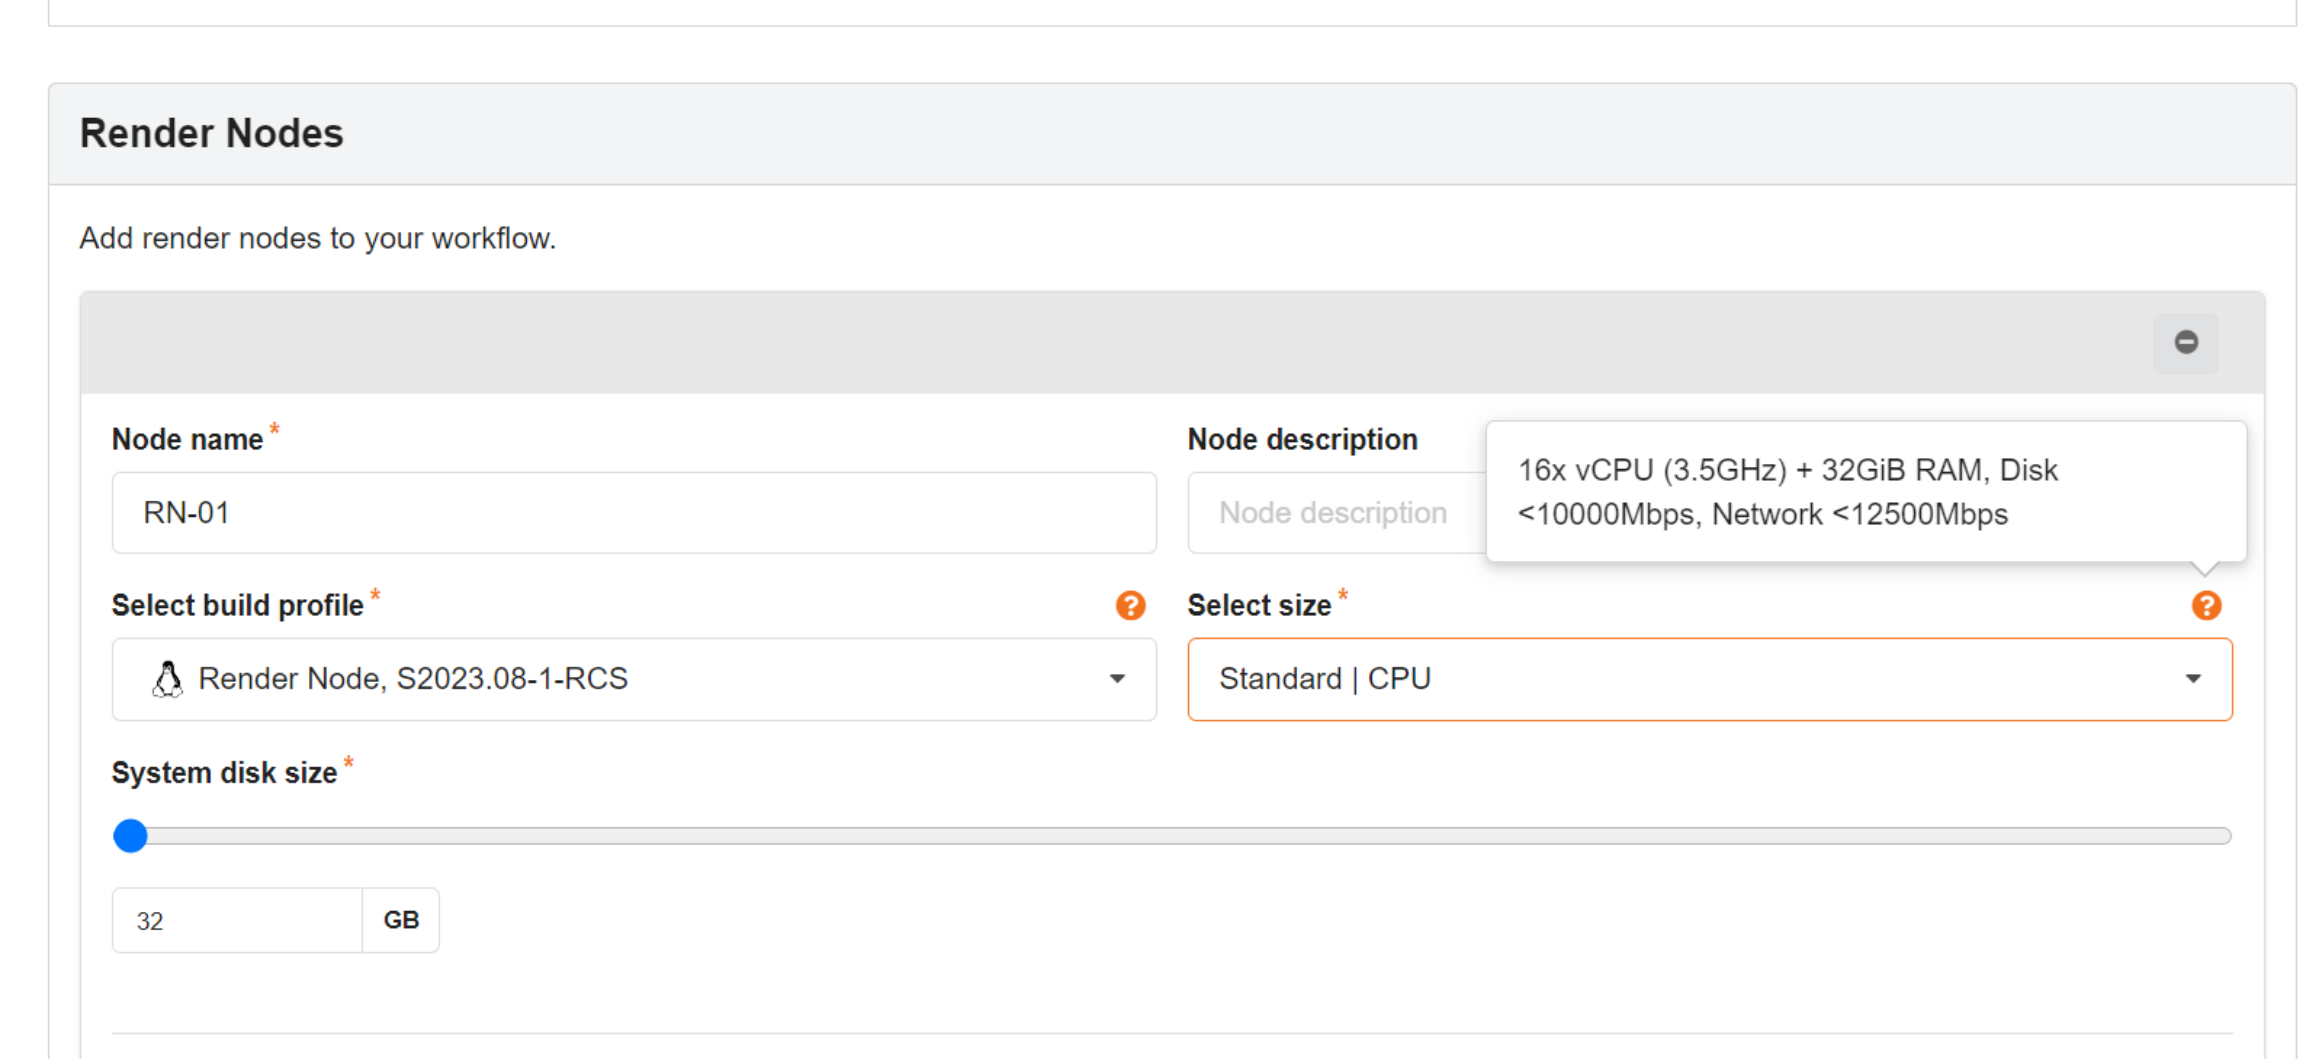
The Weekly Estimate bar from the bottom of the screen shows the cost estimate, if you click on the ^, it will expand and you can see a more detailed view.
Go to the bottom of the page and press Next.
On the next page make sure you select an SSH key. When we create your admin Sherpa account we create an SSH key for you. SSH keys are used for accessing Linux machines. Creation of SSH keys and their use is covered in another document. For now select the key that appears in your dropdown.
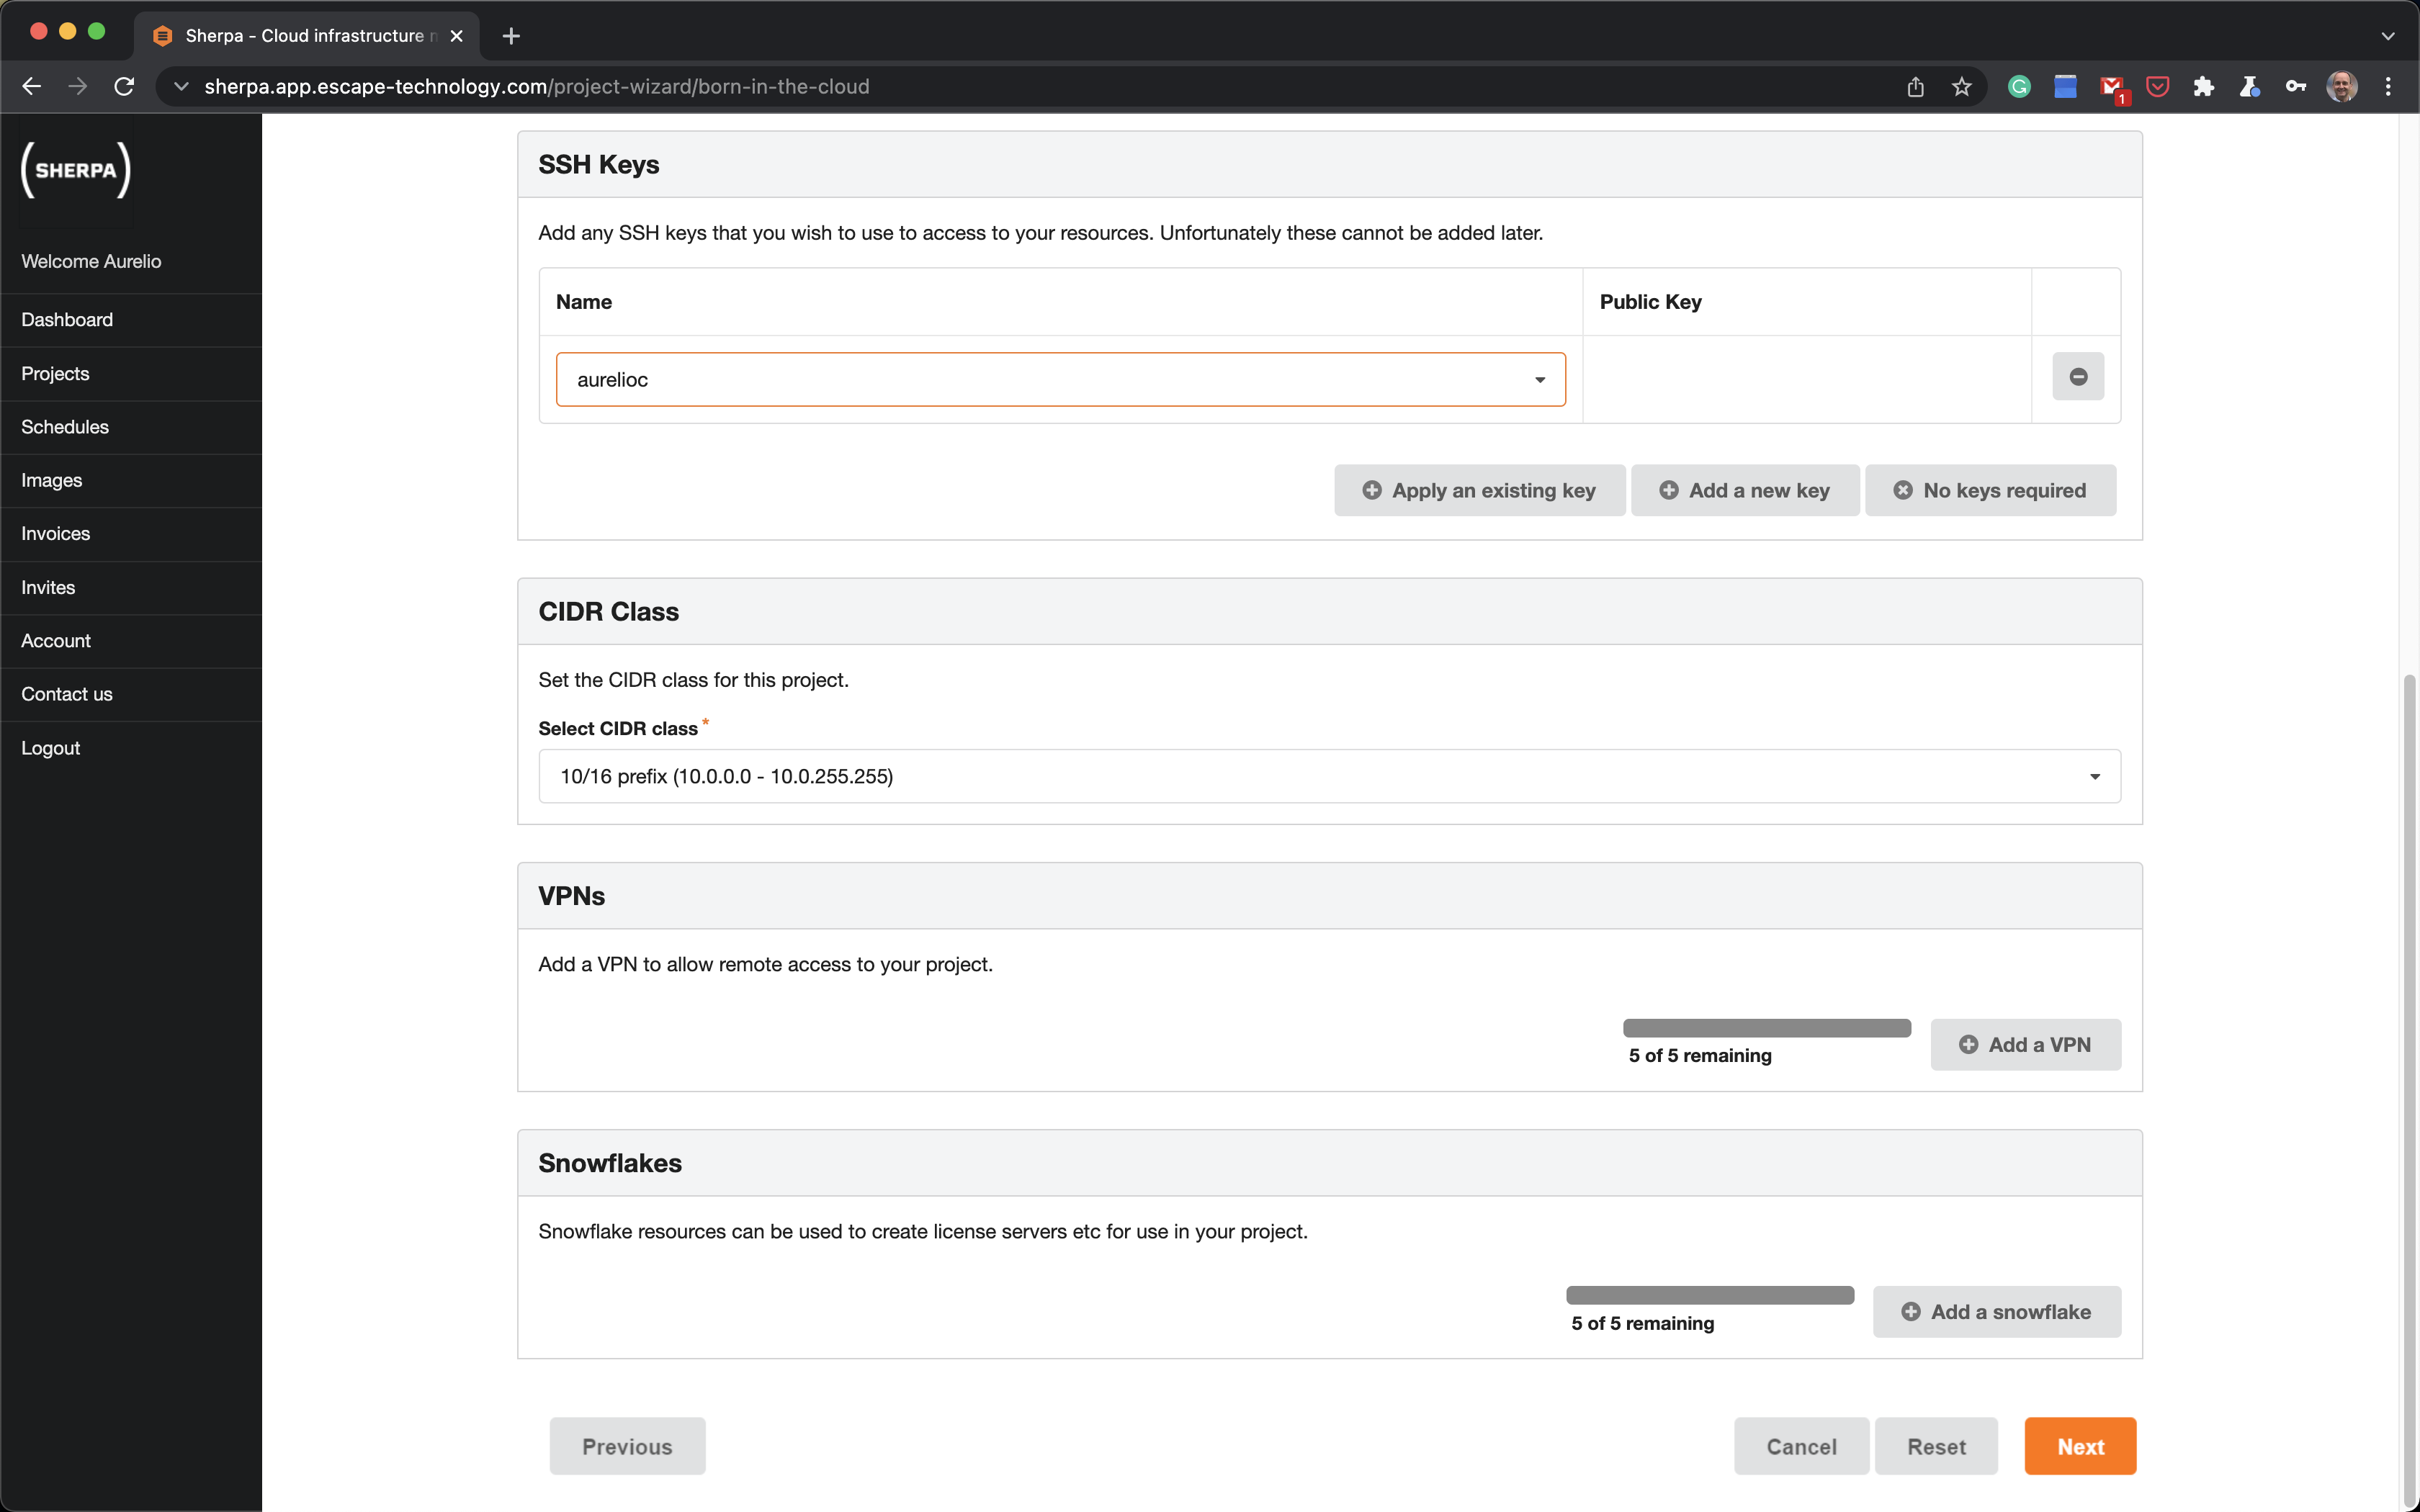
We will cover VPNs and Snowflakes in another document. For now press Next and confirm your choice.
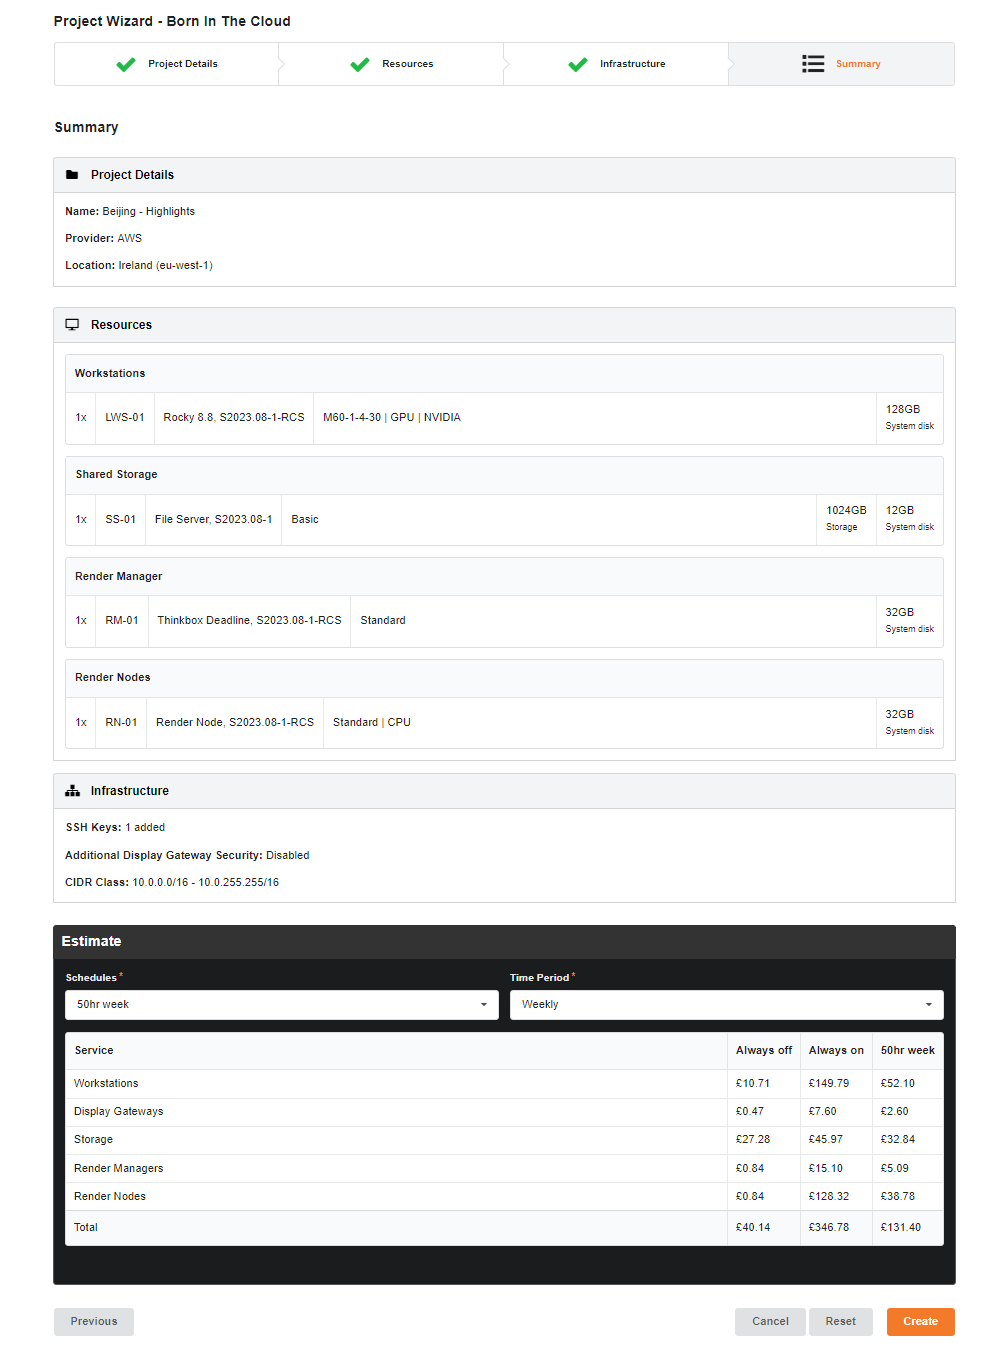
You will now be directed to Summary page. Once you’re happy with your choices, click Create.
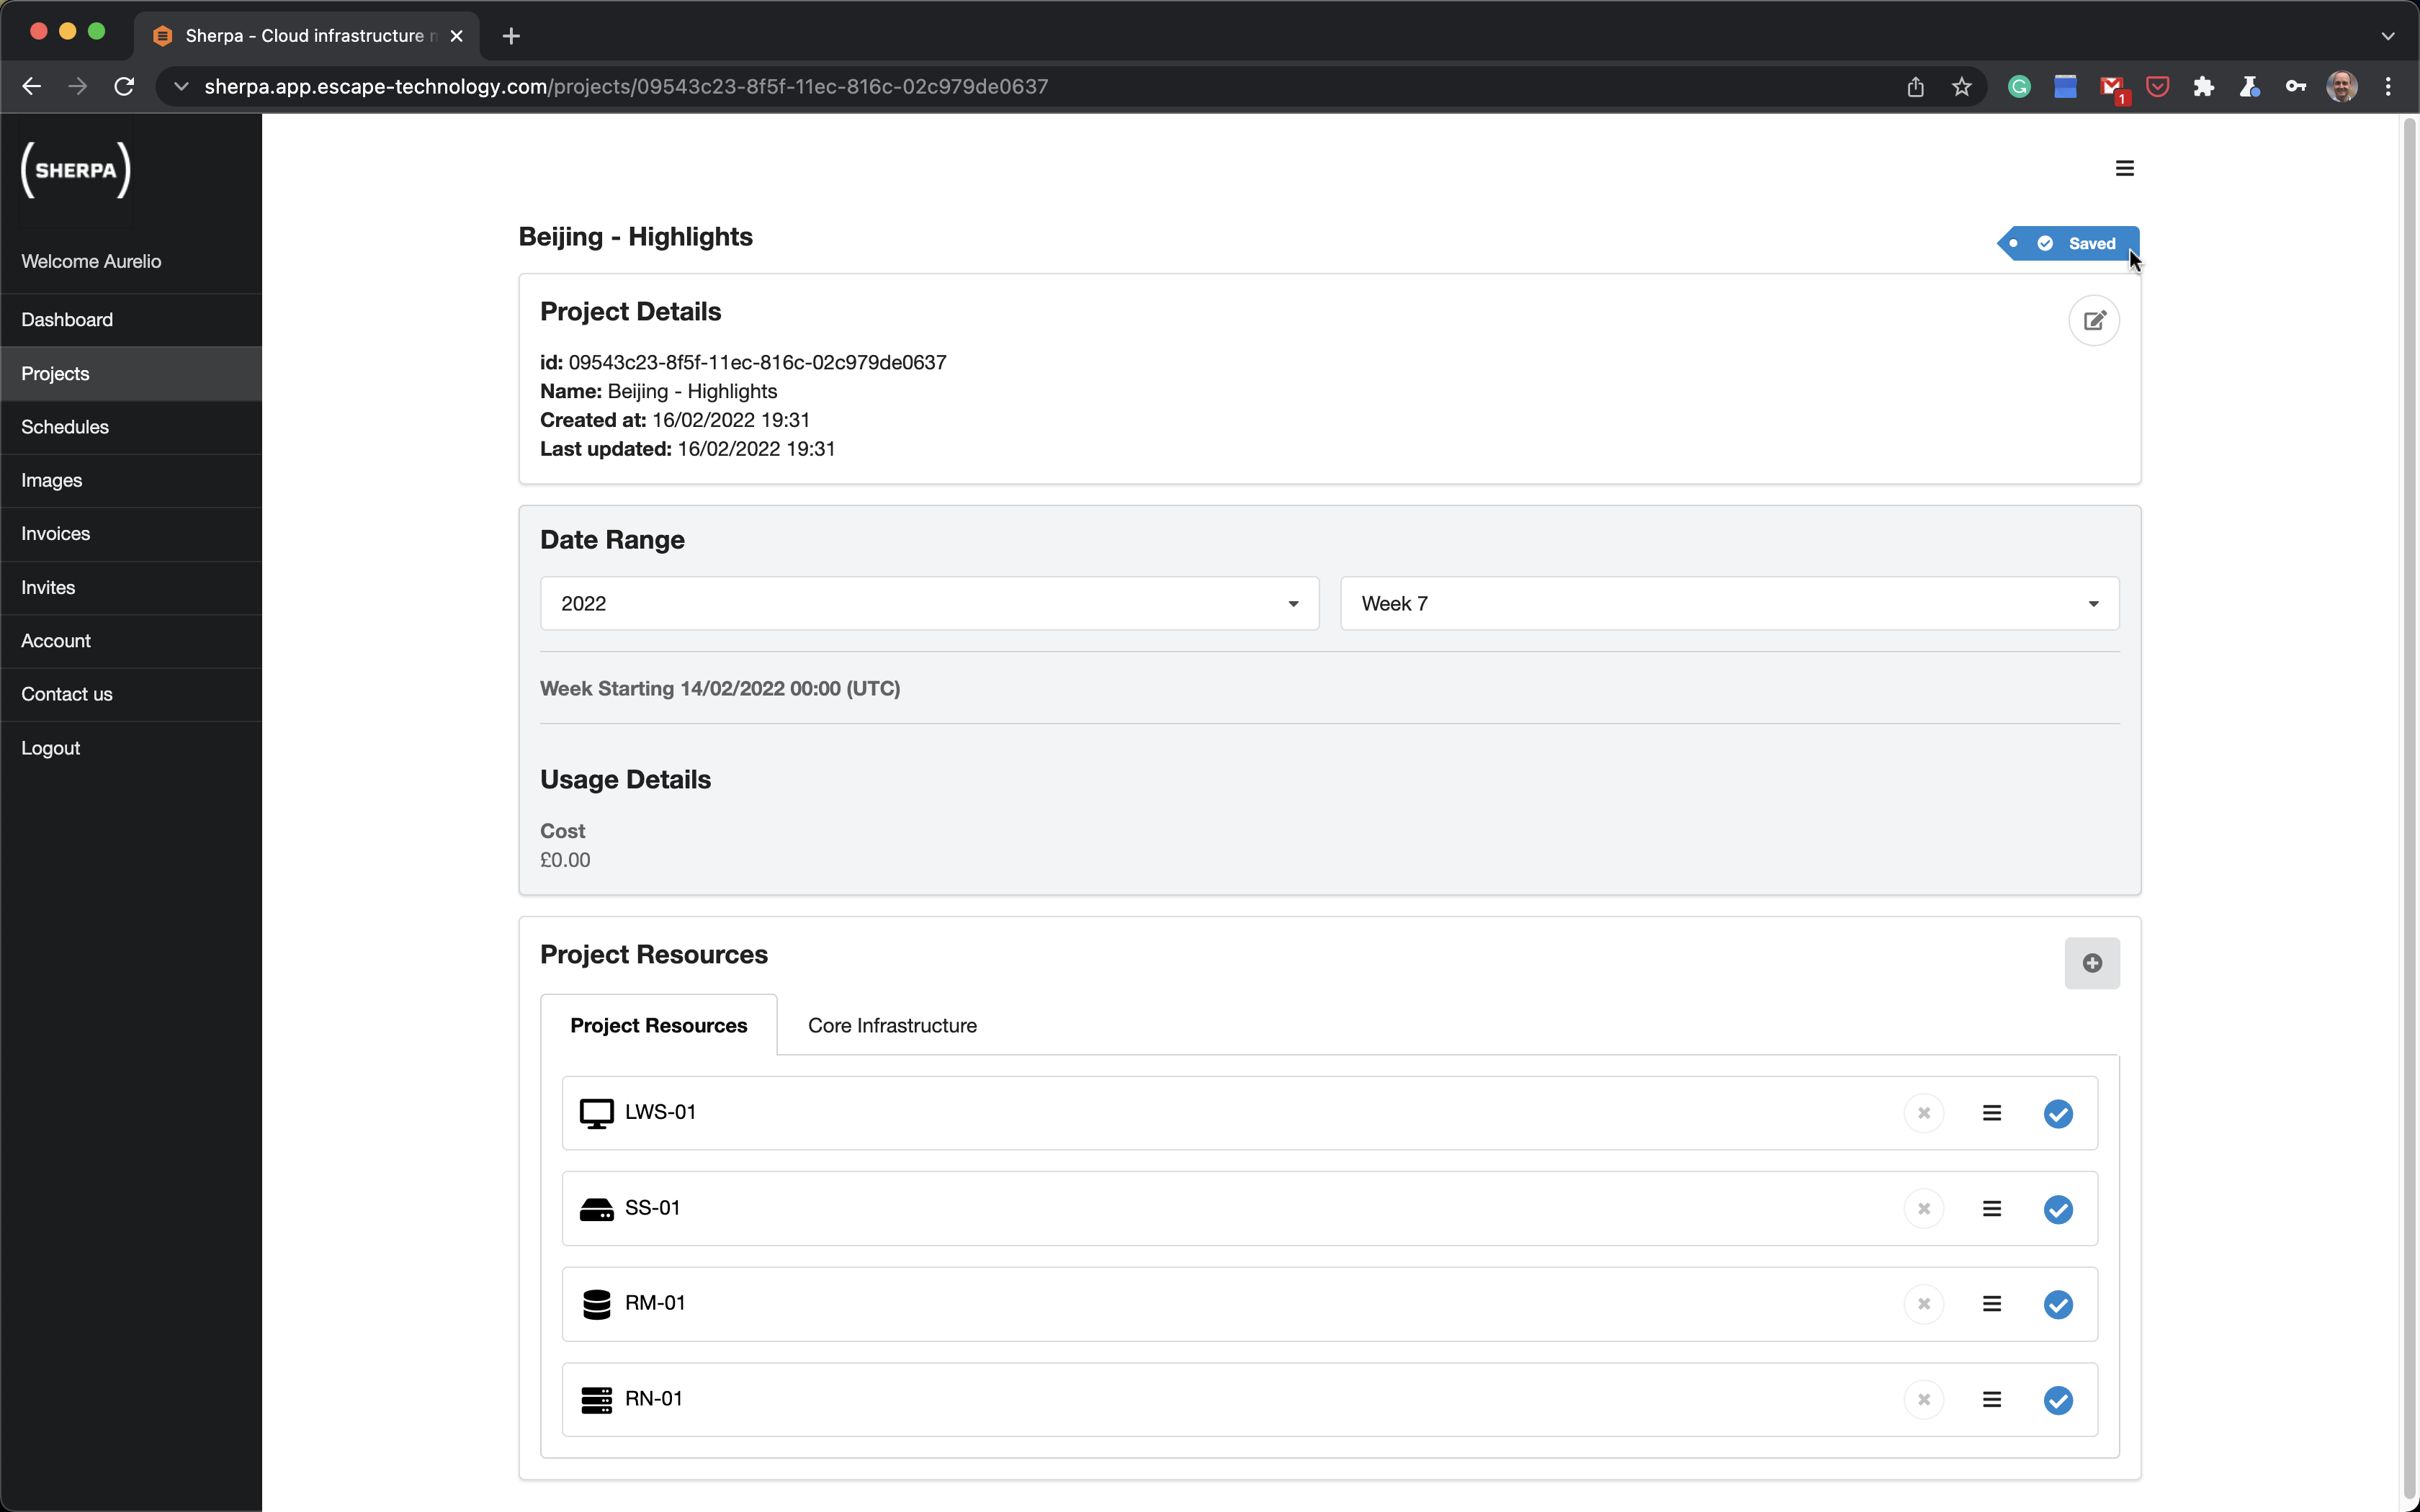
Your project will initially go into a Saved state.
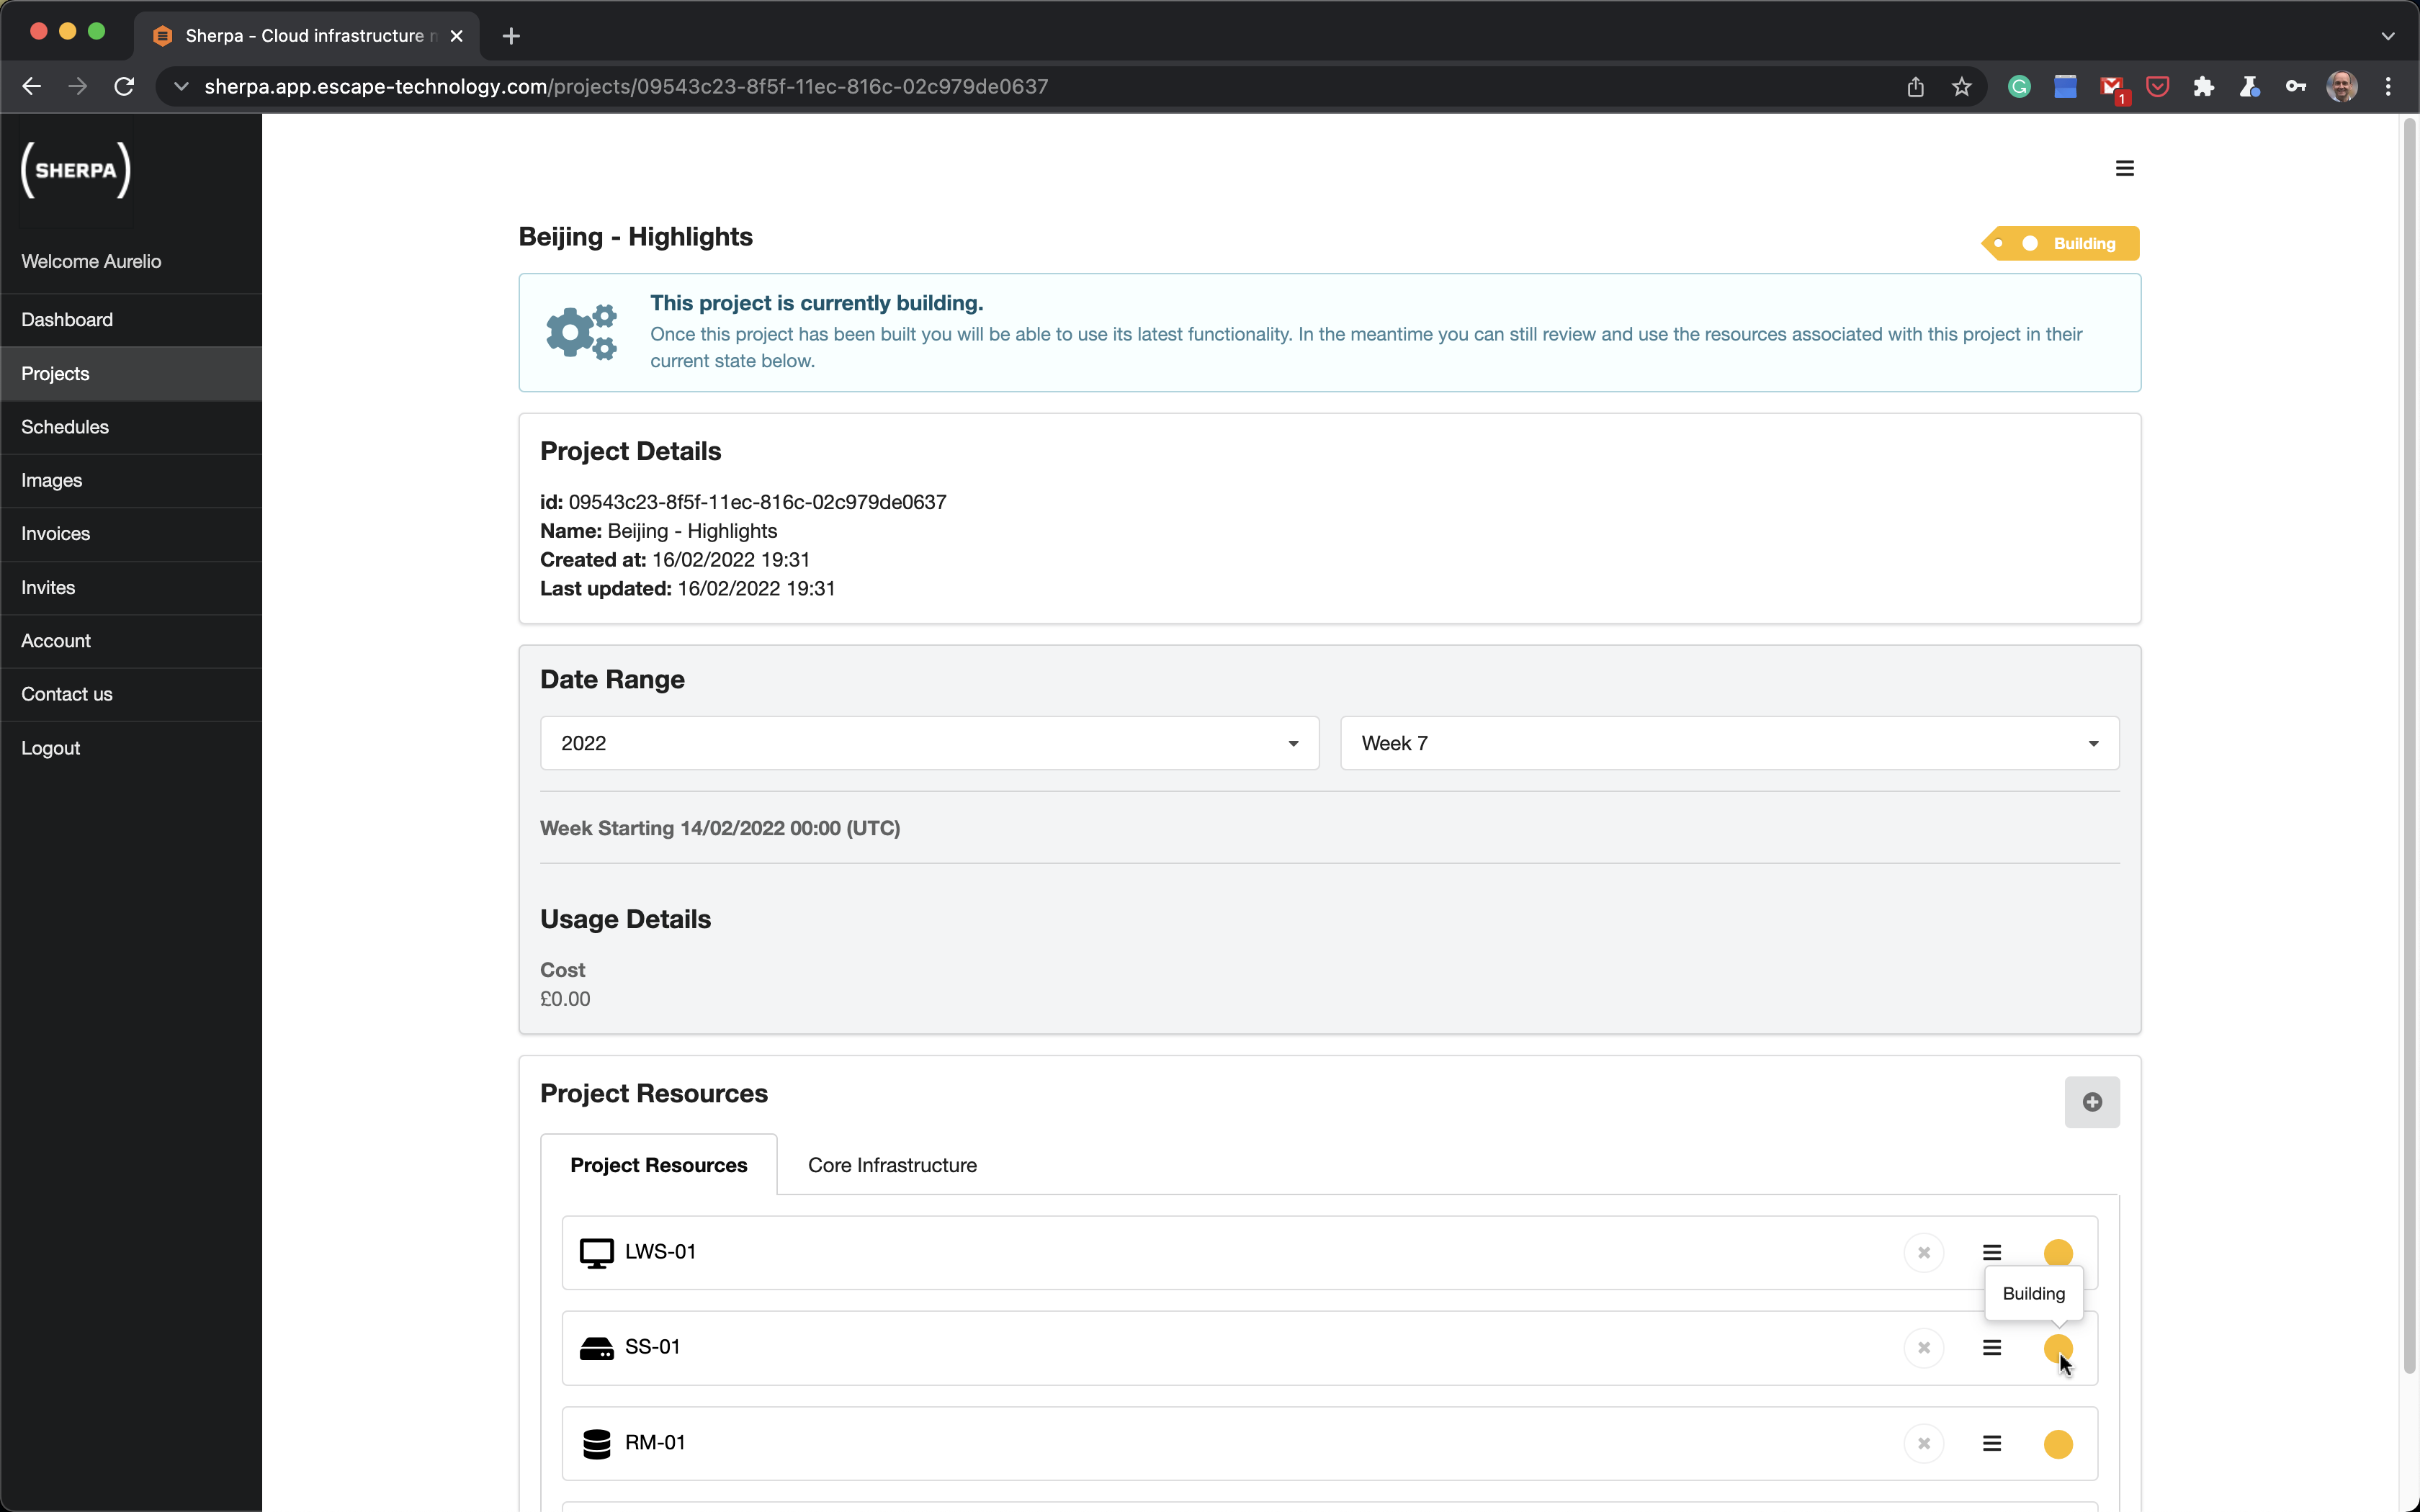
Shortly after it should go into a Building state.
After some time it will finish Building and go into a Built state.

It takes about 25 minutes to build a Sherpa project containing Linux workstations. Windows workstations take longer to build at about 45 minutes.
You only build a Sherpa project once. You can then turn on and off the servers and workstations as required. It takes about 1 to 2 minutes for a workstation to become ready after you have turned it on. In order to control costs, a workstation will automatically shut itself down after 30+ minutes if nobody has logged into it.
Now we can move onto the next stage which is allowing a user access to the Sherpa project and inviting them to a workstation.